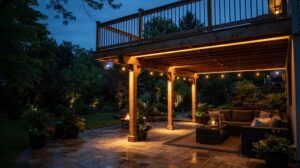
Planning outdoor lighting for a commercial building is harder than it looks. You want clean lines on the facade, better security at night, and a system that holds up in rain, heat, and cold.
This is where exterior linear lighting comes in. So what is exterior linear lighting? It is a continuous strip of LED fixtures you mount along a building’s edges, walls, or entry points. It gives you smooth, even light instead of scattered spots, and it works well on large facades and secure sites.
We have seen how the right layout improves both the look and the safety of a property. A well-planned linear system can sharpen a building’s night image and support your security cameras at the same time.
In this guide, we will walk you through how to choose the right fixtures, plan your lighting zones, handle weatherproofing, and connect everything to smart controls. Let’s start with why it matters.
Why Facade Linear Lighting Matters for Commercial Buildings
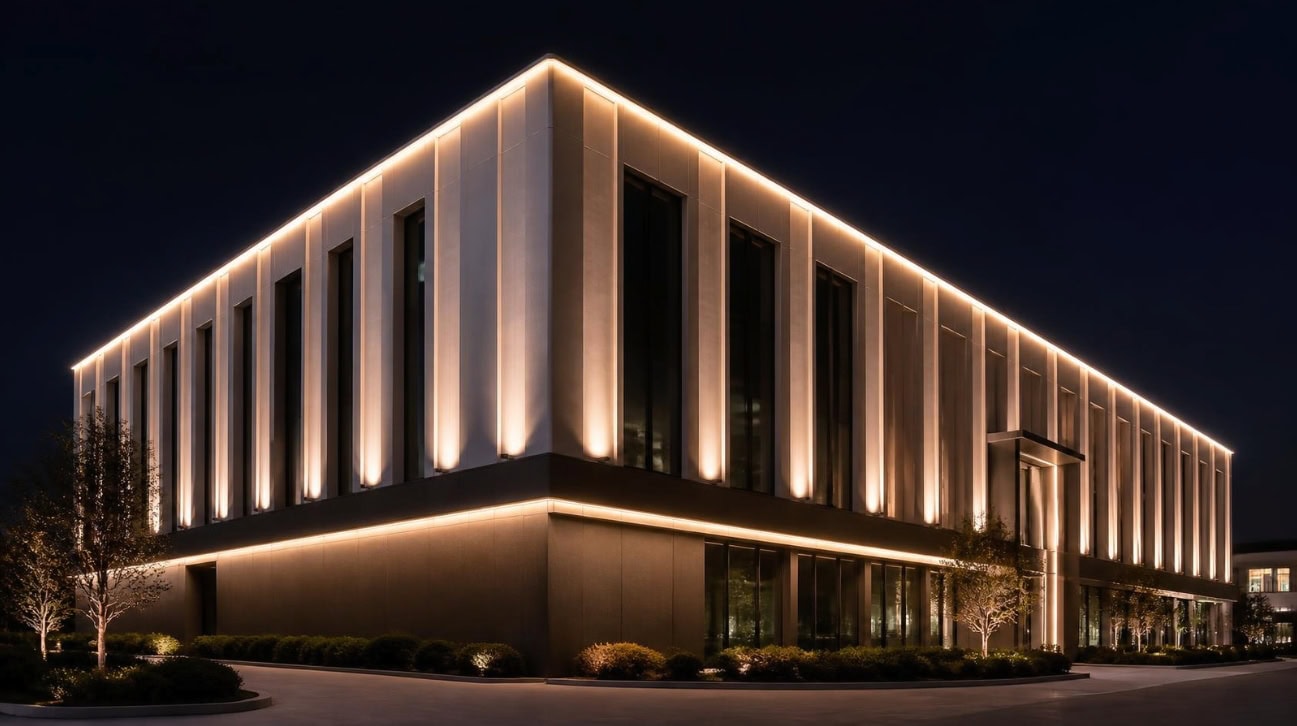
Good facade lighting does more than make a building look nice. It solves real problems for facility managers, security teams, and building owners. When you light the outline of a structure, you change how people see it and how safe it feels after dark.
Highlight building edges to improve night-time perimeter visibility
Linear fixtures trace the edges of a building in a clean, unbroken line. This makes the perimeter easy to read at night, both for people on site and for anyone watching from a distance.
Clear edges help staff and visitors find their way. They also make it obvious where the building starts and ends, which matters a lot on large or complex sites. When the boundary is easy to see, the whole property feels more controlled and secure.
Reduce shadow zones to support CCTV effectiveness
Cameras are only as good as the light they get. Dark corners and uneven lighting create blind spots, and those spots weaken your whole security setup.
Linear lighting spreads even light across walls and walkways. This cuts down on harsh shadow zones where someone could hide from a camera. Your CCTV footage stays sharper, and your security team gets a clearer picture of what is happening.
For sites like data centers, warehouses, and campuses, this is a big deal. You are not just lighting the building for looks. You are giving your cameras the steady, even light they need to actually work.
Enhance brand image and wayfinding on large campuses
A building’s night appearance says a lot about the brand behind it. Crisp, consistent lines look professional and modern. Messy or patchy lighting does the opposite.
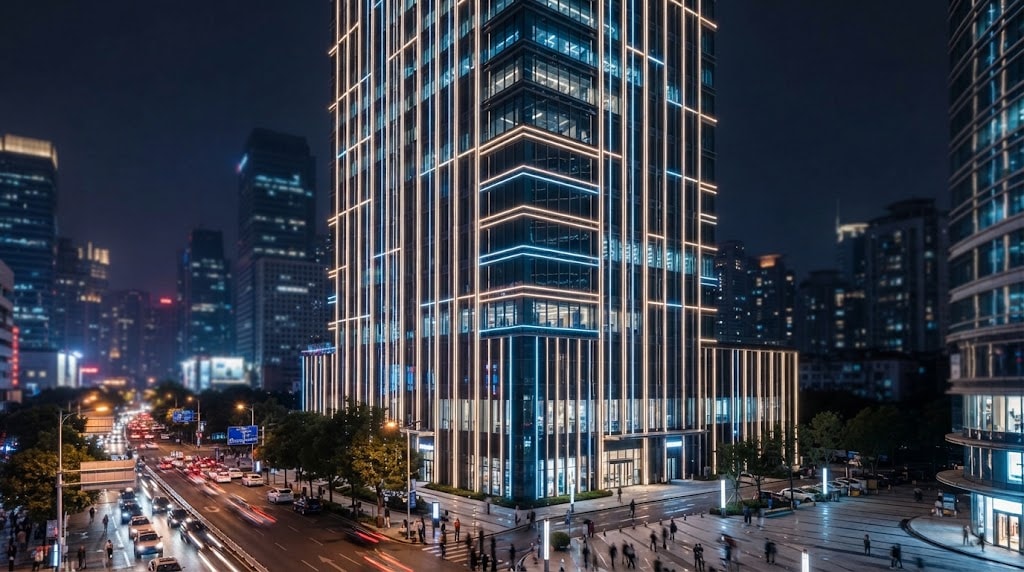
Linear lighting also helps people move around after dark. On a large campus, you can use it to mark main entrances, guide visitors along key paths, and make different buildings easy to tell apart. Good lighting turns a confusing site into one that is simple to navigate.
So the payoff works on two levels. You lift the brand image, and you make the space easier and safer to use at the same time.
Choosing the Right Linear Facade Lighting Fixtures
Not every linear fixture belongs on a facade. A facade brings its own demands, like height, weather exposure, and hard-to-reach mounting points. So the fixture you choose has to fit the wall, not just the look you want.
This section walks through the main selection choices for facade projects. Get the hardware right, and everything after it gets easier.
Match the Fixture to the Facade Material
The first thing to check is what the fixture will mount to. Facades come in many materials, and each one changes how you fix and seal the fixture.
Concrete and masonry walls hold anchors well, so most linear housings mount cleanly. Metal panel and curtain wall systems are different. They flex, they carry heat, and you often cannot drill freely without breaking a warranty or a seal.
Glass and composite facades need the most care. Here you usually work with existing mullions or dedicated brackets rather than the panel itself. Before you pick a fixture, confirm the mounting surface and its limits. This one check saves a lot of rework later.
Recessed vs. Surface-Mounted Fixtures
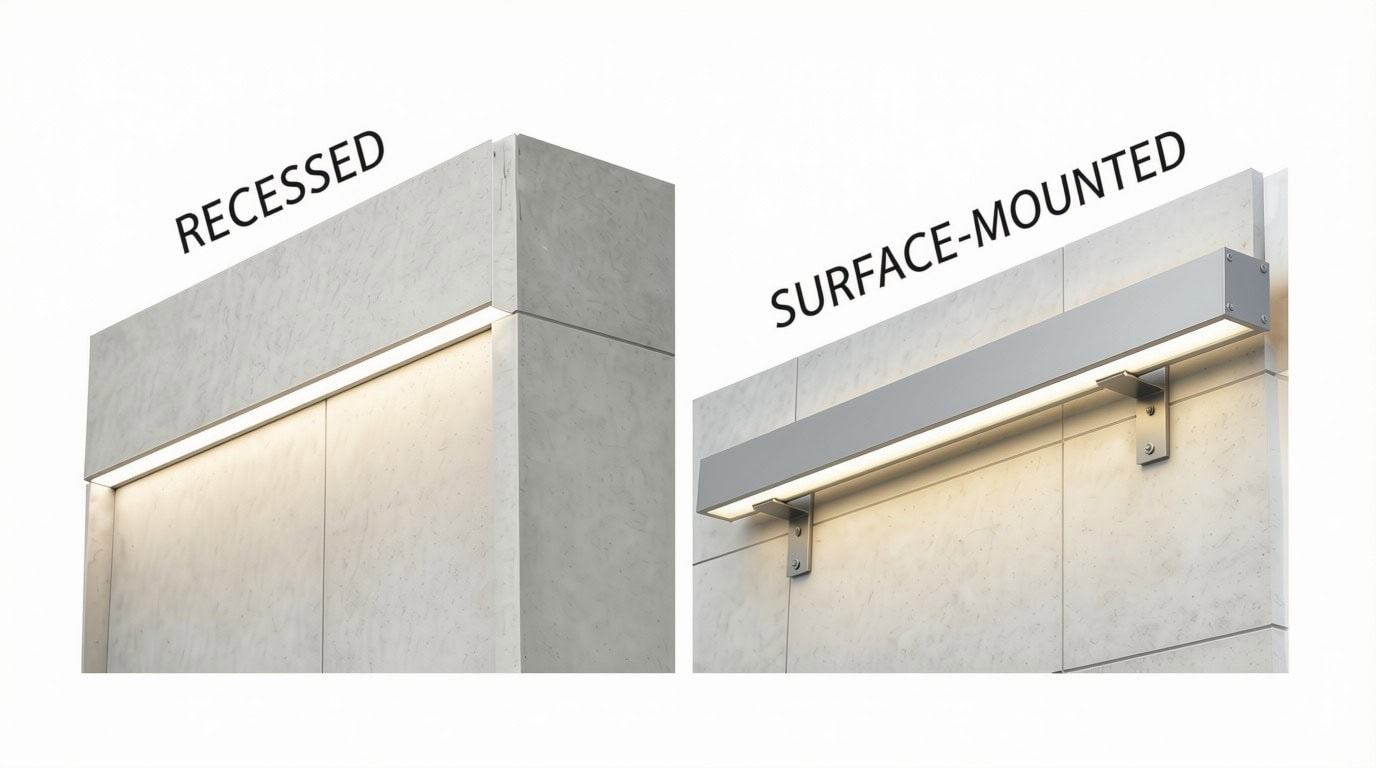
Once you know the surface, you choose how the fixture sits on it. Recessed and surface-mounted are the two core options for facades. One hides inside the wall. The other sits on top.
Recessed linear fixtures install flush into channels or reveals. They need those openings prepared in advance, so they suit new builds where the team can plan the pockets during construction. The result is a clean, built-in line with no visible housing.
Surface-mounted fixtures bolt straight onto the finished facade. You skip the deep cutting and structural prep. That makes them the go-to choice for retrofit projects, where the building is already up and you cannot open the wall.
Many spec sheets treat recessed as the premium default for facades. In practice, surface-mounted fixtures are often the smarter call, even when the budget and structure allow recessed work. The reasons come down to heat and access.
Surface housings dissipate heat better, so the LEDs stay cooler and last longer on a hot, sun-facing wall. They are also far easier to service, since a technician can reach and swap a unit without breaking into the facade. On sealed panel systems, cutting recessed channels can damage the weatherproof layer and open leak paths.
So the choice is not only about looks. On a facade, it drives reliability and maintenance cost for years. Choose recessed on new builds when you can plan the reveals and want a hidden source. Choose surface-mounted on retrofits, or when heat and easy service matter most.
Here is the simple rule. Choose recessed on new builds when you can plan the reveals and want a hidden source. Choose surface-mounted on retrofits, or when heat and easy service matter most.
IP Rating and Housing for Facade Conditions
A facade sits fully exposed, so the fixture rating is not optional. Rain, dust, wind, and sun all hit it every day. Your rating choice decides whether the fixture survives that.
For most facade projects, aim for at least IP65. This blocks dust and low-pressure water jets, which covers normal weather. Coastal, humid, or high-exposure sites often need IP66 or higher, since salt air and driving rain push harder on the seals.
The housing material matters too. Marine-grade aluminum and quality gaskets hold up far better in tough climates. Also think about height and reach. Fixtures within easy reach should use tamper-resistant hardware, so your facade lighting stays intact and secure.
Fixture Selection Comparison Table
Here is a quick reference for selecting facade fixtures.
Fixture Type | Best For | IP Rating | Key Selection Note |
Recessed Linear | New builds, planned reveals | IP65–IP67 | Needs openings prepared early |
Surface-Mounted Linear | Retrofits, easy-service walls | IP65+ | Better heat and access |
High-IP / Marine Grade | Coastal, humid, exposed sites | IP66+ | Corrosion and seal resistance |
Tamper-Resistant Housing | Low, reachable mounting points | IP65+ | Locking hardware for security |
Whatever you choose, tie the decision back to the facade itself. Match the fixture to the surface, the mounting method to the building age, and the rating to the climate. When those three line up, your facade lighting performs and lasts.
Planning Your Exterior Linear Lighting Design
You picked the right fixtures. Now plan how they light the building. Good facade lighting is not about maximum brightness. It is about the right amount of light, in the right color, aimed the right way.
Set a Brightness Target First
Start with how bright the facade should be. Skip this, and you tend to over-light, which looks flat and cheap.
Brightness depends on the surface and the surroundings. Light stone reflects a lot and needs less output. Dark brick or metal absorbs light and needs more. A busy downtown facade needs more punch than a quiet street.
Think in contrast, not raw output. The facade should read a clear but gentle step brighter than its background. Too much, and the wall glares. Too little, and the lighting disappears.
Choose Color Temperature and CRI
Color sets the mood. Warm white around 2700K to 3000K feels soft and suits hospitality. Neutral white around 4000K reads modern and fits offices and retail. Keep the CCT consistent across every fixture.
For CRI, aim for 80 or higher so stone, wood, and brick show their true tone. Cheap fixtures cut corners here, so check the spec sheet. Also pick tight color binning, or the units will drift and stop matching over time.
Control Glare and Light Pollution
Aim the light with care. Glare happens when people look into the source, so use grazers close to the wall, shielding, and the right optics to hide it.
Light pollution is the other issue. Any light that misses the facade and heads skyward is wasted. Many cities now limit uplight under dark-sky rules, so this is a code matter. Use tight beam control and land the light on the wall.
Plan the Control System
Decide how the lighting runs. At minimum, use a photocell or timer so it works only when needed. Dimming saves power late at night.
For landmarks and hotels, DMX or addressable control adds color change and scenes. Whatever you choose, wire the control gear in early. Retrofitting it later costs far more.
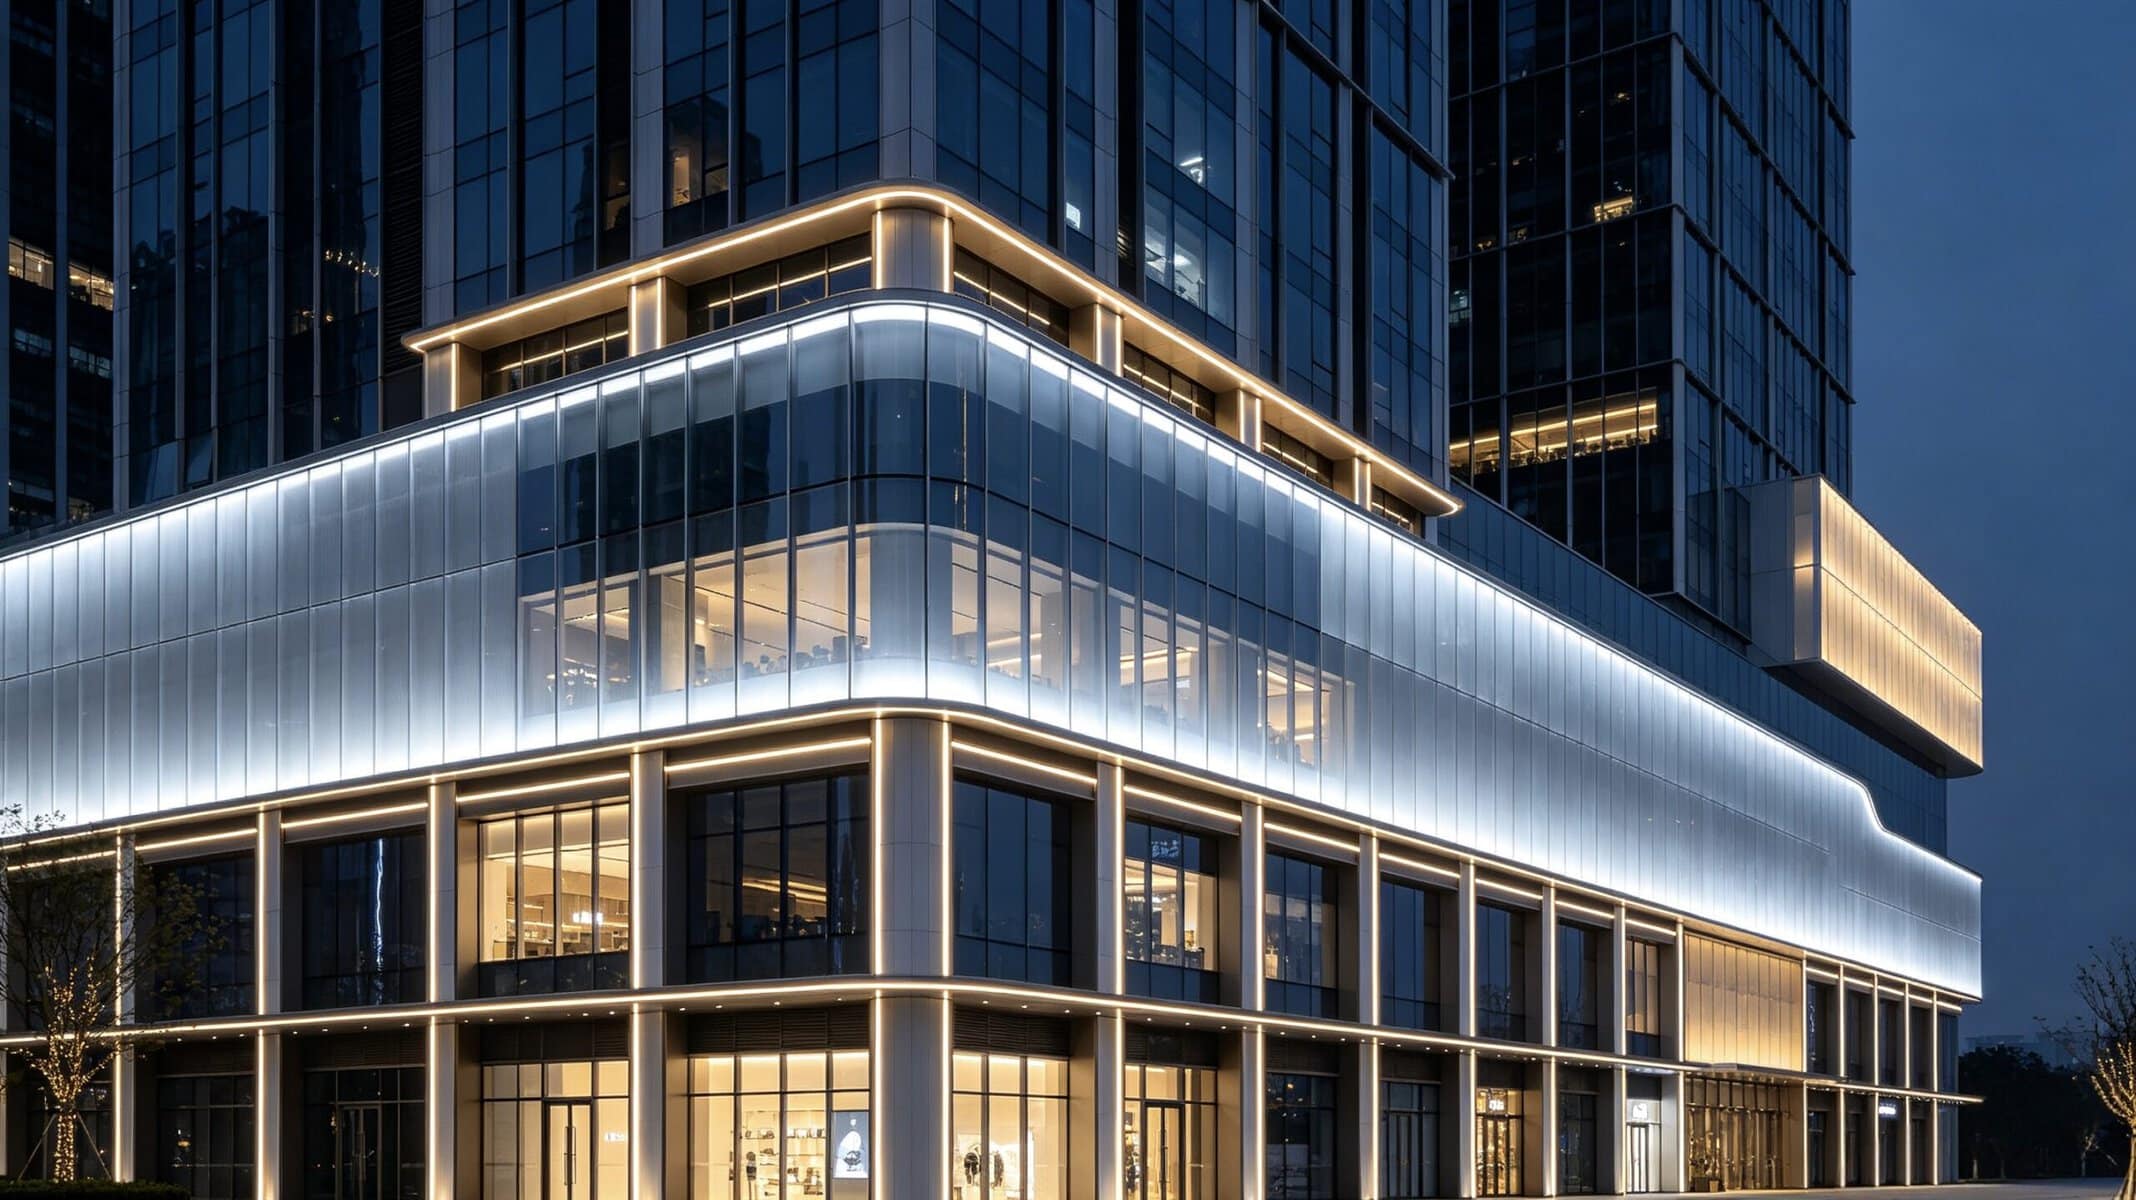
Installation, Mounting, and Weatherproofing
Design decisions mean little if the install is weak. How you seal, mount, and wire them decides how long they last.
Flush Mounting and Tamper Protection
At ground level, facades face people, not just weather. That means vandalism and accidental knocks.
Choose flush mounts where you can. A fixture that sits tight to the wall gives little to grab, pry, or kick, so it survives longer in public spaces. On any reachable fixture, require locking hardware. Tamper-resistant screws and captive fasteners stop casual removal and keep the units in place.
Power Routing and Conduit Concealment
Wiring should disappear. Exposed cable looks messy and invites damage.
Plan the conduit routing early so power feeds run hidden behind the fixtures or inside the structure. On clean facades, a visible cable ruins the effect you paid for.
Spec the details too. Call out installation torque values so housings seal properly without cracking. Add tamper-evidence requirements where security matters. These notes take a line on the drawing and save callbacks later.
Smart Controls and Building Automation Integration
On larger buildings, the lighting should talk to the rest of the system. That starts with the right dimming protocol.
For fixture-level control, spec DALI or 0-10V dimming. DALI lets you address and tune each fixture, while 0-10V offers a simple, low-cost dim. Then tie it into the building. BACnet or DALI links the facade to an existing BMS, so operators run it from one place.
From there, add smart behavior. Daylight harvesting on south-facing facades trims output when the sun already lights the wall. Scene presets give you a bright security mode and a low maintenance mode on demand. These features cut energy and make the facade easier to run.
Frequently Asked Questions
What does a facade lighting project usually cost to run?
Running cost is often lower than people expect. LED linear fixtures draw far less power than older floodlights, and a photocell or timer keeps them off during daylight. Add dimming late at night, and you cut the bill further. The larger cost is usually the drivers over time, since these are the parts most likely to need replacement before the fixtures do. Budget for driver replacement, not full fixture swaps.
Do I need surge or lightning protection for exterior linear lighting?
Yes, especially on tall or exposed buildings. Power surges from storms or the grid are a common cause of early driver failure. Look for fixtures or drivers with built-in surge protection, often rated in kV. On high-rise or open sites, add external surge protection at the panel too. This small step prevents a whole run of fixtures from dying in a single storm.
How do I keep the whole facade looking uniform over time?
Two things drive uniformity. The first is color binning, so all fixtures start out matching. The second is buying enough spare stock from the same production batch. LED color and output shift slightly between batches, so a unit replaced years later can look off next to the originals. Order spares up front, and store them, so future repairs blend in.
When is the right time to retrofit an existing facade?
The best triggers are a lighting failure, a security upgrade, or a planned facade cleaning or repair. If scaffolding or lifts are already on site for other work, adding lighting then saves a lot on access cost. Access, not the fixtures, is often the biggest expense on a facade retrofit. So time the project to share that cost with other work whenever you can.
Conclusion
At this point, the choices can feel like a lot. But most facade projects come down to a few key questions, and working through them in order makes the rest simple.
Start with the building itself. If the wall is not up yet, recessed fixtures are on the table and you can plan the reveals during construction. If the building already stands, plan around surface-mounted fixtures and skip the debate.
Then look at the site. A sheltered urban wall can run IP65, but a coastal or high-rise facade should not. Lock in IP66 or higher with corrosion-resistant housings before you compare anything else, because no design saves a fixture that fails in year two.
Finally, think about who has to live with it. If a facility team maintains the building, weight your choice toward easy access and driver replacement, not just the cleanest look. The prettiest install is worthless if no one can service it.
Answer those questions, and your shortlist shrinks fast. Everything else, brightness, color, and controls, is tuning on top of a sound hardware choice.
Once you know the fixture type, IP rating, and mounting method you need, the next step is matching those to real hardware. RC Lighting can help you confirm the fixture specs, compare IP ratings and housings, and send samples so you can check the build quality before you commit to a full order.
Contact our team for a quote, and order the right units with confidence.