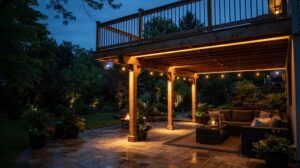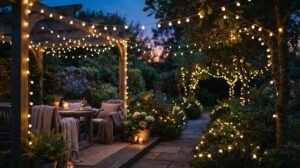
Want lighting that stays flush with the ground, survives foot traffic, and still looks clean after years outdoors? You are in the right place. This guide walks you through what in-ground lights are, how to pick the right type, and what really matters when you buy them.
We have seen a lot of projects fail for the same reasons. A light floods after one rainy season. A fixture rusts near the coast. A driveway unit cracks under a car tire. Most of these problems trace back to choices made before installation, not after. So we will focus on the decisions that protect your budget.
By the end, you will know how to match a fixture to its setting, read IP and IK ratings with confidence, and spot the specs that separate a reliable supplier from a risky one. Let’s start with the basics.
What Are In-Ground Lights?
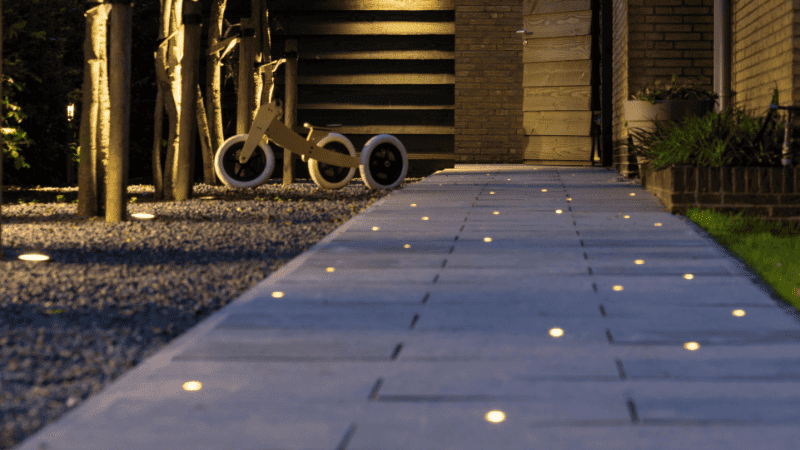
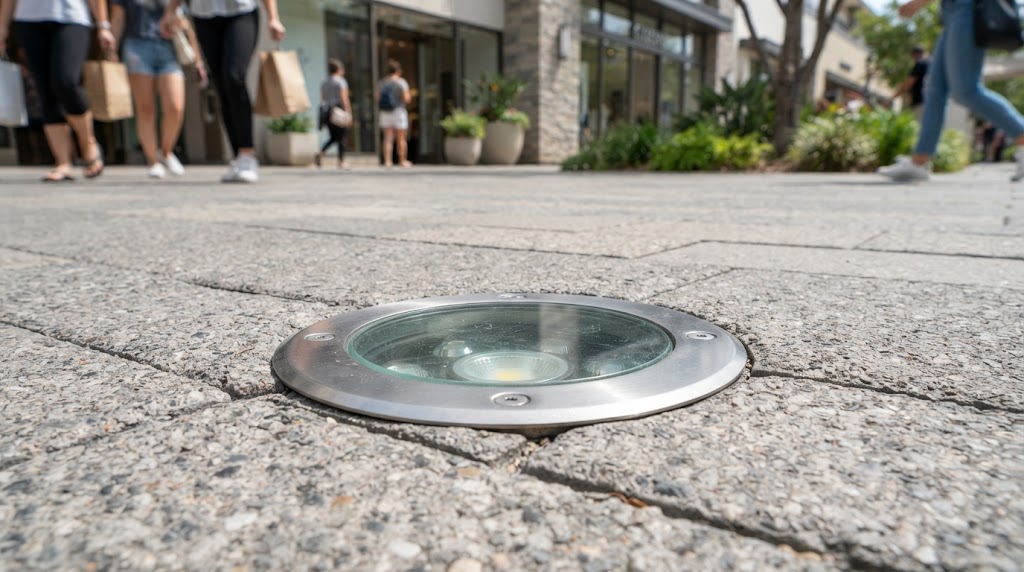
In-ground lights, also called recessed or well lights, sit inside the ground so the top surface stays level with the floor. You walk over them. You park on some of them. They light a space without you ever seeing a bulky housing.
That flush design is the whole point. Designers use these fixtures to wash light up a wall, graze a tree trunk, or mark a path without breaking the clean lines of a space. The fixture disappears, and only the light stays visible.
Because they live below grade, in-ground lights face harder conditions than most outdoor fixtures. Water pools around them. Soil holds moisture against the housing. People and vehicles press down on the lens. A good in-ground light has to handle all of that at once, which is why build quality matters more here than with almost any other fixture type.
You will find them in gardens, driveways, plazas, hotel entrances, and building facades. The setting changes the requirements a lot, and that brings us to the next question.
Types of In-Ground Lights and How to Choose
Not every in-ground light does the same job. Before you pick one, it helps to sort them by a few key traits. Once you understand these traits, the right choice becomes obvious for each spot in your project.
Sort by Shape and Beam Angle
Start with shape, because it sets the look and the mounting style.
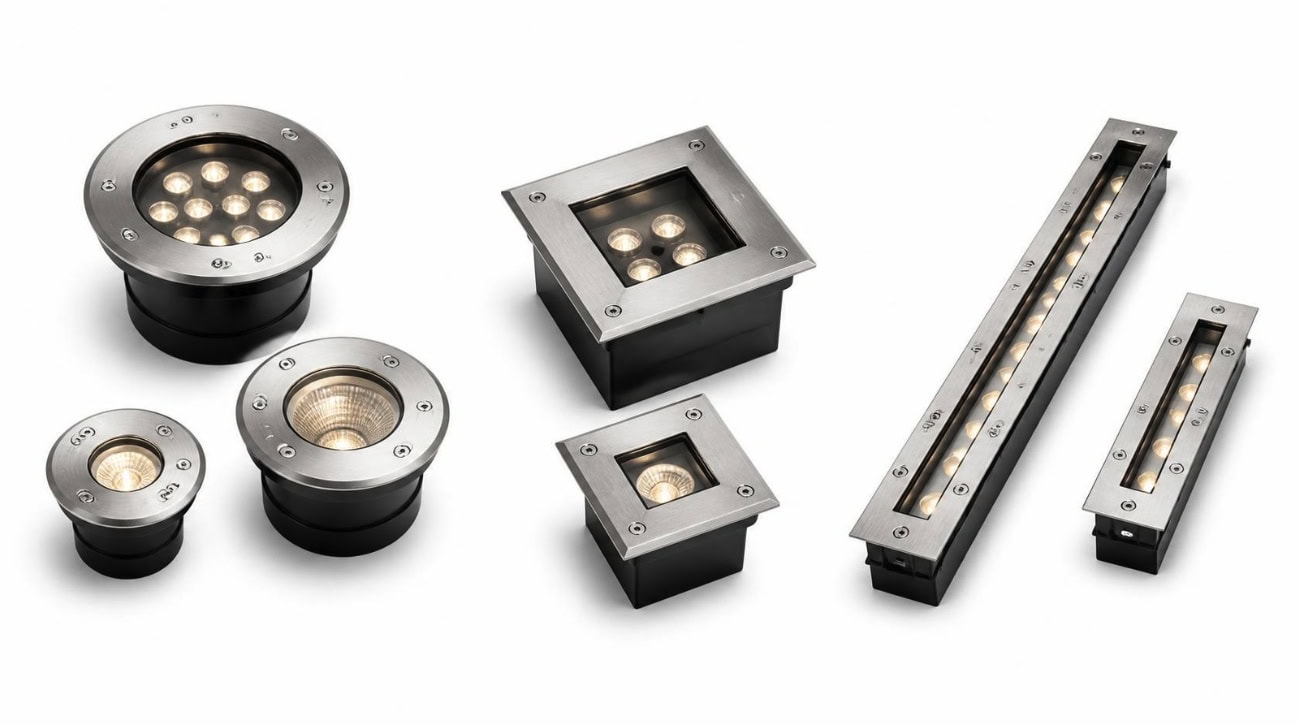
Round fixtures are the most common. They install easily, seal well against water, and suit trees, garden beds, and general uplighting. Square fixtures give a sharper, more modern edge and line up neatly with tiles or paving joints. Linear fixtures run in a long strip, so you use them to graze a wall or mark a clean line along a path or deck.
Next comes the beam angle, and this decides how the light actually behaves.
A fixed-beam light points in one set direction, usually straight up. It costs less and works fine for simple wall washing. An adjustable-beam light lets you tilt the optic to aim at a wall, a tree, or an object off to the side. Many premium models use a screw-adjust design, so you set the angle by hand and lock it in place. That control matters a lot on facades and around trees, where a few degrees changes the whole effect.
Lamp-Ready vs. Integrated LED
Here you face a real trade-off, so weigh it before you buy.
A lamp-ready fixture takes a replaceable bulb, often an MR16 or GU10. When the light fades, you swap the bulb instead of the whole unit. That makes serviceability its biggest strength. You save on long-term maintenance, which helps a lot in large installs.
An integrated LED fixture builds the LED into the body, so nothing comes out. You gain better efficiency, a slimmer design, and a longer rated lifespan, often past 50,000 hours. The catch is simple. When the LED finally dies, you replace the entire fixture.
So choose by priority. Pick lamp-ready when easy service and future bulb swaps matter most. Pick integrated LED when you want the best efficiency, a sealed build, and the longest life.
Selection Guide by Application
The setting should drive your final pick. Use this guide to match type, wattage, and beam angle to the job.
Application | Recommended Type | Typical Wattage | Beam Angle |
Driveway / plaza | Round, drive-over, integrated LED | 6W–12W | 30°–60° wide |
Flower bed / garden | Round, adjustable | 3W–6W | 24°–40° medium |
Tree lighting | Adjustable, screw-adjust | 6W–15W | 10°–24° narrow |
Facade / wall wash | Linear or adjustable spot | 6W–18W | 10° narrow to graze |
Pathway | Small round, fixed | 1W–3W | 40°+ wide, low glare |
A quick rule helps here. The taller the target, the narrower the beam. A tall tree or a high facade needs a tight ten-degree beam to reach the top. A low garden bed or a path needs a wide beam to spread soft light across the ground.
Power Options
Finally, decide how you will power the run. This affects safety, cable distance, and install cost.
12VDC is the go-to for residential landscapes. It runs on low voltage, so it stays safe around gardens and water, and it is easy to install. The downside is voltage drop over long cable runs.
24VDC works like 12V but handles longer runs and more fixtures on one line, since it loses less voltage over distance. Larger gardens and small commercial jobs often use it.
120–240VAC connects straight to mains power. It suits big commercial and public projects where you need high output over a wide area. Because it is high voltage, a qualified electrician should handle the wiring.
Solar skips the cabling completely. You get easy, off-grid install for spots with no power nearby. Just know that output and runtime depend on sunlight, so solar fits accent and pathway use better than heavy-duty tasks.
Light Source, Color, and Controls
The fixture body protects the light, but the light source decides how it looks. Get these specs right, and your project reads clean and consistent instead of patchy and cheap.
Key Metrics to Check
Four numbers tell you most of what you need to know.
Lumens measure total light output. More lumens mean a brighter fixture, but brighter is not always better outdoors. A path needs far fewer lumens than a tall facade.
CCT (color temperature) sets the mood. A warm 2700K–3000K gives a soft, inviting glow that suits gardens and homes. A cooler 4000K+ looks crisp and modern, and it works well on commercial facades. Pick one CCT and stick to it, because mixing tones looks messy.
CRI (color rendering index) shows how true colors look under the light. Aim for CRI 80 or higher for landscapes, and CRI 90+ when you light plants, stone, or brand colors that must look real.
Efficacy measures lumens per watt. Higher efficacy means more light for less power, which cuts your running costs over the life of the install.
Color Options
Your color choice depends on the effect you want.
Single color fixtures give one fixed output, usually warm or neutral white. They cost less and suit most standard landscape jobs.
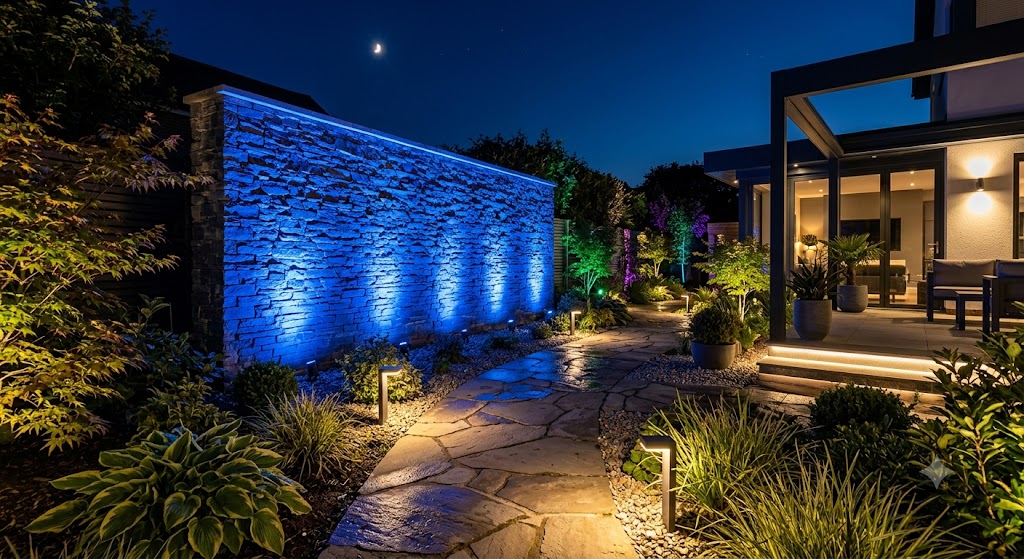
RGB mixes red, green, and blue to create colored scenes. RGBW adds a dedicated white chip, so you also get clean, usable white light, not just color. Dynamic color-changing models shift through scenes and effects, which hotels, bars, and feature facades love.
A quick note. Color fixtures need a compatible controller, so plan the control system before you buy.
Control Methods
How you control the lights shapes both cost and flexibility.
On/off is the simplest. The light runs at full output whenever it is powered.
PWM dimming lets you set brightness levels, which helps you tune the mood and save energy.
RGBW controllers manage color mixing for smaller color installs.
DMX is the professional standard for large projects. It gives you precise, addressable control over many fixtures at once, so you can run synchronized scenes across a whole facade.
Power Compatibility Notes
Always match the fixture, the driver, and the controller as one system. A DMX fixture needs a DMX-capable driver. A dimmable light needs a compatible dimming source. Mismatched parts cause flicker, failed dimming, or dead channels, so confirm compatibility with your supplier before you order.
Waterproofing, IP/IK Ratings, and Load Resistance
This is where most in-ground lights live or die. These fixtures sit in the worst spot for any electronic, and water and pressure are their biggest enemies.
IP65 / IP67 / IP68: Which Rating Suits Which Environment
The IP rating tells you how well a fixture keeps out dust and water. For in-ground use, the water number matters most.
IP65 resists water jets but not submersion. It is the minimum, and honestly, it is not enough for a fixture set into the ground.
IP67 survives temporary submersion up to one meter. This is a safe baseline for most in-ground lights, since soil holds water against the housing after rain.
IP68 handles continuous submersion. Choose it for spots that flood, sit in low ground, or stay wet for long periods. For any in-ground light, treat IP67 as the floor and IP68 as the safe choice.
Why Fixtures Leak or Fail
Water rarely gets in through one big flaw. It creeps in through small ones, and knowing them helps you judge a real product.
Housing density and thickness come first. A thin, porous casting lets moisture through over time. Look for a wall thickness above 2.5mm and a dense, well-cast body.
Tempered glass protects the lens against both impact and heat stress. Cheap lenses crack, and once the seal breaks, water follows.
Heat dissipation and condensation cause hidden failures. If a fixture cannot shed heat, the internal air cycles hot and cold, which pulls in moisture and fogs the lens from the inside.
A triple-sealing process is the mark of a serious product. Multiple seal points, potting, and quality gaskets work together, so no single point of failure lets water in.
IK Ratings and Drive-Over Load
Two more ratings tell you if a fixture survives physical stress.
The IK rating measures impact resistance. A higher IK number means the lens and body take knocks without cracking, which matters in public and high-traffic areas.
For driveways, the load rating is critical. A drive-over fixture must state the weight it holds, and good suppliers back it with a test method, such as a stated load in tons or a compliant crush test. Never assume a fixture is drive-over rated. Ask for the number and the test report.
Corrosion-Resistant Materials
In our field experience, the biggest challenge for in-ground lights in coastal and high-humidity environments is not waterproofing itself. It is long-term corrosion. Set into the ground, these fixtures face salt spray, high humidity, UV, temperature swings, and rain all acting together, so you have to consider the housing material and the surface treatment as one system, not two separate specs.
For in-ground use, the setups we have found reliable usually combine four things:
- a die-cast aluminum or aluminum-alloy body
- an outdoor-grade powder coating
- proper surface pretreatment before coating
- 304 or 316 stainless steel fasteners
For in-ground lights installed very close to the sea or in heavy salt-spray zones, we consistently see 316 stainless steel outperform both ordinary steel and 304 on critical exposed parts.
One point we want to stress from experience: the powder coating is not the only factor that matters. When in-ground fixtures later show blistering, peeling, white oxidation, or corrosion, the real cause is almost always inadequate surface pretreatment before coating, not the paint itself.
So for any coastal in-ground lighting project, judge the whole chain rather than one spec in isolation:
Material + Surface Pretreatment + Powder Coating + Fasteners + Waterproof Design
Installation and Wiring Best Practices
Even a well-built in-ground light can fail early if it is installed poorly. Most long-term problems trace back to installation, not the fixture itself.
Before you start, cut the power at the source, inspect the fixture and gasket for shipping damage, and confirm the burial depth and sleeve position match the lighting plan. Set embedded sleeves before pouring or backfilling, since a misaligned in-ground light is difficult to move once paving is in place.
Drainage matters more than most people expect. In-ground lights sit exactly where water collects, so the fixture should never rest in standing water. A gravel bedding layer under a correctly sized mounting sleeve lets water drain away and keeps the body off direct soil contact.
Wiring layout affects both safety and performance. A daisy-chain is simpler to run, but on long low-voltage runs it increases voltage drop, so the last fixtures look dimmer. A star (home-run) layout keeps voltage more consistent. For buried connections, use gel-filled connectors and an IP67/68 junction box, and always run VDE-certified waterproof cable rather than indoor wire.
Procurement and Supplier Checklist
For buyers and specifiers, choosing the right in-ground light is as much about the supplier as the product.
Start with documentation for the exact model you plan to buy, not a generic catalog. Ask for the photometric report (LM-79), IP and IK test reports, salt-spray test results for coastal use, and market certifications such as CE, RoHS, and UL. If a supplier can only provide reports for a similar model, treat the stated ratings as unverified.
Then check that quality is repeatable, not a one-off sample. A reliable supplier can share production and QC records, offer a pre-shipment sample for approval, provide failure-rate or return-rate data, and state warranty terms in years with clear coverage. For branded or project work, confirm what is customizable (faceplate, finish, optics, beam angle) along with MOQ, lead time, and whether pricing is factory-direct.
Use this quick pre-order check:
- LM-79, IP/IK, and salt-spray reports match the exact model
- CE / RoHS / UL as required by your market
- Housing material and fastener grade (aim for 316 stainless in coastal areas) confirmed in writing
- Warranty term, coverage, and failure-rate data provided
- MOQ, lead time, and customization options agreed
When comparing quotes, weigh certification, total cost of ownership, and warranty together. The lowest price rarely wins once you add failure rates and the labor of digging out and replacing installed fixtures.
FAQs
How long do in-ground lights usually last?
A quality integrated LED in-ground light is typically rated for 30,000 to 50,000 hours, which is roughly 8 to 15 years of normal use depending on run time and heat conditions. Lamp-ready fixtures depend on the bulb life, but the housing itself should last far longer. In practice, most in-ground lights fail early from water ingress or corrosion rather than the LED wearing out, so build quality often decides real lifespan more than the rated hours.
How far apart should in-ground lights be spaced?
Spacing depends on the effect and the beam angle, not a fixed rule. For pathway marking, fixtures are often placed every 1.5 to 3 meters for even coverage. For wall washing or facade grazing, spacing is usually tied to the height being lit and the beam width, so lights sit closer together for a smooth wash and farther apart for individual pools of light. It is worth doing a small on-site mock-up before committing to the full layout.
Can in-ground lights be repaired, or do they have to be replaced?
It depends on the design. Lamp-ready fixtures allow a simple bulb swap without disturbing the seal. Integrated LED units are usually sealed for waterproofing, so the LED itself cannot be serviced, and a failed light means replacing the whole fixture. Serviceable parts are generally limited to the driver or the buried junction box, not the sealed body. If long-term serviceability is a priority, factor this into your choice between lamp-ready and integrated LED early.
Are in-ground lights suitable for cold climates and freeze-thaw conditions?
Yes, but the details matter. Repeated freezing and thawing stress the seal and can trap water that expands as it freezes, so drainage below the fixture becomes even more important in cold regions. Choose a fixture rated for a wide operating temperature range, confirm the driver is rated for low temperatures, and make sure meltwater and ice cannot pool directly on the lens. Poor drainage, not the cold itself, is the usual cause of winter failures.
Conclusion
With in-ground lights, the smart choices happen before installation, not after. Match the type and beam angle to each setting, treat IP67 as your baseline and IP68 for wet or low-lying areas, and judge corrosion resistance as a full system of material, pretreatment, coating, and fasteners. Get these decisions right and your outdoor lighting stays clean, safe, and reliable for years instead of failing after the first hard season.
If you are still weighing your options, start by matching one fixture to one setting, confirm its IP, IK, and load ratings against the actual conditions, and ask any supplier for the test reports on that exact model. That single habit filters out most of the products that fail early.
Buy In-Ground Outdoor Lights from RC Lighting
As a manufacturer specializing in outdoor lighting, we help specifiers, distributors, and project buyers choose in-ground fixtures built for their real environment, from corrosion-resistant coastal builds to drive-over rated driveway units. Every model is backed by LM-79, IP, IK, and salt-spray test reports, with CE, RoHS, and UL support and full OEM/ODM customization.
Tell us about your project, and we will help you match the right specification, material, and finish.