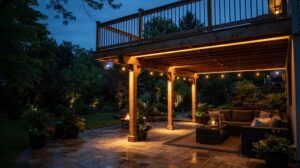
Choosing between path lights and in-ground lights sounds simple, until you price a full commercial project and the numbers stop matching your intent. Both fixtures light outdoor spaces. Yet they solve different problems, carry different failure risks, and cost you very differently over ten years. Pick wrong, and you either blind pedestrians with glare or bury a fixture that floods every rainy season.
Over the years we have reviewed enough failed installs to know where these two fixtures quietly go wrong. So instead of repeating brochure language, we will show you how to decide by load, visibility, and maintenance access.
Here is the short version before we dig in.
The 60-Second Verdict
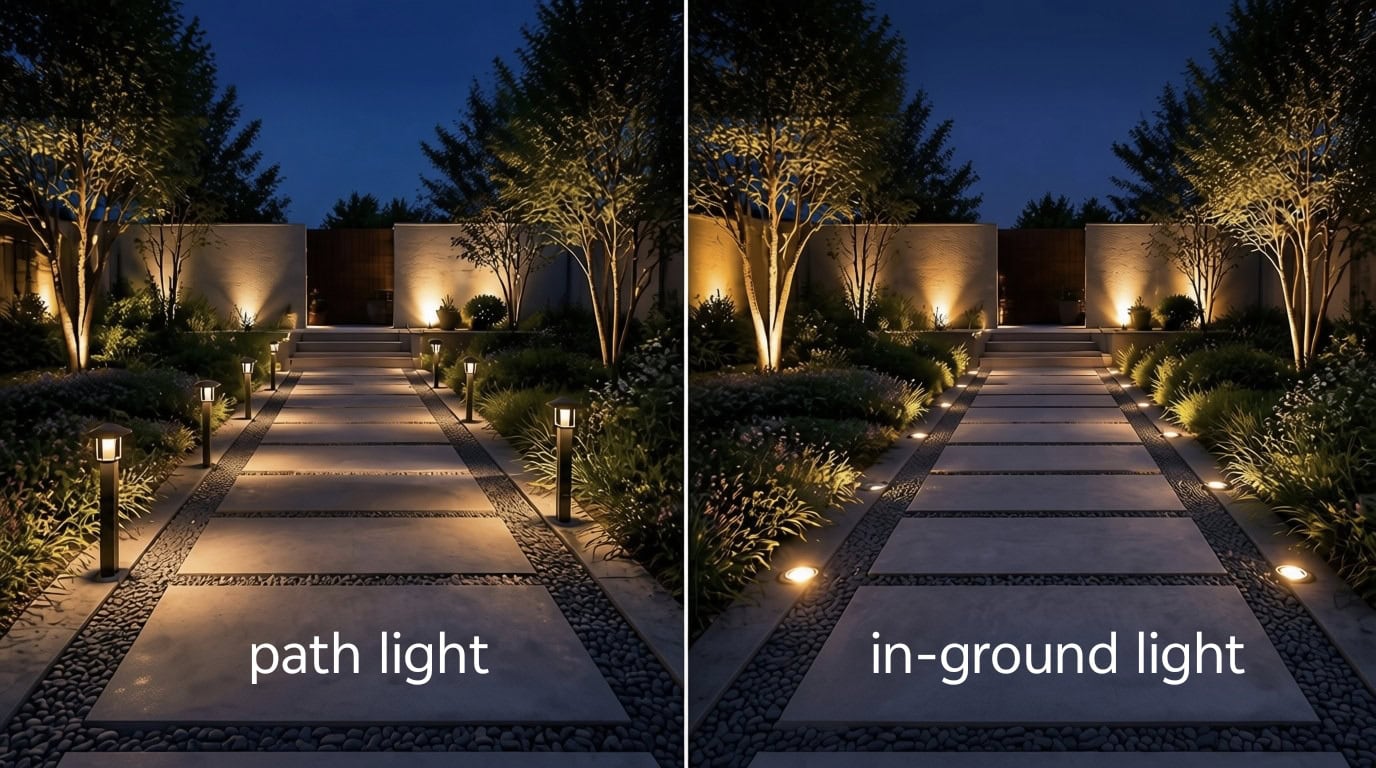
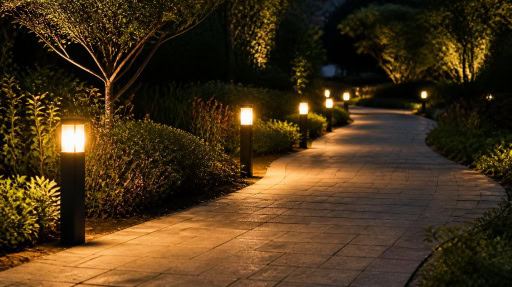
Path lights win when you light a walking route and value easy service. You mount them above grade, so you can reposition, clean, or replace them without trenching. They spread soft, downward light across sidewalks, garden edges, and hospitality walkways. This makes them the safer default for pedestrian zones.
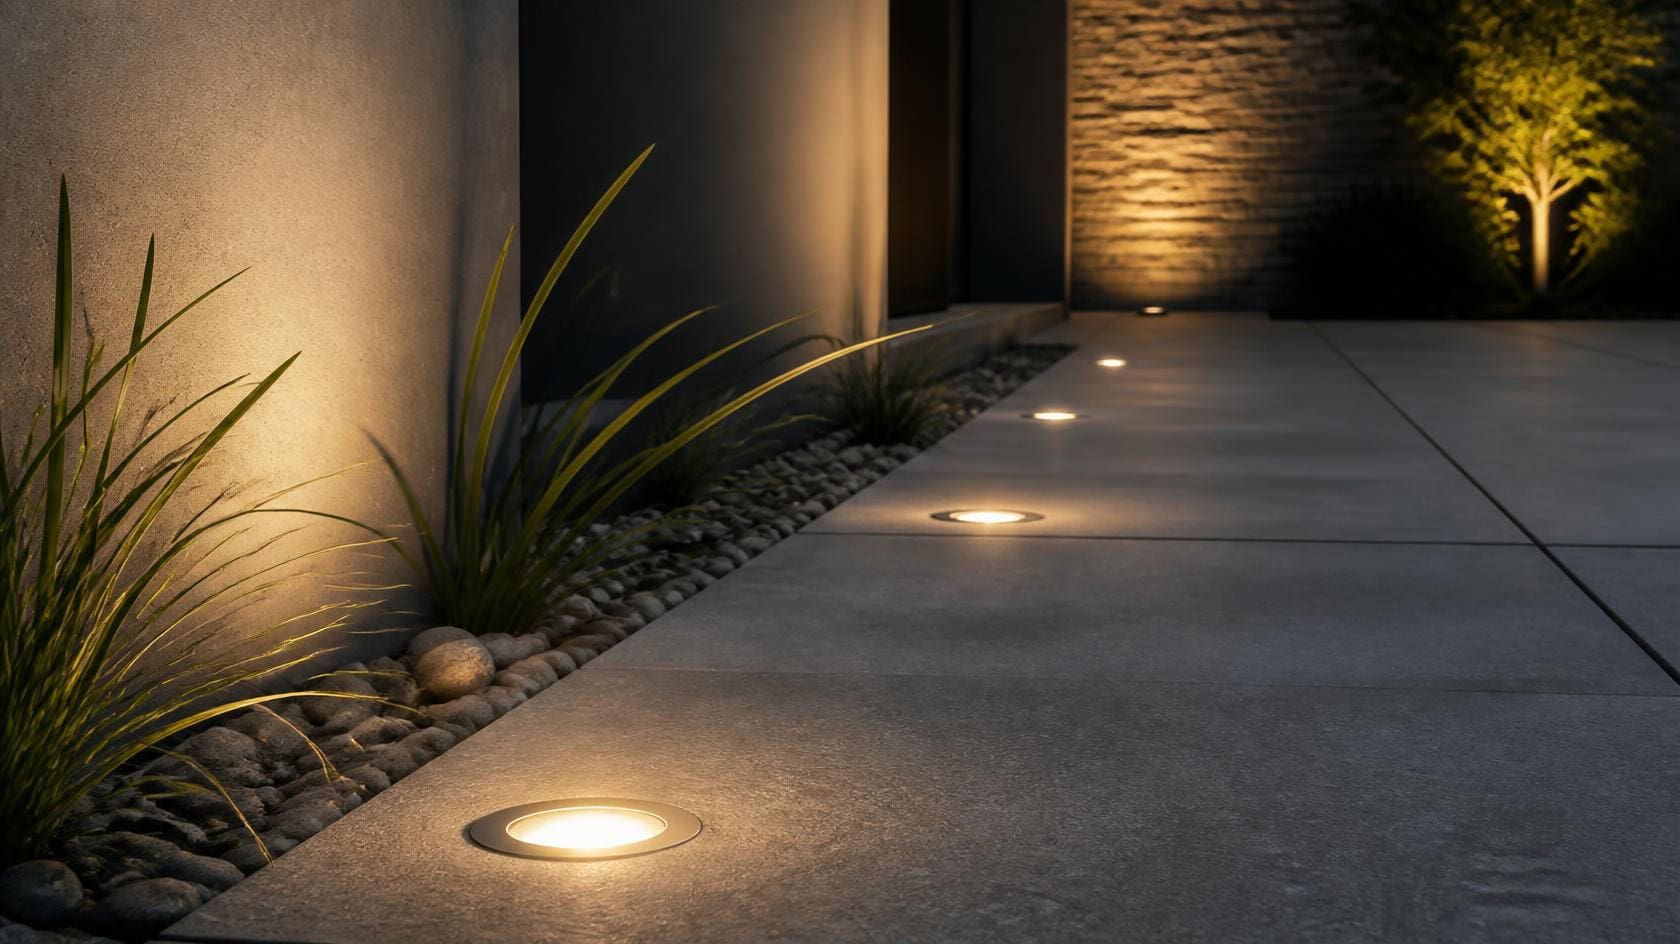
In-ground lights win when you want the fixture to disappear and the light to do the talking. You set them flush into paving or soil, then aim the beam up a wall, a tree, or a facade. They handle drive-over zones that path lights cannot survive. In return, they demand higher IP ratings, careful drainage, and a real maintenance plan.
As a quick rule, choose path lights for visibility and service, and choose in-ground lights for concealment and vehicular loads. The rest of this guide explains when that rule bends.
How We Compare Them
To keep every decision consistent, we judge both fixtures against the same five criteria. You will see these repeated in each section:
- Lighting performance covers usable lumens, beam control, and spacing.
- Durability and protection covers IP ratings, IK impact ratings, and corrosion resistance.
- Installation and access covers labor, mounting, and how easily you service the fixture later.
- Safety and standards covers electrical compliance, glare control, and tamper resistance.
- Lifecycle cost covers upfront spend plus energy and maintenance over ten years.
Good landscape lighting balances all five. A fixture that scores high on looks but fails on service access will cost you more than it saves. With that framework set, let’s start where most buyers start, with a side-by-side comparison of the specs.
Quick Comparison: Specs, Light Distribution, And Aesthetics
Start here if you want the fast read. This section lines up both fixtures on the specs that matter, then explains how they light, how they look, and how the public perceives them. Use it as a filter, then dig into the sections that fit your project.
Side-by-Side Specification Table
Spec | Path Lights | In-Ground Lights |
Primary job | Light the walking surface | Uplight walls, trees, facades |
Mounting | Above grade, on a stem or base | Flush, set into paving or soil |
Light direction | Downward and outward | Upward and directional |
Typical lumen range | 100 to 300 lm per fixture | 200 to 900 lm per fixture |
Typical IP rating | IP44 to IP65 | IP67 to IP68 |
Impact / load rating | Low, not rated for traffic | IK08 to IK10, drive-over models exist |
Install labor | Low to moderate | High, needs sleeves and drainage |
Service access | Easy, replace at grade | Hard, often needs excavation |
Common materials | Aluminum, brass, polymer | Marine brass, 316 stainless, tempered glass |
Best fit | Sidewalks, gardens, hospitality paths | Plazas, driveways, architectural features |
Read the table by your project’s main goal. If people mostly walk the space, your answer leans left. If you want to show off a surface or carry vehicle loads, it leans right.
Light Distribution and Coverage Patterns
Path lights and in-ground lights cover space in opposite directions. Path lights throw a soft pool of light down onto the ground, so coverage reads as a series of overlapping circles along a route. Get the spacing right, and those circles blend into a smooth, even path.
In-ground lights do the reverse. They send a controlled beam upward, so coverage reads as a shaft or wash on a vertical surface. You are not lighting the ground here. You are lighting the wall, the trunk, or the column above the fixture.
So the two rarely compete for the same job. Path lights answer “can I see the walkway,” and in-ground lights answer “does this surface look good at night.”
Visible vs Concealed Aesthetics and Layered Lighting
Aesthetics split along the same line. A path light is a visible object. It becomes part of the daytime landscape, so its finish, height, and shape all matter to the design.
An in-ground light is meant to vanish. By day you see a small flush plate, and by night you see only the effect. This is why designers reach for in-ground fixtures when the architecture should be the star, not the hardware.
The best commercial schemes layer both. You use path lights for the functional base layer that keeps people safe, then add in-ground uplights as an accent layer that gives the space depth and drama. Layering this way lets each fixture do one job well instead of forcing one product to do everything.
Glare and Light-Pollution Perception in Public Spaces
Public perception is where projects get complaints. Path lights create glare when the source sits exposed in a dark scene, so an uncapped fixture reads as a bright dot the eye keeps snapping to. Shielded or full-cutoff models fix this by aiming light down and hiding the source.
In-ground lights create glare in the opposite way. Because they point up, a poorly placed unit can shine straight into the eyes of anyone standing over it. Near seating and entries, that upward beam feels harsh and cheap.
Both fixtures also shape how a space handles light pollution. Downward path lights and well-aimed uplights keep stray light on target, which matters for dark-sky compliance and for keeping neighbors happy. Judge glare by the viewer’s position, not by the datasheet.
Lighting Performance And Technical Design
Specs on a page mean little until you translate them into light on a surface. This section shows how each fixture performs in the field, and how to pick the right electrical and optical setup for the job.
Path Lights: Pedestrian-Safety Lumen Ranges and Spacing
For pedestrian routes, more light is not always better. Most commercial walkways read well with path lights in the 100 to 300 lumen range per fixture. Push much higher, and you trade comfort for glare without making anyone safer.
Spacing is what turns single fixtures into a usable path. As a working rule, plan spacing at roughly two to three times the mounting height, then adjust for lumen output and beam spread. Space them too far apart and you leave dark gaps between bright pools, which is exactly where trips and near-misses happen.
Tip: For pedestrian comfort, favor warm color temperatures around 2700K to 3000K with cutoff optics. This keeps the walking surface bright while keeping the source out of the sightline.
In-Ground Lights: Architectural Uplighting and Hardscape Placement
In-ground lights live and die by placement. Set one right at the base of a wall or tree, and the beam grazes upward to reveal texture and form. Set it a foot too far out, and you light empty air instead of the surface.
Beam angle is your main lever. A narrow beam carries light up a tall tree or a column, while a wider beam washes a low wall evenly. In hardscape, plan the fixture location during the paving layout, not after, so you can set sleeves and drainage before the surface is poured.
Example: A 20-foot tree usually wants a narrow spot beam to push light into the canopy, while a 3-foot garden wall wants a wide flood to light it evenly without hot spots.
Line-Voltage vs Low-Voltage, and Optic Selection
Voltage choice shapes your whole install. Low-voltage systems, usually 12V or 24V, are safer to handle, easier to adjust, and common in gardens and hospitality landscapes where crews reposition fixtures often. Line-voltage systems, running at 120V or 230V, suit large runs and higher-output fixtures where you want fewer transformers.
Optics matter just as much as voltage. Match the beam angle to the target, then add accessories to refine it. A honeycomb louver or glare shield tames the visible hotspot on an uplight, and a frosted lens softens a path light’s pool.
Tip: Add a glare shield or louver on any in-ground uplight near a pedestrian zone. It cuts the hotspot people complain about while keeping the upward beam intact.
Lamp-Ready vs Integrated LED, and Thermal Management
You will also choose between lamp-ready and integrated fixtures. Lamp-ready units take a replaceable LED lamp, so you swap a failed source without pulling the whole fixture. Integrated LED units seal the source inside, which lifts the IP rating but means you replace the whole fixture at end of life.
This choice matters more for in-ground lights. Path lights sit above grade, so either type is easy to swap. Pulling a sealed in-ground unit means excavation, so a lamp-ready design there often pays for itself.
Heat is the hidden factor. Path lights cool in open air, while in-ground lights trap heat in a sealed, buried housing. So scrutinize thermal management, good heat sinks and quality drivers, hardest on high-output in-ground models where trapped heat quietly kills the LED early.
Durability And Protection: IP, IK, And Materials
This is where the two fixtures stop being interchangeable. A path light lives above the water. An in-ground light often lives in it. That single difference drives every rating below.
Required IP Ratings for Path vs In-Ground Use
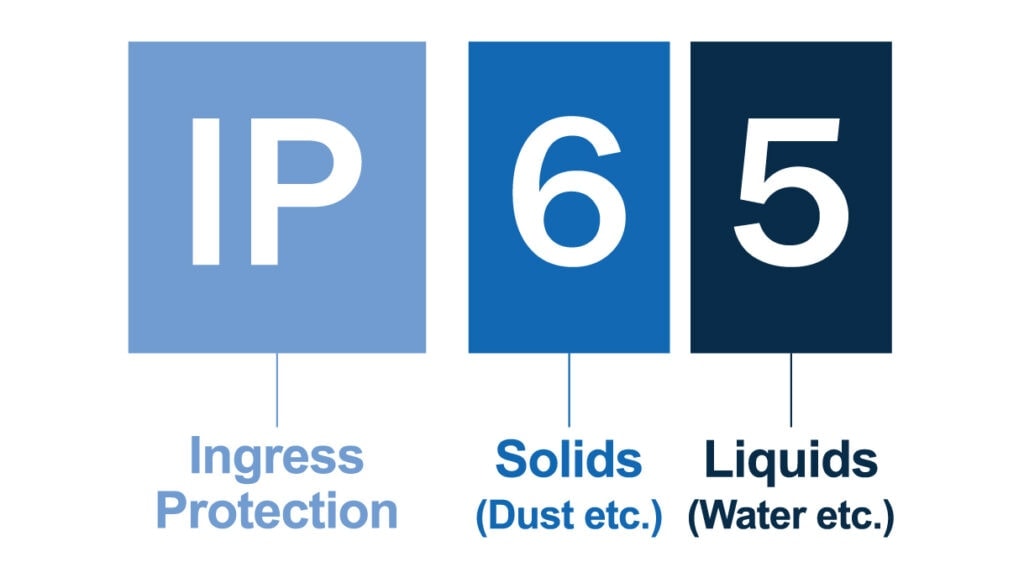
The IP rating tells you how well a fixture keeps out dust and water. The second digit is the one that separates these two products.
Path lights sit above grade, so they mainly face rain and splash. IP44 to IP65 covers most commercial walkway use, with IP65 the safe default for exposed sites.
In-ground lights face standing water and, in low spots, full submersion. That pushes the floor up to IP67, and to IP68 for any fixture that can sit underwater after a storm. Spec below IP67 for an in-ground unit, and you are buying a future warranty claim.
Tip: IP67 means protection against temporary submersion; IP68 means continuous submersion. If a fixture sits in a spot that pools during rain, write IP68 into the spec, not IP67.
Required IK Impact Ratings, Especially Drive-Over Zones
Water is only half the story for in-ground fixtures. The other half is load. The IK rating measures impact resistance, and it becomes critical the moment a fixture can be stepped on or driven over.
Path lights carry little to no traffic load, so IK is a minor concern beyond basic vandal resistance. In-ground lights in walkways want IK08 or higher, and any fixture in a driveway, parking lane, or plaza that vehicles cross needs a rated drive-over housing, typically IK10 with a stated load rating in kilonewtons or tons.
Never assume an in-ground light is drive-over rated by default. Many are not. Match the rating to the heaviest wheel that will cross it.
Corrosion-Resistant Materials for Each Fixture
Materials decide how long the rating actually lasts. A great seal on a corroding body still fails.
Path lights hold up well in aluminum, brass, or quality polymer, since they dry between rains. In-ground lights sit in wet, mineral-rich soil that eats cheap metal, so they demand marine-grade brass or 316 stainless steel with a tempered glass lens. Coastal and pool-adjacent sites raise the bar further, where salt attacks anything less.
How Site Environment Sets the Minimum
Let the site set the floor, then spec up from there. A dry inland courtyard tolerates the lower end of each range. A coastal hotel, a poolside deck, or a low-lying plaza that floods every season pushes you to IP68, IK10, and 316 stainless as the starting point.
Installation, Access, And Maintenance Compared
Two fixtures, two completely different days on site. This section compares what it takes to install each one, and what it costs you to keep them running for years after.
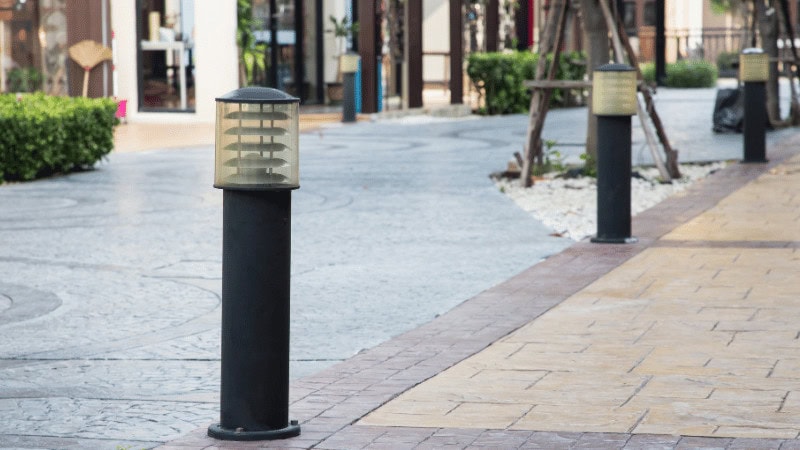
Path Lights: Staking, Cable, and Serviceability
Path lights are the simpler install. Most stake or anchor into soil, then connect to a low-voltage cable run just below grade. A crew can lay out, adjust, and energize a run in a fraction of the time an in-ground job takes.
They stay serviceable for life. Because the fixture sits above grade, you clean the lens, swap the lamp, or reposition it by hand, with no digging. The trade-off is exposure: path lights take hits from mowers, foot traffic, and vandals, so specify impact-resistant housings and mowing-durable bases in high-traffic zones.
In-Ground Fixtures: Sleeves, Drainage, and Access
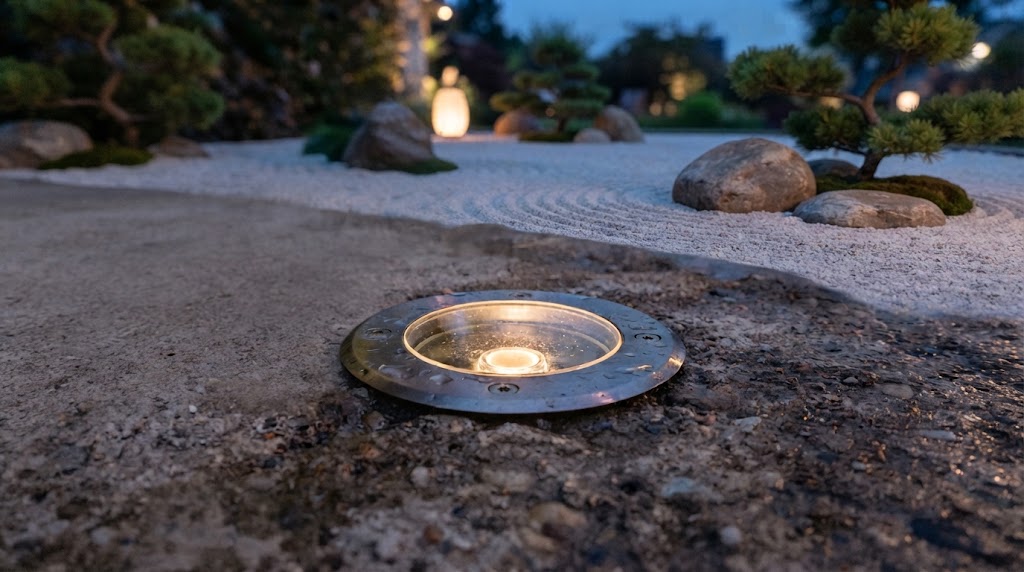
In-ground fixtures are a construction task, not a plug-in. You trench and run conduit, then set the fixture in a mounting sleeve with a gravel drainage bed underneath so water moves away instead of pooling against the seal. Skip the gravel, and the fixture sits in a bathtub.
Service is the hard part. Plan access clearance so a technician can reach the faceplate, and specify the correct faceplate torque on reassembly, because over- or under-tightening breaks the seal. Getting sealing right at install is what keeps IP67 an actual IP67 three years later, which is why crews that log the torque spec at handover see far fewer ingress failures than those that skip it.
Installation Labor and Complexity Compared
The labor gap is large. Path lights are low to moderate effort, driven mostly by fixture count and cable length. In-ground lights are high effort, since trenching, sleeves, drainage, and sealing all add hours per fixture, and much of it must happen before paving is finished.
Sequence matters most for in-ground work. Miss the paving window, and you are cutting hardscape later at real cost.
Long-Term Durability and Repositioning
Durability and access pull in opposite directions.
Path lights sit above grade, so they take hits from mowers, snow gear, and vandals, making impact their main failure mode. The upside: a damaged unit is a quick swap, and you can reposition the layout anytime.
In-ground lights flip this. Sealed into paving, they shrug off traffic that would wreck a stake light, so their housings often outlast path fixtures. Their real risk isn’t impact but slow water ingress as seals age. And every repair means lifting the fixture, sometimes the paving too.
Match the choice to the threat: path lights for impact and flexibility, in-ground lights for traffic load and tamper resistance, as long as the sealing stays sound.
Safety, Standards, And Lifecycle Cost
The last filter is compliance and money.
A fixture can light beautifully and still fail an inspection or quietly drain the maintenance budget. Here is how to check both before you commit.
Applicable Electrical Standards
Both fixtures must meet the electrical standards for your market. In North America, that means UL or ETL listing rated for wet or in-ground locations. In Europe and much of Asia, it means CE marking against the relevant IEC standards.
The catch for in-ground use is that the listing must specifically cover submersion, not just outdoor exposure. A fixture rated for rain is not automatically rated to sit in water. Check the listing category, not just the logo.
Grounding, Surge, Spill Control, and Tamper Resistance
Beyond the listing, four safeguards separate a compliant commercial install from a liability.
Line-voltage fixtures need proper grounding, which is non-negotiable for public safety. Long outdoor runs need surge protection to shield LED drivers from voltage spikes, a cheap defense against expensive driver failures.
Photometric spill control through shields and optics keeps light on target, which matters for dark-sky compliance and for neighbors who don’t want glare in their windows. In public or unsupervised zones, tamper-resistant housings with security fasteners cut vandalism and theft.
The emphasis shifts by type. Path lights, being exposed and reachable, lean harder on tamper resistance. In-ground fixtures lean harder on grounding and submersion-rated sealing.
Capex vs Opex Over the System Life
Sticker price hides the real number. Capex is the fixture plus the labor to install it. Opex is the energy and maintenance you carry for the next decade.
Path lights run a higher fixture count but a low install and low service cost, since you work at grade. In-ground lights invert that: fewer fixtures in some designs, but far higher install labor from trenching, sleeves, and sealing, plus higher service cost because many repairs mean lifting paving.
Energy comes out roughly equal per lumen once you use quality LEDs. So the real difference over ten years is maintenance hours, not watts. Every in-ground service call that requires access costs more labor than a path-light swap that takes minutes.
Projected 10-Year Lifecycle Cost
Put it together and the pattern is clear. Path lights carry a lower total cost of ownership, because their modest fixture price and cheap, at-grade servicing outweigh the higher unit count.
In-ground lights are front-loaded and stay more expensive to maintain, since access drives every repair and any skipped sealing raises the risk of water-ingress failures down the line.
That doesn’t make in-ground the wrong choice. It makes it a deliberate one. Spec in-ground where concealment, uplighting, or drive-over load is the actual requirement, and accept the lifecycle premium as the price of that performance.
Choose path lights where flexibility and low running cost matter more. Let the total ten-year cost, not the fixture invoice, guide the call.
Procurement Checklist And Decision Workflow
Once the design is set, procurement is about writing a spec suppliers can quote and you can verify.
Minimum Spec Fields
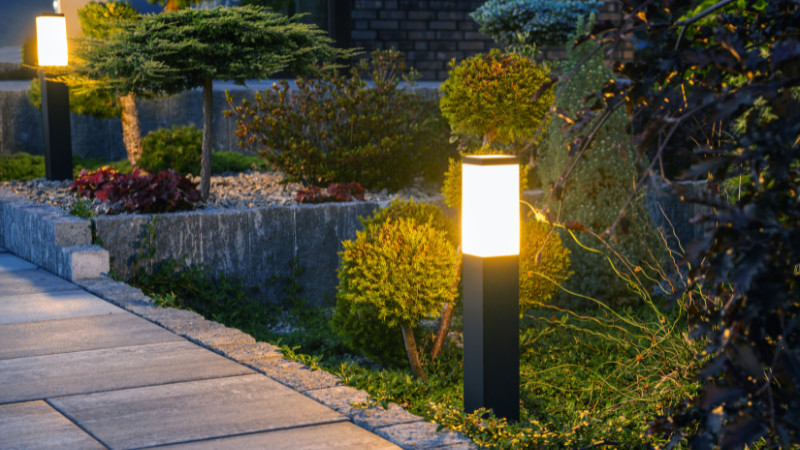
For path lights, define mounting height, lumen output, beam distribution, CCT, CRI, IP rating (IP65+), housing material, and voltage.
For in-ground lights, add three fields path lights don’t need: certified load rating, submersion IP class (IP67 minimum), and sealing type with service life.
What to Require From Suppliers
Ask for certified test reports, not claims: LM-79 photometrics, IP results, and a load test for in-ground units.
Pin down warranty and SLA, and if customizing, confirm OEM/ODM capability, lead times, MOQ, and acceptance-testing criteria in writing.
Decision Workflow
Filter every fixture through three questions in order.
Visibility: seen as a design element (path lights) or hidden in the surface (in-ground)?
Load: will vehicles cross it? Any vehicular load requires a load-rated in-ground unit.
Maintenance access: if lifting paving is unacceptable, favor path lights or spec access sleeves.
Scenario Recommendations
Building facade: in-ground uplights for clean, concealed grazing light.
Drive-over parking or driveway: load-rated in-ground fixtures, tested rating confirmed.
Hospitality pedestrian areas: path lights for flexibility, easy servicing, and warm ambiance.
FAQs
Can I mix path lights and in-ground lights on the same low-voltage circuit?
Usually not on the same run without checking the load budget. In-ground uplights often draw more watts and may sit at a different cable distance, so combining them on one transformer tap can cause voltage drop that dims the far fixtures. Keep high-draw in-ground uplights on their own tap or circuit, and group path lights separately. This also lets you switch or dim the accent layer independently from the safety layer.
Which spec gets overlooked most often during selection?
Thermal management in in-ground fixtures. Path lights cool naturally in open air, but in-ground units trap heat inside a sealed, buried body. If a high-output in-ground fixture has a weak heat sink or driver, that trapped heat quietly shortens LED life without showing up anywhere on the datasheet. So when you spec high-output in-ground models, scrutinize thermal design even harder than the IP rating.
Can I plan in-ground lighting after the hardscape is designed, or does it have to come first?
It has to come first. In-ground fixtures need sleeves, conduit, and drainage set before paving is poured, so the lighting layout must be locked during the hardscape design, not added afterward. Miss that window and you’re cutting finished paving later at real cost. Path lights are far more forgiving here, since they mount above grade and can be repositioned anytime.
Can I reuse existing in-ground housings when upgrading fixtures later?
Only if you spec compatible, standardized sleeves and lamp-ready designs up front. If the original units are sealed integrated fixtures in proprietary housings, a future upgrade usually means a full excavation and new sleeve. Buyers planning a long service life should confirm sleeve compatibility and source availability before committing, so a fixture upgrade in year six doesn’t turn into a paving job.
Conclusion
The choice between path lights and in-ground lights isn’t about which fixture is better. It’s about which problem you’re actually solving.
If people walk the space and you want easy service for years, path lights are the safer default. If the surface should carry the light and the hardware should disappear, or vehicles will cross the fixture, in-ground lights earn their higher install and lifecycle cost.
Most strong commercial schemes don’t pick one. They use path lights as the functional safety layer and in-ground uplights as the accent layer, letting each fixture do one job well.
Before you finalize the spec, run every fixture through the same three filters: visibility, load, and maintenance access. Then let the ten-year cost, not the fixture invoice, decide the close calls. Spec the ratings the site demands, require certified test reports rather than claims, and confirm sealing, load rating, and service access in writing.
Get those pieces right, and you defend every line item long after the install crew leaves.
Choose the Right Fixture With RC Light
If you’re pricing a commercial project and need fixtures that hold their ratings in the field, work with a manufacturer that builds to the spec instead of relabeling stock. As a landscape lighting manufacturer, we produce both path lights and in-ground fixtures to the sealing, load, and rating requirements commercial sites demand, and we back every unit with LM-79 photometrics, IP and IK test results, and load-test reports you can verify before you commit.
Contact our team to review your lighting layout, or request a quote. We’ll return matched fixtures with the certifications your inspection requires.