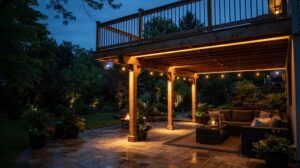
A stone or brick wall can look flat and dull at night. Most people blame the wall. Usually the real problem is the lighting angle. Wall grazing lighting fixes this. It skims light across the surface at a very shallow angle. Every ridge, joint, and grain then casts its own shadow, and the texture comes to life.
We’ve commissioned a lot of facade projects, and the same lesson keeps repeating. Get three things right, and even a plain wall looks sculpted. Those three things are the grazing angle, the mounting distance, and the beam angle.
This guide walks you through all of them. First we explain what grazing is and how it works. Then we cover the exact numbers: how far to mount the fixtures, how to space them, which beam angle suits which texture, and when a tall wall needs light from both directions. By the end, you’ll be able to plan and buy the right fixtures with confidence.
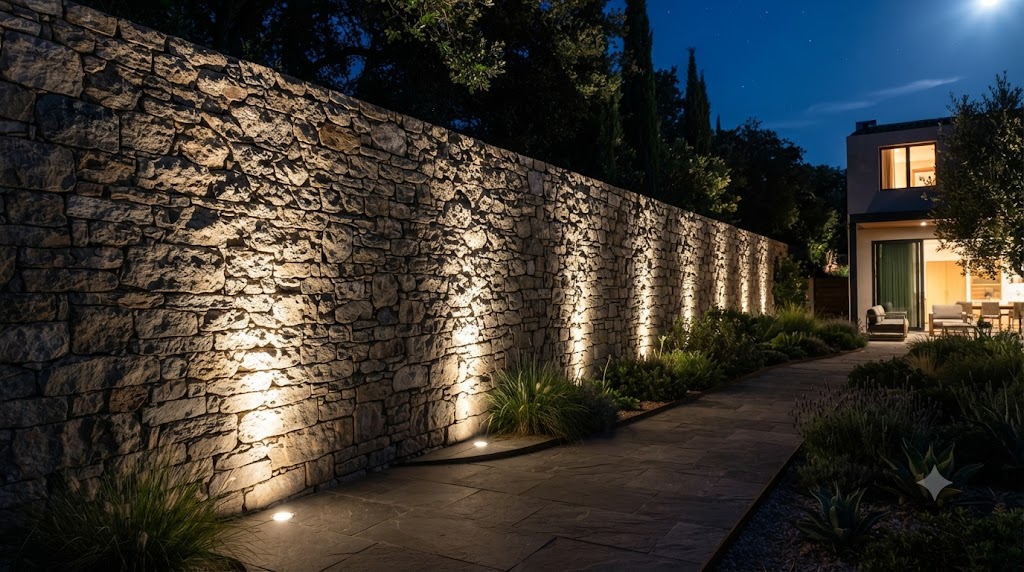
What Is Wall Grazing Lighting?
Wall grazing lighting sends light across a wall at a very shallow angle. The fixture usually sits close to the base or the top. From there, the light travels almost parallel to the surface. It strikes each raised element from the side rather than head on.
This creates deliberate contrast. Every bump catches the light. Every recess behind it falls into shadow. That mix of highlight and shadow is exactly what makes texture stand out. And the rougher the surface, the stronger the effect becomes.
So here’s the core idea. Grazing does not try to light the wall evenly. It uses shadow to reveal texture. That’s why designers reach for it on natural stone, split-face brick, board-formed concrete, and textured wood. On these surfaces, the material’s character is the whole point.
Because grazing relies on shallow-angle shadow, it works very differently from wall washing.
Washing floods a surface with even light from farther away. It softens shadows and hides flaws. Grazing does the opposite. It pushes texture forward and makes it dramatic.
Picking the wrong one is one of the most common planning mistakes on facade jobs. If you want the full comparison, read our guide on wall grazing vs wall washing.
For this guide, the point is simple. If you want texture to be the hero, grazing is the right tool. What decides success is the angle, the distance, and the beam. We’ll break those down next.
The Core Parameters That Make Grazing Work
Good grazing comes down to numbers. Three of them do most of the work. You set the mounting distance, the spacing, and the beam angle. Get these right and the wall looks intentional. Get them wrong and you see hot spots, dark gaps, or flat lighting with no drama at all.
Let’s go through each one in order.
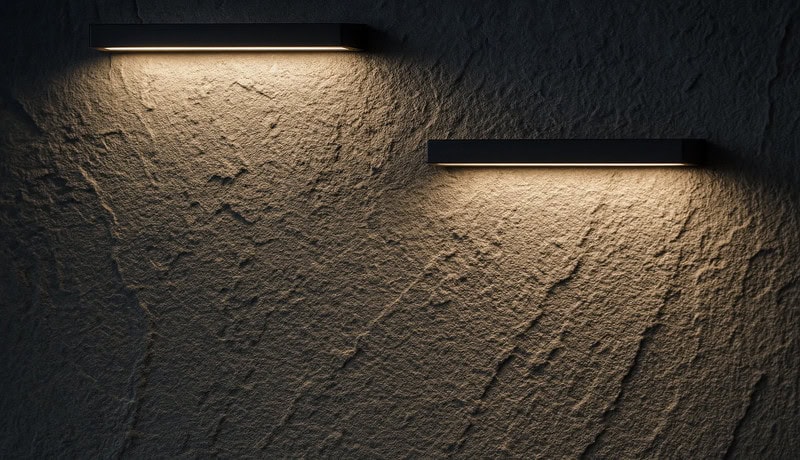
How Far From the Wall Should You Mount the Fixture?
This is the number people get wrong most often. For true grazing, you want to mount the fixture very close to the wall, usually between 2 and 8 inches out. That’s roughly 50 to 200 millimeters. The closer you sit, the shallower the angle, and the deeper the shadows become.
Distance changes the whole look. Sit too far away and the light hits the wall more directly. Shadows shrink, and the effect starts to resemble a soft wash instead of a graze.
On a lot of jobs, we see fixtures mounted a foot or more off the wall because that spacing was easy to detail into the base. The wall then reads flat, and everyone assumes the lights are too weak. Nine times out of ten the fix is free. Move the fixtures back toward the wall until the shadows return, before you order brighter fixtures or add more of them. Mounting distance is the cheapest correction on the whole project, so check it first.
How Far Apart Should the Fixtures Be?
Spacing controls evenness. Space the fixtures too far apart and you get bright columns of light with dark valleys between them. That scalloped look can be nice on purpose. Most of the time, though, clients want a more continuous wash of texture.
A safe starting point is simple. Set the on-center spacing roughly equal to the wall height for a continuous effect. So a 10-foot wall wants fixtures about every 10 feet. From there you adjust. Want more overlap and softer transitions? Bring them closer. Want distinct scallops? Push them farther apart.
Beam angle affects this too, which brings us to the next parameter.
Which Beam Angle Suits Which Texture?
Beam angle decides how the light spreads as it climbs the wall. A narrow beam stays tight and intense. A wider beam spreads out and softens. The rougher the texture, the narrower the beam you usually want, because a tight beam digs sharper shadows into every ridge.
Here’s a quick reference to start from:
Surface texture | Suggested beam angle | Result |
Deep stone, split-face brick | 5° to 10° | Sharp, dramatic shadows |
Medium stucco, board-formed concrete | 10° to 15° | Balanced texture and coverage |
Light texture, fine stone | 15° to 25° | Softer, more even reveal |
Treat these as starting points, not fixed rules. Wall height, material color, and mounting distance all shift the result. When you can, mock up one fixture on the real wall at night before you commit to a full order. That single test on site saves far more money than any spec sheet comparison.
Wall Height & One-Way vs Two-Way Grazing
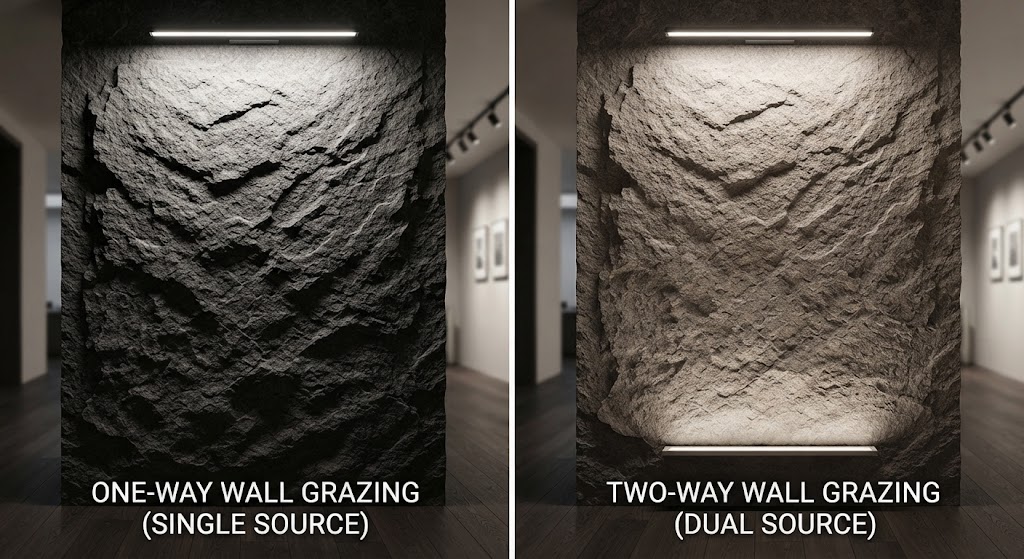
Wall height changes everything about how you plan a graze. Light loses intensity as it travels up the surface. On a short wall that loss is small. On a tall wall it becomes the whole problem.
For lower walls, grazing from a single direction works fine. You mount a row of fixtures at the base, aim up, and the beam reaches the top with enough energy left to hold the shadows. The texture stays consistent from bottom to top.
Tall walls behave differently. Once a wall passes roughly 12 to 15 feet, one-way grazing usually can’t cover it evenly. The bottom looks sharp and dramatic. The top looks tired, dim, and flat, because too little light survives the climb.
The fix is two-way grazing. You mount one row at the base aiming up and a second row at the top aiming down. The two beams overlap in the middle and keep the shadows even across the full height. On tall facades, this is often the only way to get a clean result.
The catch is that this has to be planned early. On several projects we’ve seen teams design a single base run to save budget, then discover the upper third of a tall facade looks washed out at night. Adding a top row afterward means new conduit, new mounting details, and reopening finished work. If the wall is tall, budget both runs from day one, because retrofitting the second row costs far more than installing it during the original build.
Best Surfaces & Applications
Grazing isn’t right for every wall. It rewards texture and punishes flatness, so the surface has to earn it.
Surfaces That Graze Well
The best candidates have strong, consistent relief, where every ridge and joint casts its own shadow:
- Split-face and stacked stone: the deep, irregular faces throw hard shadows that make the wall look almost sculptural.
- Brick and exposed masonry: the recessed mortar lines catch shadow along every course, giving a crisp, repeating rhythm.
- Board-formed concrete: the timber grain and board seams read beautifully under a low, raking beam.
- Rough stucco and heavily textured tile: the fine surface relief picks up subtle shadow that adds depth without drama.
The more three-dimensional the surface, the stronger the effect.
Surfaces to Avoid
Smooth walls are the wrong choice. A flat plaster wall or a sleek painted surface has almost no relief for the light to catch, so instead of texture you mostly see the fixtures’ hot spots and any small dents in the plane. Smooth walls want washing, not grazing, because even light flatters them while raking light exposes them.
Indoor Applications
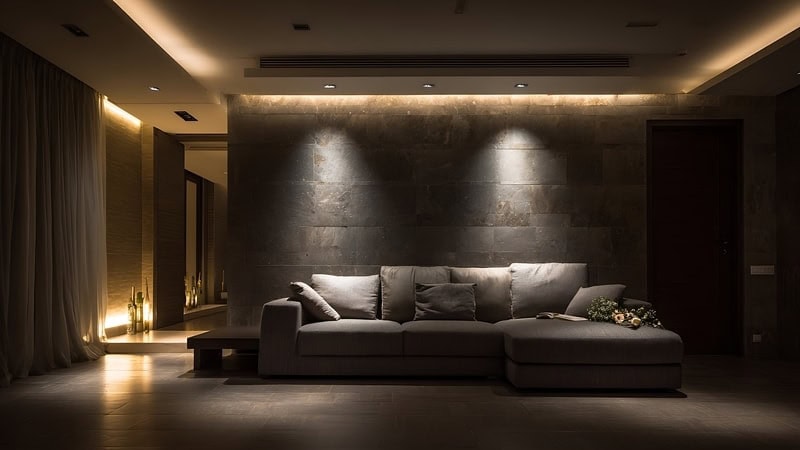
Grazing turns feature walls into focal points. It works especially well on stone fireplace surrounds, textured accent walls in hotel and office lobbies, brick in restaurants and retail, and stone columns. In these spaces the shadow detail adds depth and a sense of craft, drawing the eye without cluttering the room.
Outdoor Applications
Grazing shines on building facades, garden walls, retaining walls, and entrance features. At night, a grazed stone facade reads as deliberate and premium rather than simply lit, which is exactly the impression commercial and hospitality projects are paying for.
One Caution Worth Repeating
Grazing is honest. It reveals every flaw on the surface, including patchy mortar, uneven blocks, and old repairs, because the same shadows that flatter good texture also magnify defects. If the wall has flaws you don’t want on display, grazing is the wrong tool. Choose it only for walls that are genuinely worth showing off.
How to Choose Grazing Fixtures
Choosing grazing fixtures is a technical decision, not just an aesthetic one. Four specs matter far more than the rest, and getting them right up front saves expensive rework later.
IP Rating
Grazing fixtures sit low, close to the ground, and often take direct rain, irrigation spray, or ground runoff that higher-mounted lights never see.
Look for IP65 or higher for outdoor use, and step up further for fixtures that could sit in standing water after heavy rain or beside a planting bed. Indoor fixtures can relax this, but for exterior work the rating is non-negotiable, because a low-mounted fixture that lets water in will fail early.
Beam Angle Options
A supplier who offers several beam angles lets you match the fixture to the texture instead of forcing one angle onto every wall.
Deep, rough stone wants a tight beam that keeps the shadows sharp, while lighter texture wants a wider beam that spreads the light without looking streaky.
When a supplier only offers one angle, you end up compromising the effect on half your walls, so this flexibility is a real sign of a serious lighting partner.
Color Consistency
Ask about binning, which is how tightly the LEDs are matched for color. Tight binning keeps a long run looking uniform, so a whole facade reads as one clean tone.
Loose binning is exactly where those visible color shifts along a wall come from, and on a large surface the mismatch between one fixture and the next is painfully obvious after dark.
Housing and Corrosion Resistance
Coastal and industrial sites are hard on metal, and salt air or airborne chemicals attack a cheap housing within a season or two. Marine-grade aluminum and quality finishes resist that corrosion for years, holding their finish instead of streaking and pitting.
This matters most on tall walls, where replacing a corroded fixture near the top means lifts, disruption, and cost, so it pays to spend on durability from the start.
Common Mistakes to Avoid
Most failed grazing jobs come down to a handful of repeat errors. The frustrating part is that they rarely show up on paper. They only appear at night, after the wall is finished and the fixtures are wired in. These four are the ones that catch even experienced teams.
Mixing Color Temperatures
Two fixtures rated the same “3000K” can still render the same stone in noticeably different tones if they come from different batches, brands, or LED bins. The eye forgives an overall warm or cool cast, but it’s very unforgiving of two neighbors that disagree.
On a large facade this shows up as faint bands of warmer and cooler light. Specify tightly binned fixtures and keep the whole run on matched product, and hold spare stock from the same batch so later replacements don’t stand out.
Ignoring Top Fall-Off on Tall Walls
A single row of ground-mounted fixtures only carries so far up the wall. Past a certain height the beam runs out of intensity, the texture fades, and the top of the wall drops into shadow while the base stays bright.
The result reads as an unfinished, bottom-heavy wash rather than a fully grazed surface. On anything tall, plan for it early, because adding a second run of fixtures partway up is far harder once the wall is built and the wiring is set.
Creating Glare at Eye Level
Because grazing fixtures sit low and aim steeply upward, an exposed lens throws light straight into the eyes of anyone walking past, or into a ground-floor window. The wall looks good from a distance but is uncomfortable up close.
Use fixtures with recessed lenses, shields, or louvers so the source stays hidden. Check the view from where people actually stand, not just from the design drawing, because glare is judged from the pavement, not the plan.
Frequently Asked Questions
How much power do grazing fixtures need?
Less than most people expect. Because the fixture sits close to the wall, the light doesn’t have far to travel, so modest wattage produces strong results. The bigger variables are wall height and how bright the surrounding area is. A dark rural facade needs far less output than a wall competing with street lighting.
Can I graze a very tall wall from the bottom only?
Often not. Past roughly 12 to 15 feet, light from a single base row fades before it reaches the top. Grazing from both top and bottom keeps the effect even.
Do grazing fixtures come in standard sizes, or can they be customized?
Both. Standard fixtures cover most common wall heights and surface types, and they’re the fastest, most cost-effective option when your project fits within their range. But walls rarely come in standard shapes. When you’re dealing with an unusual height, a specific beam spread, a non-standard mounting detail, or a color temperature that has to match existing lighting, a custom or made-to-order fixture is often the better fit. If you’re unsure which route makes sense, share the wall details and let a supplier size it against the actual surface rather than forcing the surface to fit a stock product.
Conclusion
Grazing is one of the most effective ways to turn a plain textured surface into a feature, but its results live or die on details that only reveal themselves after dark. The technique itself is simple; the discipline is in getting the mounting distance, spacing, beam angle, and surface choice right before anything is installed.
Get those decisions right and a stone or brick wall gains depth and drama with surprisingly little power. Get them wrong and the same wall looks flat, patchy, or unfinished. The good news is that nearly every failure traces back to a small number of avoidable errors, and every one of them is easier to prevent in the design stage than to fix after wiring.
Treat the surface as the starting point, match the fixtures to it, and confirm the numbers before you commit.
Let’s Light Your Wall the Right Way with RC Lighting
If you’re planning a grazing project and want to be sure the fixtures match the surface, we can help. Our team specifies beam angles, output, color temperature, and spacing for the specific wall you’re lighting, and supplies matched, batch-consistent fixtures rated for the environment.