Architectural floodlighting design starts with a clear goal, a reliable method, and enough context to read the result correctly. This guide gives you the practical answer first. Then it walks through the key checks, the common mistakes, and your next-step options.
The design choice matters more than most people expect. It decides whether a building reads as a calm, sculptural presence at night or turns into a programmable canvas of color.
When you weigh an RGBW scheme, the tough questions show up early. Which facades actually justify color? How do you plan the control system before anyone installs a fixture? And which spec details separate a clean, coherent look from a patchy one?
We’ve answered these questions across many facade projects, and the pattern holds. The sections below follow the full project arc, from first concept to final purchase order. Let’s begin with the answers you need most.
Static White vs. RGBW in Architectural Floodlighting
Before you pick fixtures, settle one question. Does this facade need color at all? The answer shapes your budget, your control system, and your whole install. So let’s break down when each approach wins.
When Static White Floodlighting Is Enough
Static white does a lot more than people give it credit for. It lights the form of a building cleanly. It holds one steady tone all night. And it never drifts into the messy color effects that can cheapen a serious facade.
Choose static white when the architecture itself is the star. Stone monuments, heritage buildings, and clean corporate towers usually look best this way. You want people to see the structure, not a light show.
It also costs less to buy and run. You skip the color mixing hardware. You skip the complex programming. Maintenance gets simpler too, since there are fewer variables to fail. For many projects, that restraint is the smart move, not a compromise.
What RGBW Floodlighting Adds
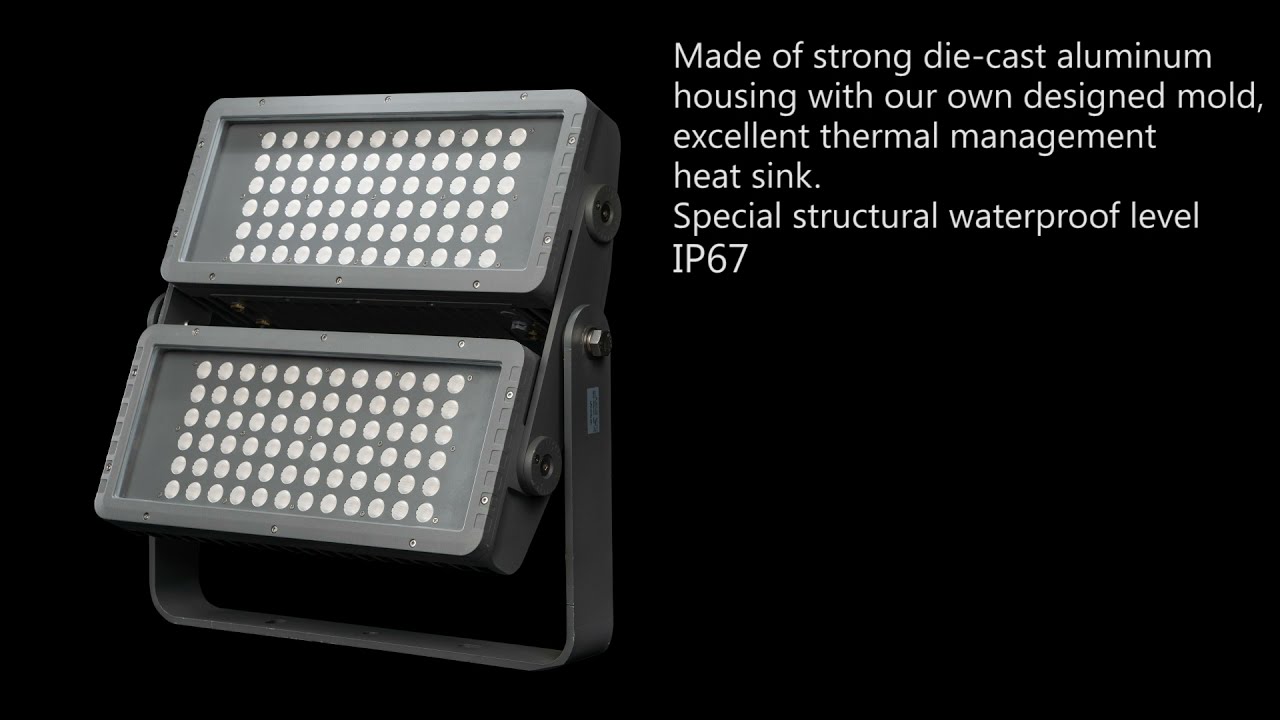
RGBW gives you full color plus a dedicated white channel. That fourth channel matters. Pure RGB white often looks cold or slightly off. The added white channel produces a cleaner, richer white and lets you fine-tune warm and cool tones.
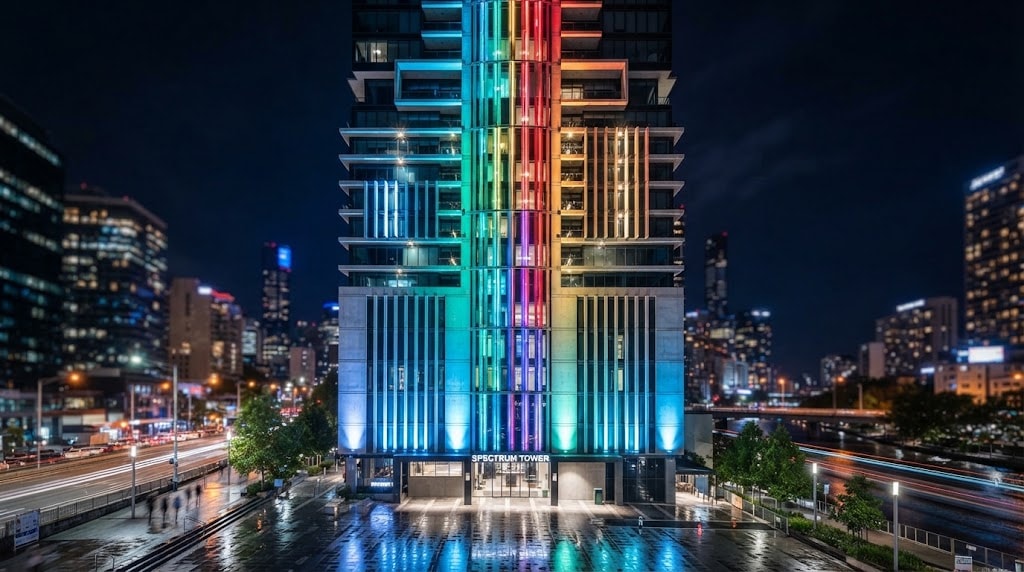
With RGBW, one facade can shift through many looks. Warm white on a normal evening. Brand colors for an event. A timed color scene for a holiday or a city celebration. You get flexibility that static white simply can’t match.
But that flexibility comes with a cost. You now need a control system, careful color calibration, and tighter quality standards across every fixture. We’ll dig into all three later. For now, just know that RGBW buys you freedom, and asks for discipline in return.
Facades Best Suited to RGBW
Some architectures are built for color. Others fight it. Knowing the difference saves you money and regret.
RGBW earns its keep on facades like these:
- Hotels and hospitality, where nighttime identity and seasonal themes drive real value.
- Entertainment and retail venues, where energy and change attract foot traffic.
- Media facades and landmarks, where dynamic scenes are the whole point.
- Bridges and civic structures tied to public events and celebrations.
Notice the pattern. These facades benefit from change over time. If a building only ever needs one look, color is often wasted budget. But if the facade plays a role in events, branding, or public life, RGBW turns it into an asset you can program.
How to Plan an Architectural Floodlighting Project
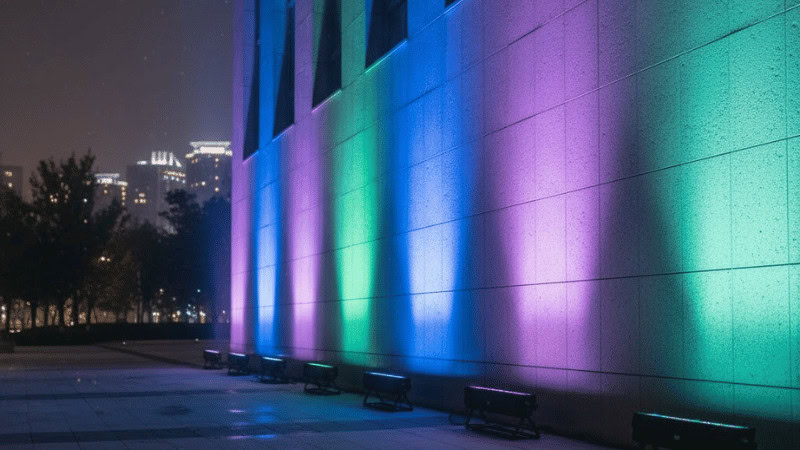
Facade floodlighting fails in planning, not in fixtures. The floodlight that clashes on the wall was usually doomed at the spec stage, or the survey stage, or the moment someone ordered fixtures before locking the control system. So the sequence below is not generic project management. It’s the order that keeps a facade coherent from concept to purchase order.
Step 1: Define the Concept and Lock the Lighting Mode
Start by deciding what the building does at night, then translate that into hard parameters. A civic or heritage building often calls for a single steady white, commonly 2700K to 3000K for a warm look or 4000K for a cooler, more modern one, held constant all night. A hospitality or media facade that changes with events points to RGBW.
Write the target CCT or color range into the concept before anything else. Every later number traces back to this decision, so settle the static-white versus RGBW question here rather than later.
Step 2: Survey the Facade in Numbers, Not Impressions
Visit the building at night, and measure rather than eyeball. Photos flatten depth and lie about competing light.
Capture the data that actually drives the design:
- Surface reflectance. Light stone throws back far more light than dark brick or glass. Two facades at the same lux will not read at the same brightness.
- Throw distance and mounting position. Floodlights sit back from the surface, so the distance from fixture to wall sets your beam angle. A fixture 15 meters out needs a narrower beam than one 5 meters out to cover the same area.
- Ambient competition. Measure existing lux from streetlights and signage. Your facade has to sit above that floor to register, which sets your minimum target level.
- Mounting reality. Confirm what the structure or surrounding ground can actually carry, and where cable can run, before you commit to fixture positions.
The survey is cheap insurance. Moving a fixture on a drawing costs nothing. Moving a pole-mounted or roof-mounted floodlight after install costs access equipment and labor.
Step 3: Lock the Control System Before You Touch a Fixture
This is the step teams skip most, and pay for most. On any RGBW facade, the control architecture decides which fixtures you can even buy.
Choose the protocol first. DMX512 and RDM are standard for dynamic facades because they give addressable, per-fixture control. Decide your universe layout early, since one DMX universe carries 512 channels and an RGBW fixture consumes 4 channels. A facade with many fixtures will span multiple universes, and that count drives your data cabling, splitters, and controller spec.
Decide the operating model too. A fixed nightly schedule needs far less than a facade running live, synchronized event shows. Match control complexity to the concept from Step 1, not to the most capable system on the shelf. Get the protocol and universe plan right here, and fixture selection becomes constrained and clean. Get it wrong, and you’re forcing incompatible hardware to talk on site.
Step 4: Run the Photometric Calculations
Now turn intent into numbers. Set a target illuminance for each surface, informed by the reflectance and ambient readings from your survey, not a generic lux figure copied from another job.
Match beam angles to the throw distances you measured, then plan fixture positions and aiming so coverage is even. Poorly spaced or badly aimed floodlights leave dark gaps between beams and hot spots where beams overlap. Lighting software helps model this, but the model is only as trustworthy as the survey data feeding it.
Respect light pollution while you’re here. More output is not better. Floodlights aimed upward at a facade are a common source of spill and skyglow, and overshooting the wall wastes energy and can breach local dark-sky or obtrusive-light limits. Aim tight, control the spill, then stop.
Step 5: Write a Fixture Schedule a Supplier Can Quote Blind
Finally, convert everything into a procurement-ready spec. Ambiguity here is exactly where color and quality problems slip in later.
A facade floodlight schedule should pin down:
- Fixture type, quantity, and mounting detail per zone.
- Beam angle and output per position, tied to your throw distances.
- Color mode, with exact CCT for static white or the full color range for RGBW.
- Control protocol, universe, and DMX address per fixture.
- Hot-state fixture SDCM, not the chip datasheet value, plus a single-bin requirement per continuous facade.
- IP rating matched to the site, typically IP65 or higher for exterior floodlights.
That SDCM and single-bin line is the one buyers most often leave off, and it’s the one that decides whether the facade lights evenly. We’ll unpack why in the pitfalls that follow, because even a tight schedule can still unravel at sourcing and install.
Common Architectural Floodlighting Pitfalls (and Fixes)
Uneven Color Across the Facade
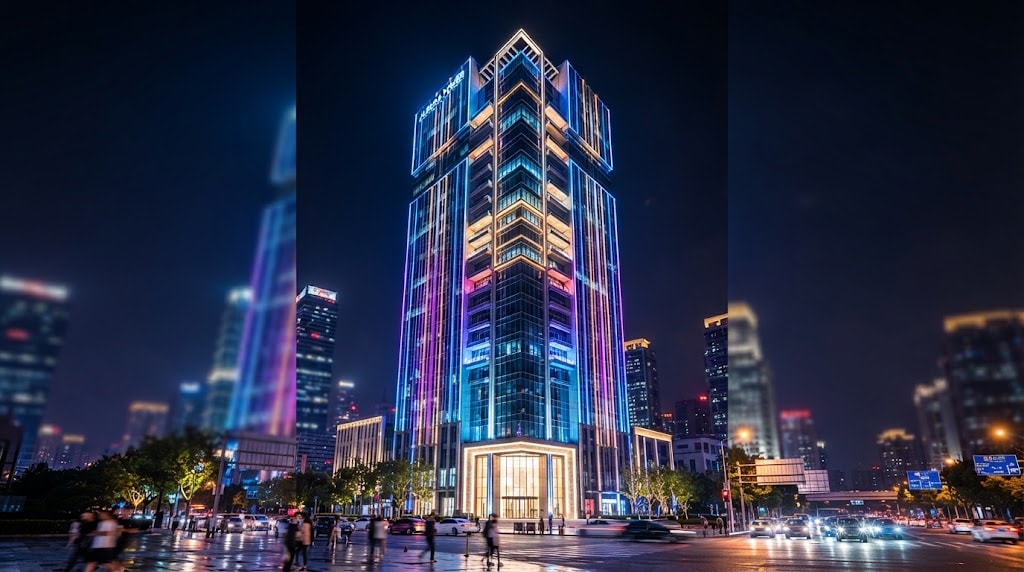
This is the pitfall that empties budgets. A facade lights up at night, and half the wall reads warm while the other half reads cool.
Now you have to fix it. That means scaffolding, high-access removal, restocking, and re-commissioning. On real projects, the rework often costs 1.5 to 3 times more than the fixtures themselves.
Here’s the frustrating part. The fixtures are usually fine. The color drifts because someone mixed production batches, or voltage dropped along the run, or the team judged the color while the fixtures were still cold.
The best safeguard costs almost nothing. When the fixtures arrive, lay every batch out together on a flat white surface. Power them at full load. Then let them run for 30 to 60 minutes so they reach thermal stability.
Why bother? Because LED color shifts as it heats. A cold check hides the exact problems a hot check reveals.
Field Experience: We learned this the hard way. On one hotel facade, the team installed two batches straight from the box. Cold, they looked identical. But after warm-up, one half of the wall went warm-yellow and the other went cool-white. Removing and replacing 128 fixtures by scaffold cost about ¥280,000. A simple ground-level bench test would have caught the bad units before anyone climbed a ladder.
Voltage Drop on Long Runs
Long fixture runs all share one weakness. Voltage falls toward the end of the line. So the last fixtures dim, and their color shifts. From the street, the wall fades and drifts the farther it sits from the power source.
Check this before you install, not after. Power the full loaded run. Then measure the input voltage at the first fixture, the middle, and the last.
Follow a simple rule. Keep the drop under 0.8V on a 24V DC system, and under 5% on an AC supply. Go over that, and you should not force the install. Split the circuit instead, or add a feed point.
Field Experience: On one industrial park project, a single line chained 16 fixtures. End-of-line drop hit 1.7V. Once the team mounted everything, the wall showed a top-to-bottom color gradient nobody could unsee. So they had to re-wire and split the circuit after the fact. Measuring the loaded run first would have flagged it in minutes.
Trusting the Wrong Spec Number
Voltage and batching aside, another trap hides in the paperwork itself. Color consistency gets measured in SDCM, or color tolerance. Lower is better. But the SDCM printed on a certificate usually covers the LED chip alone, not the finished fixture.
That gap matters more than it looks. A chip rated at 3-step SDCM does not stay there. Once you add the driver, lens, and housing, heat widens the real value by 1 to 2 steps. So a fixture built on 3-step chips can run at 6 or 7 SDCM when it heats up. On a wall, you will see that difference.
Some suppliers quote the chip report and stop there. Don’t let them. The number that actually rules your facade is the finished fixture, measured after 30 minutes of warm-up. So always ask for the hot-state fixture SDCM. The chip datasheet won’t tell you what you need to know.
Mixing Bins on the Same Wall
Even when every fixture reads correctly on paper, one last thing can wreck the job. It comes down to which batch each unit came from. Two fixtures can both pass 5-step SDCM and still clash if they belong to different binning groups.
The rule is simple. On any single continuous facade, use fixtures from one binning group. Cross-bin mixing is one of the most common reasons a wall turns patchy, even when each unit tests in-spec on its own.
So match the target to the project. For high-end continuous facades, media walls, and hotel towers, aim for a hot-state fixture SDCM of 3 or under. For standard building floodlighting, 5-step works as a floor. But that only holds if you enforce single-bin, single-batch on each wall. Break that rule, and the wall goes blotchy no matter what the individual number says.
Architectural Floodlighting in Real Projects
Pitfalls are one thing. Getting the look right is another. So let’s walk through the techniques that actually shape a facade at night.
Grazing, Wall Washing & Contour Lighting
Three techniques, three very different results. Pick the wrong one and the wall looks flat or messy.
Grazing puts the fixture close to the surface, usually within 100 to 300mm. The light skims across at a sharp angle. So every joint, brick edge, and texture throws a shadow. Use it on stone, brick, and anything you want to feel tactile.
Wall washing does the opposite. You mount the fixtures farther out, then flood the surface with even, shadow-free light. This suits smooth panels and clean modern facades.
Contour lighting ignores the wall itself. Instead, you trace the building’s outline, edges, and key architectural lines. It reads well from a distance and defines the shape against the night sky.
Lighting Stone, Metal & Glass Facades
Every material handles light differently. So the same fixture can look great on one facade and wrong on the next.
Stone drinks light and shows texture, so grazing works and warmer CCT flatters it. Metal reflects, which means glare comes easy. Keep the angles shallow and control the spill. Glass is the hard one. Light passes straight through it, so aiming a floodlight at glass usually lights the room behind it, not the facade.
The fix for glass is simple. Light the frame, the mullions, or the structure around the glass. Let the material’s own reflections do the rest.
Controlling Glare & Light Pollution
A bright facade should not blind the street or leak into bedrooms. Yet glare and spill are two of the most common complaints after a project goes live.
Start with optics. Tight beams, louvers, shields, and honeycomb baffles all cut stray light. Aim fixtures with intent, not just “up the wall.” Then check the upward light. Many cities now cap it, and dark-sky rules keep tightening.
So plan for control early. Retrofitting shields onto mounted fixtures is slow and expensive. Designing the beam right the first time is not.
Calibrating CCT & CRI to Preserve Material Hues
Color temperature makes or breaks how a material reads. Warm white around 2700K to 3000K brings out sandstone, brick, and wood. Cooler white near 4000K suits glass, steel, and modern skins.
But CCT alone won’t save you. CRI matters just as much. A low-CRI source flattens reds and browns, so natural stone looks dull and gray. Aim for CRI 80 as a floor, and 90 or higher when the material’s true color drives the design.
One rule holds across every project. Test the CCT and CRI on the actual facade material, not on a spec sheet. Surfaces reflect color in ways no datasheet predicts.
Mapping RGBW Zones & Rehearsing Timed Scenes
Dynamic facades look easy in a render. On site, they need careful zoning. So divide the facade into logical zones first, then assign each zone a DMX address.
Good zoning gives you control. You can run a calm warm-white scene on weeknights, then switch to color for holidays and events. Map the zones to the building’s architecture, not to a random grid.
Never skip the rehearsal. Program every timed scene, then run it in real conditions before handover. Watch for flicker, color mismatch between zones, and transitions that look jumpy. Fixing this in software beats fixing it on a ladder.
What to Check Before Buying Architectural Floodlights
The pitfalls above happen on site. Most of them, though, start at the purchase order. So here’s what to nail down before you commit.
Color Consistency & Binning
Ask one question first. What is the SDCM of the finished fixture after warm-up, not the chip?
Then ask about binning. A good supplier locks each project to a single binning group and single batch. Get that promise in writing. For premium continuous facades, hold them to 3-step SDCM or tighter. For standard work, 5-step is the floor, as long as single-bin sourcing holds.
IP Rating & Thermal Specs
Outdoor fixtures live in rain, dust, and heat. So IP65 is the practical minimum, and IP66 or higher suits harsh or coastal sites.
But IP alone won’t tell you if the fixture survives. Heat kills LEDs slowly. Ask for the operating temperature range and the junction temperature under real load. A fixture that runs cool lasts longer and holds its color. One that runs hot drifts and dims early.

DMX/RDM Compatibility
Dynamic lighting needs a control layer that actually works. So confirm the protocol before you buy. Most architectural projects run DMX512, and RDM adds two-way feedback for addressing and fault-checking from the ground.
That feedback matters more than it sounds. RDM lets you re-address and diagnose fixtures without a lift. Also confirm the fixture plays nice with your chosen controller. Not every “DMX” product speaks it cleanly.
Photometric Files & Mock-Ups
Never buy on a brochure photo. Ask for IES or LDT photometric files, then drop them into a lighting simulation. This shows the real beam spread, spacing, and coverage before anyone orders.
Files are step one. A physical mock-up is step two. Put real fixtures on the real facade, at night, before you commit to hundreds of units. It’s the cheapest insurance you’ll ever buy.
Lumen Depreciation Ratings (L70/L90)
LEDs don’t burn out. They fade. So the rating you want is L70 or L90, which tells you how many hours until output drops to 70 or 90 percent.
Read it carefully. L90 at 50,000 hours beats L70 at 50,000 hours by a wide margin. For facades that must hold color and brightness for years, ask for L90 data and the test standard behind it, usually LM-80 with TM-21 projection.
Driver Features: Flicker, Dimming, and Surge Protection
The driver decides half the fixture’s real-world quality. So dig into three things.
Flicker comes first, especially if cameras or crowds see the facade. Ask for low flicker or flicker-free drivers. Next, check the dimming type and range, because smooth dimming to low levels matters for scene control. Finally, demand surge protection. Outdoor fixtures take voltage spikes from storms and grid noise, so 4kV or higher protection saves fixtures and service trips.
Standards, Certifications & Ingress Test Reports
Certificates prove the fixture meets a baseline. So ask for the ones your market requires. CE and RoHS cover most of Europe. UL or ETL matter in North America. CB reports help across borders.
But don’t stop at the logo. Ask for the actual IP ingress test report, the LM-80 data, and independent lab results. A real report shows the numbers. A marketing sheet just shows claims.
Frequently Asked Questions
How do I avoid uneven color in architectural floodlighting?
Start before installation. Lock the whole project to one binning group and one batch, then bench-test every fixture together after 30 to 60 minutes of warm-up. Check voltage drop across long runs, and keep it under 0.8V on 24V DC or 5% on AC. Do these three things, and most color problems never reach the wall.
Why do floodlight fixtures show different colors?
Usually three reasons stack up. First, the units come from different production batches or binning groups. Second, voltage drops along a long run and shifts the color at the far end. Third, someone judged the color cold, before the LEDs heated up. Fix the sourcing, the wiring, and the warm-up check, and the mismatch disappears.
Can I get warm and cool white from one RGBW fixture?
Not cleanly. A standard RGBW fixture has one fixed white, usually warm or neutral. You can push it cooler by mixing in blue, but the color rendering drops and the white looks thin. If the design needs true tunable white plus color, ask for RGBW plus a second white channel, often called RGBWW or RGB plus tunable white. Confirm the channel count before you buy.
Conclusion: Plan Early, Spec Tight, Test Before You Climb
Architectural floodlighting design rewards discipline at the start, not heroics at the end. The facades that read clean and coherent are almost always the ones planned in the right order, from concept, to survey, to control system, to a fixture schedule a supplier can quote blind.
The pitfalls all trace back to the same root. Uneven color, voltage drop, and patchy walls are sourcing and planning failures, not fixture failures. So the fixes are cheap when you catch them early and expensive when you catch them on a ladder.
Two habits protect most projects. Lock every continuous facade to a single bin and single batch. And ask for the hot-state fixture SDCM and the real ingress test report, never the chip datasheet or the marketing sheet.
If you’re specifying an RGBW facade now, that’s exactly where a good manufacturing partner earns its place. The right supplier locks your binning in writing, ships photometric files and hot-state SDCM data, and supports a proper mock-up before you commit to hundreds of units.
If you want a second set of eyes on your fixture schedule, or a mock-up sample to test on your actual facade, reach out to our technical team and we’ll help you pressure-test the spec before the purchase order goes out.