
But you must also note how you’re going to design your bridge lighting plan. You can do a few things to make your bridge lighting design plans more unique and inviting. These ideas can also make the lighting more functional when planned well, so look at how you can get the design working in any situation you wish to run.
1. Add Spotlights Under the Bridge
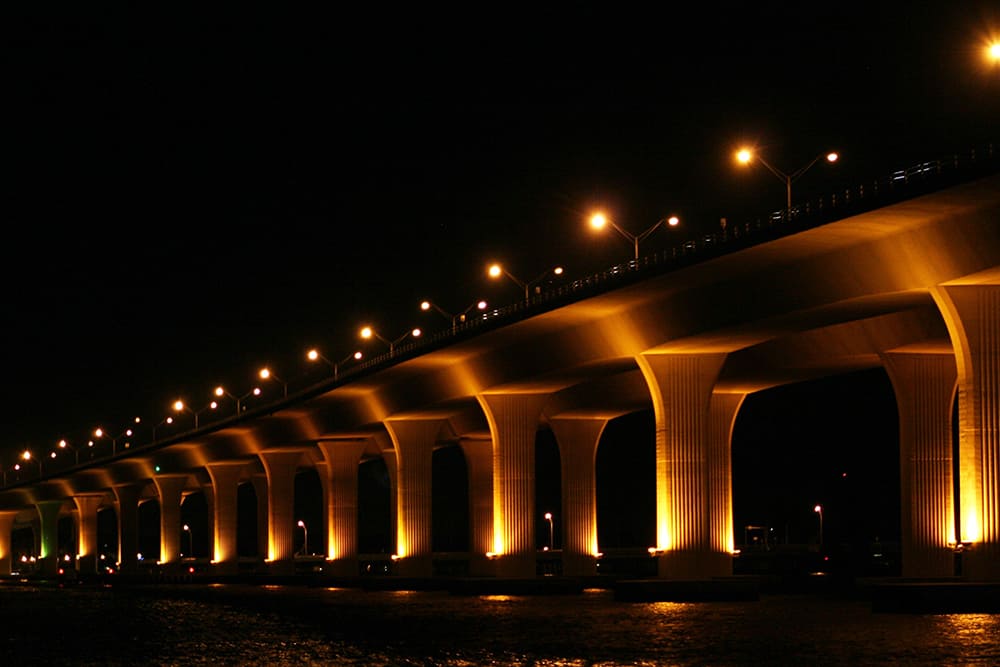
Your first option for a bridge lighting design is to include spotlights from under the bridge. Spotlights can make a bridge more appealing, plus they can make it a little safer. It displays the walking path for the bridge, helping you spot where you are going when walking over the space. But the spotlights can also highlight the appearance from afar. It can illuminate the entire body of the bridge to create a fine all-around look.
The spotlights can be placed evenly from one another as you get them ready on your bridge. You can allow a bit of space between the spotlights on each side, creating an alternating look where people can see all the lights.
The light should be bright enough to where you can see the bridge from a distance. But it shouldn’t be too bright to where you might struggle to see things as you walk over the bridge.
2. Keep Everything Spaced Out to Where People Can See Everything
You can use multiple bridge lighting bulbs around the entire space. But the bulbs should be arranged well so that people can see the bridge from afar. The bulbs should be spaced out evenly from one another. The distance between each bulb can vary, but you can keep them about three to six feet apart from each other. You can choose the proper spacing based on the size of the bridge and how you want it to look when the lights are ready. The bridge will look more dramatic from a distance, but it will still have a consistent look when you get a little closer.
One idea for spacing out the lights is to look at how you arrange the lights on each side of the bridge. You can add a light on the left side of the bridge, and then you could walk up three feet and add a light to the right side. You’d then walk three feet more and add a light to the left. The alternating arrangement on the bridge adds a more detailed look that makes the bridge look more dramatic and interesting.
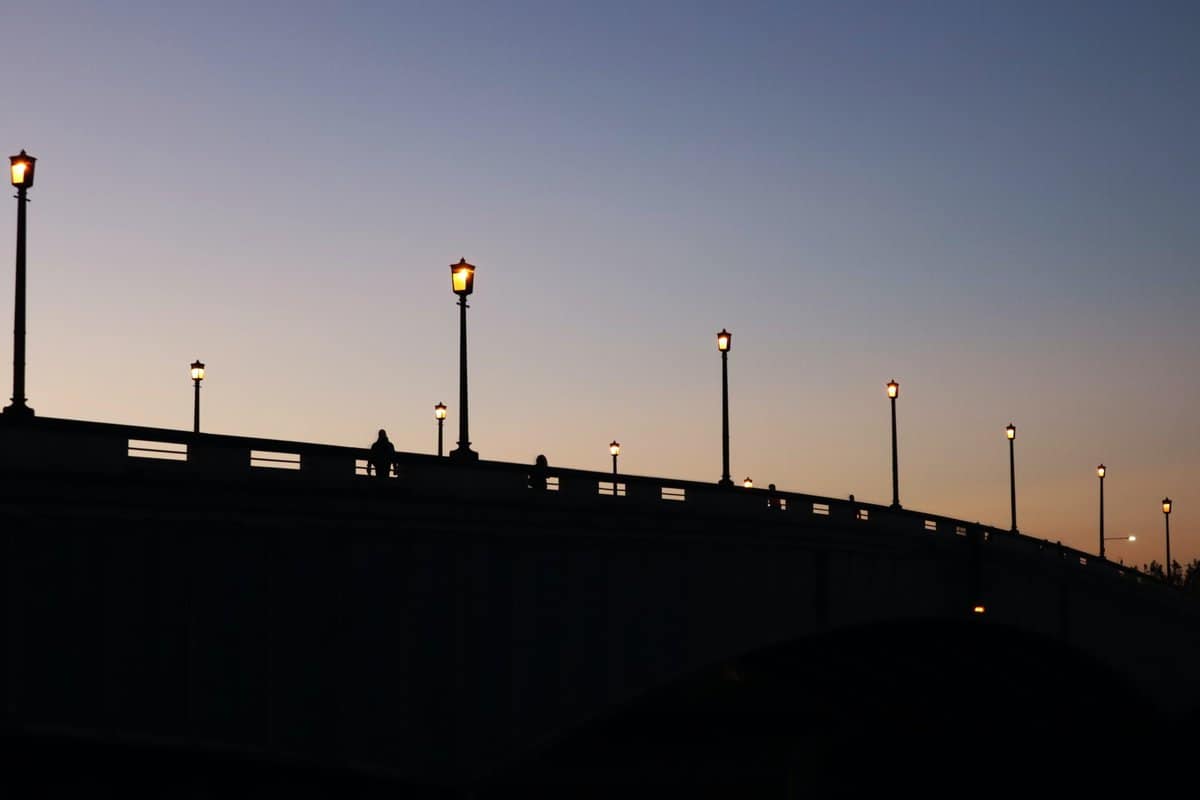
3. Keep the Top Lights From Being Too Close
The top lights on a bridge will show the top part of the body. This part of the bridge lighting design will show how high the bridge is and the borders. The design adds a nice touch, but you shouldn’t keep the top lights too close to one another. Stick the top lights about six to ten feet apart from one another while focusing on the bottom lights in a space. The bottom lights will show where people can walk, while the top lights display what people will see when they get a little closer to the bridge.
Top lights that are too close to each other may distract people on the bridge. Lights on the railings might make it harder for people to look out from past the bridge. Lights that stick too close may also add more light to the space than necessary. It rids the bridge of its dramatic look, so be sure you look at how you’re planning this part of your lighting setup.
Your top lights don’t have to be overly elaborate. The key is to make them noticeable and easy to spot from afar. You can keep these lights looking interesting if you know what works when making them ready.

4. Prepare Lights That Become Brighter As It Gets Darker
One idea to explore for a bridge lighting design entails noticing how your lights will start at the right times. Smart lighting solutions can help you save energy by starting the lights based on certain points. One idea you can use involves having lights that will become brighter as the conditions outside get darker.
Smart lights can be timed based on the sunrise and sunset times in your area. You can program the LEDs to have them start working around a specific time when the sunsets. You can then keep the lights at the maximum brightness level when it is all the way dark. But as the sun starts to rise, the lights become dim. You can program the lights to shut off all the way after the sun rises.
The interesting thing about LEDs today is that they can simulate sunrise and sunset effects. A light can gradually turn on or off based on the time or the light stimuli in a spot. You can program your lighting design to where it starts becoming bright or dim based on specific points for a bridge.
Some lights also have photosensitive components that can spot when the light is becoming bright or dark. The design allows the light to turn on or off based on what it spots. The feature is useful for sunrises, sunsets, and cases where the lights become dim due to a rainstorm. Look for lighting designs that can respond to the lighting conditions outside, but also look for smart choices that you can program to go on and off at specific times. Anything that can automatically dim is also a plus.
Watch for lights that also work with mobile apps. Today’s LEDs can be programmed through mobile app programs to set how these lights will respond to different conditions and situations.
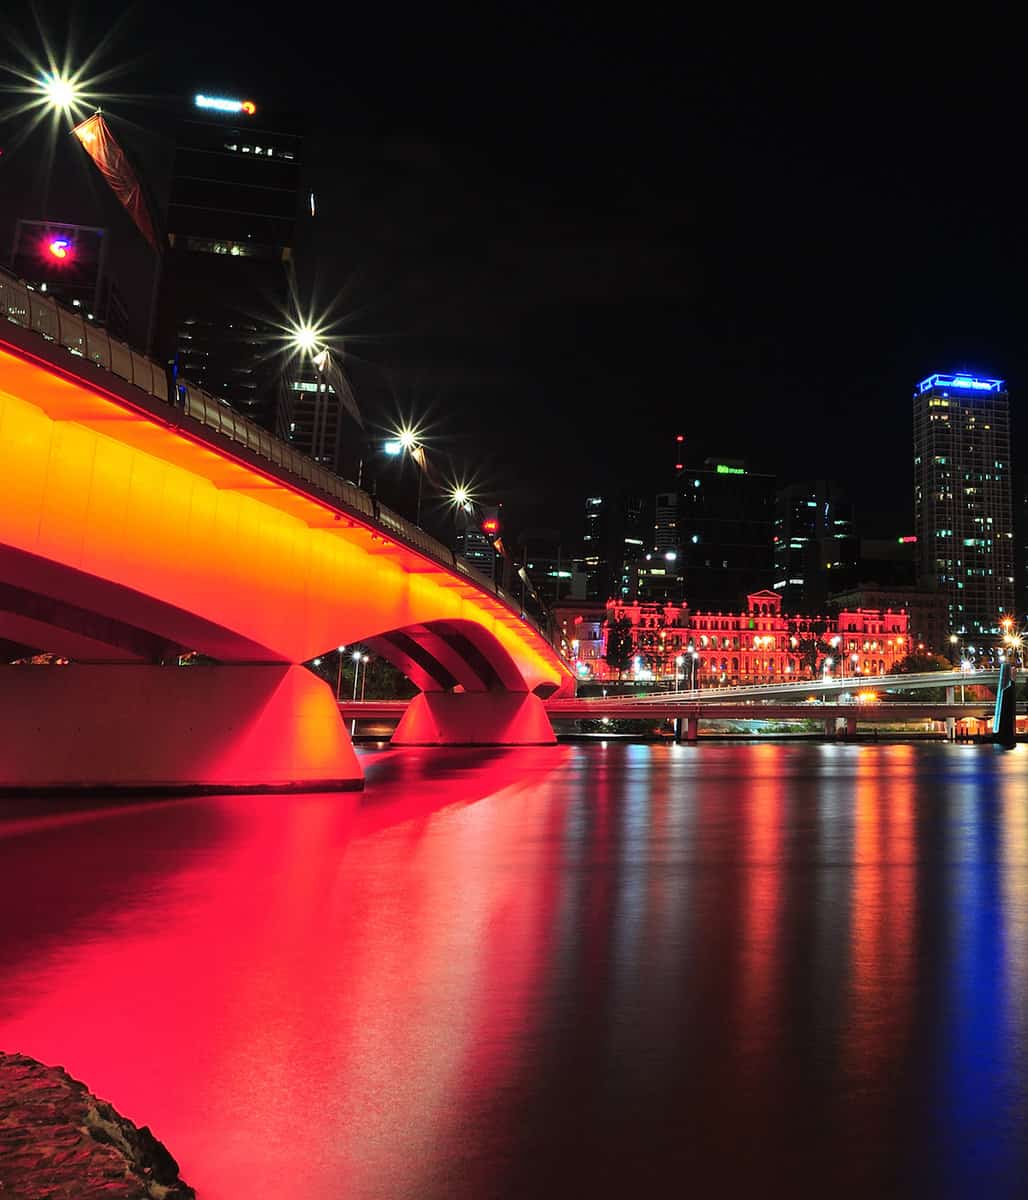
5. Use Different Colors for Lights to Add a Festive Look
Today’s LEDs have evolved to where they can feature colors of all sorts. Color-changing RGB LEDs can work with a helpful program that lets you control what colors they display. Depending on where it works and what is open in a spot, it can link to a DMX or DALI controller. You can use a control panel to configure the colors and list when you want them to change their tones. You can also establish a cycle for what colors will appear.
LEDs can support millions of colors, so you can prepare ones on a bridge that work for any event. You could create orange lights during the fall or produce red and green tones for Christmas. Any bridge lighting design that lets you alternate colors and create animated effects will also help. You can program the lighting feature what colors will appear.
Be sure when choosing the colors you’ll use that the LEDs add a nice touch. The bulbs should display the colors you want well, but these tones should also be easy to organize to where something will look ideal while having tones you will appreciate sporting in any spot.
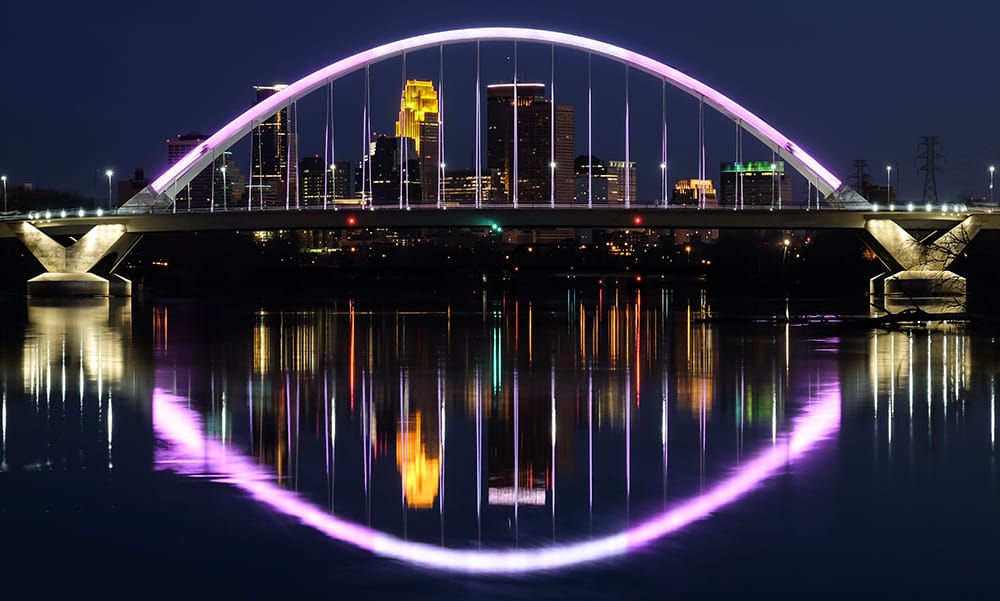
6. Highlight Any Unique Architectural Features on Your Bridge
Does your bridge have anything interesting that you want to showcase? Maybe there’s a nice arch design that makes it look different from others. Perhaps it may also have an elaborate wooden body that creates a rustic tone. Whatever the case, the odds are there is something on your bridge that deserves to be promoted the most.
One of the best bridge lighting design tips to manage entails looking at the distinct features that make your bridge unique and adding lights around the area. You can include lights near the ground to create a spotlight effect. You could also add a light to the top to shine a light from above, but this works best if the light is comfortable.
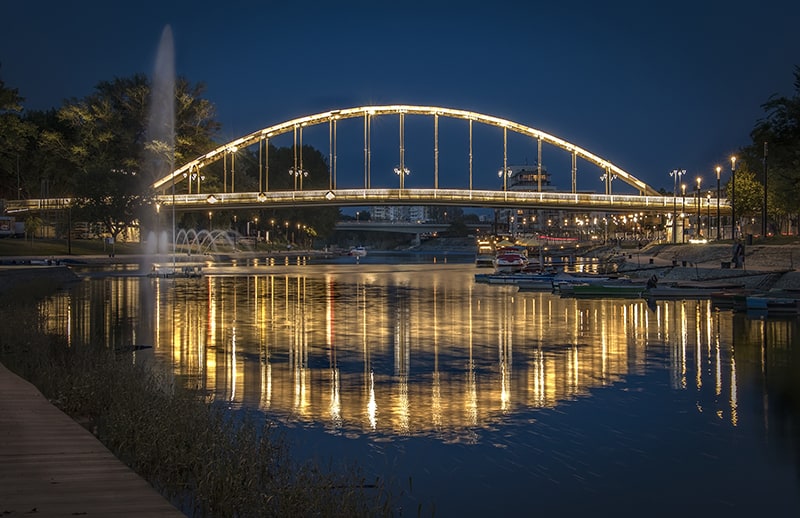
A good example of this comes from the Brooklyn Bridge in New York. The bright has lights on its arches to highlight these features. You’ll notice the specific structural qualities of the Brooklyn Bridge when you cross it at night.
You can find something in your bridge that you can highlight if you wish. Look at how the bridge appears when finding something that fits. The lighting feature should add a good touch when you plan it well.
7. Keep the Beams of Light Narrow
The beams of light you produce around your bridge should be narrow enough to keep everything from looking too intense or otherwise distracting. The beam angle on your LEDs can influence how well the light spreads. The beam helps focus the attention on the bridge without spreading to anything too substantial. The design adds a nice style that adds a distinct appearance you will enjoy in your space.
An idea for your bridges is to keep the beam angle at about 30 degrees or less. A small beam angle produces a more concentrated look where the light is focused on one spot. The light will look brighter in a smaller area. You can repeat this feature for all the LEDs on your bridge.
You could use a wider beam angle if you wish, but the light will not look as strong all around. The lumens or the measure of brightness in your light will stay the same regardless of the beam angle you use. But the beam stays less intense, so the light might not look as visible all around.
The bulbs you use in your bridge lighting design should appear evenly apart from each other while still adding a good tone. The beams should produce enough light to make the bridge visible while focusing on where people will walk over the most.
8. Look For Waterproof Bodies When Possible
You might add waterproof treatments over your bridge. You could apply a few coats of a water seal to prevent water from staining or harming the bridge. You could also add a canopy over some parts to keep the surface from buckling or otherwise being weighed down by the water.
The bridge lighting design also needs to stay waterproof. Any lights that aren’t waterproof could be at risk of harm, especially since their electric components might develop shorts.
The main fixtures for your LEDs should be water-resistant and safe. A waterproof coating can work, and it should be a splash-proof coat that can resist sudden amounts of water coming over the space.
A good idea for finding these LEDs is to review their IP ratings. The Ingress Protection rating refers to how well the light can protect itself from water and other outside threats. The IP67 rating is the best one, as it provides the most protection against water and other things coming around a spot. An IP65 rating is also useful, as it protects foreign items.
You may also find some IP64 bulbs, but they may not be as effective. An IP64 bulb offers protection against splashing water. It may not protect against flood conditions. You could use IP64 bulbs if the risk of flooding is minimal.
Whatever the case, avoid using IP40 or IP54-rated bulbs for your outdoor lighting. These two models are useful for indoor lighting conditions.
The bulb you use doesn’t have to be something that you can safely immerse all the way in the water. It only needs to be something durable enough to last through many conditions.
You’ll especially need a waterproof bulb if your bridge is near a body of water. The humidity coming from around the water can influence how well the lighting structure works. The wiring should be concealed and protected from the water, especially if it has a strong salt content.
9. Make Sure the Light Structures Don’t Add Excess Weight
A bridge should remain sturdy and comfortable without worrying about whether you’re adding more weight to it than necessary. A bridge that has too much weight on its body may not be structurally safe.
An LED light structure should not weigh all that much. Today’s LED bulbs and components weigh less than traditional incandescent bulbs. The smaller materials needed for preparing light and the minimal wiring make adding a good light structure easier without producing excess weight.
But be sure you watch how heavy the structure is and don’t produce anything that might be too hard to handle in a space. The lights should be easy enough to add and remove from space, but they should not come with too many other compartments that might add excess mass to the spot.
The main wires and plate electrodes that provide energy to the LEDs should stay a little further apart from the rest of the space. These parts can provide power to the chip, but they should be secure enough to where nothing is going to be bogged down.
Sometimes the structure of the bridge may be sturdy enough to where it can handle those lights. But even in those cases, the materials you use for affixing the lights to the area should be lightweight and shouldn’t interfere with the rest of the design you’re trying to use.
10. Add a Sensor That Turns the Lights On When Someone Comes Near the Bridge
The last idea for your bridge lighting design is to look for a motion sensor that can work near the bridge. While you can keep the lights on around the bridge all the time, you could save energy by programming the lights to become more active only when someone walks up to the bridge and crosses the space.
A motion sensor can work for your bridge. The sensor will use an electronic layout that can detect infrared waves. These are the heat waves that come from moving objects. If the detector spots these waves, it will turn on the lights. The lights will stay on as long as the person is in the area, plus they can stay on for a few seconds when the sensor no longer spots something of interest.
The sensor works well when you place it in a proper space. You can add a sensor on each end of the bridge. Additional sensors can also work in the middle of the bridge to identify when someone is walking in the space. But the sensors should also be configured well to where everything stays easy to spot in any circumstance.
Remember when managing all these solutions for your bridge lighting design that you look well at planning the layout. A quality bridge lighting layout will add a good touch that provides more value to your space.