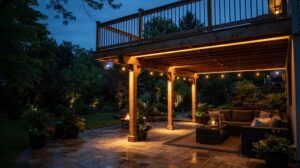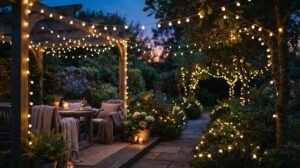
Farmhouse outdoor lighting has to pull double duty. It needs that warm, rustic look you’re after, and it also needs to hold up outside, year after year. Getting both right is where most people slip up.
We see how these fixtures fail, and it’s rarely the design. It’s a finish that rusts, a weather rating that’s too low, or a light that just looks wrong once it’s on the wall.
The fix is simpler than it sounds: match the right fixture, size, and finish to each spot outside your home. Whether you’re lighting one porch or ordering in bulk, the same three decisions apply.
Why the Right Farmhouse Lighting Matters
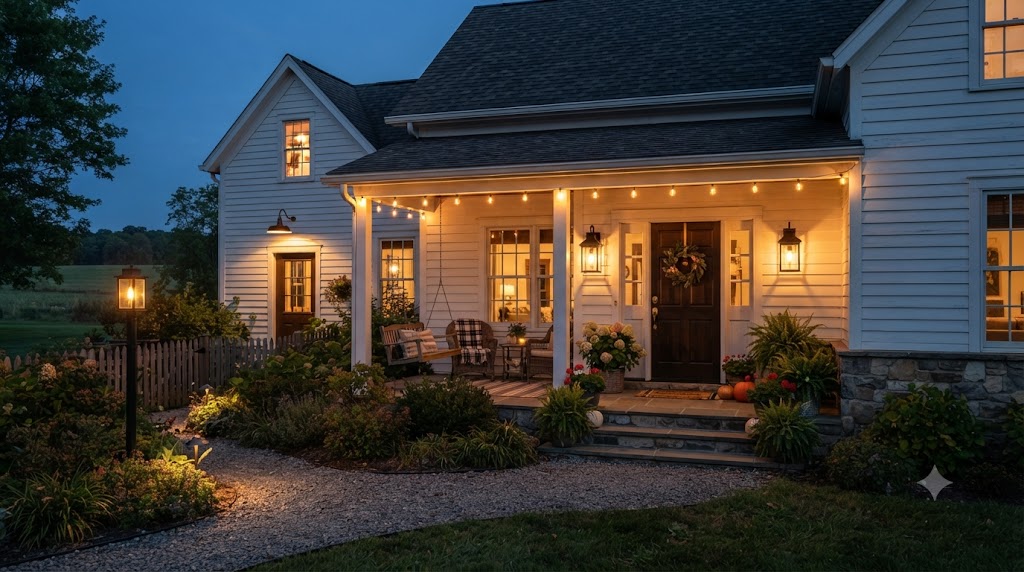
Picture your farmhouse at dusk. A black wrought iron lantern glows beside the door, warm light falls across the wooden steps, and the path to your entry looks rustic, inviting, and clearly lit. That’s what the right farmhouse outdoor lighting does. It brings that timeless, country charm to your exterior while keeping every step safe after dark.
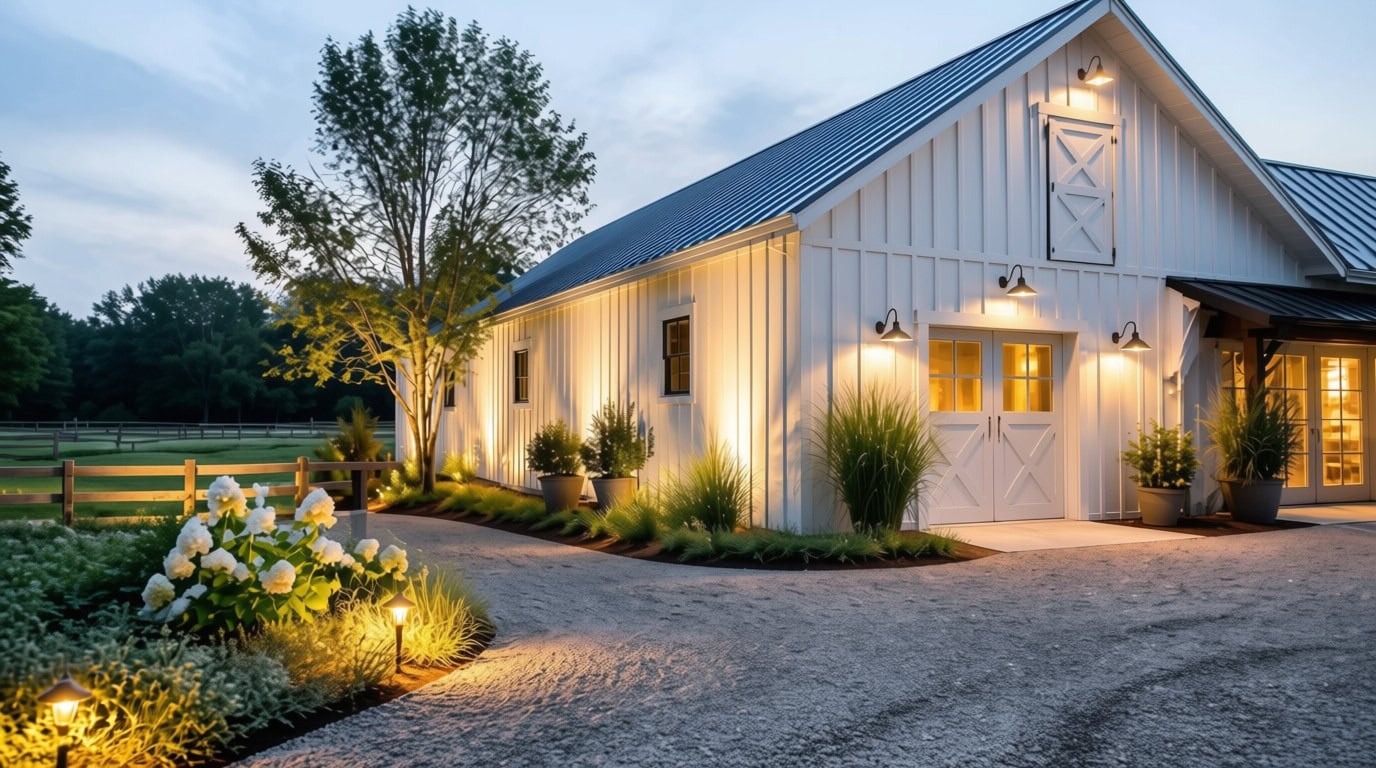
But farmhouse lighting has to work as hard as it looks.
Wall lanterns frame the entry with that classic barn style glow. Post lights line the driveway with a vintage, welcoming warmth. Step and path lights turn a dark walkway into a safe, easy route to your door. Done right, the whole scheme does two jobs at once: it sharpens your curb appeal and makes your exterior safer.
If you choose the wrong one, the charm will fall apart fast. You get dark corners, a harsh glare that kills the rustic mood, a finish that rusts by the second season, or a fixture that simply quits. Then comes the frustration of shopping all over again.
That’s why the fixtures worth buying put weather resistance ahead of style. This guide follows that order. Type first, then size, then finish.
Choose the Right Type of Farmhouse Outdoor Lighting
Choosing farmhouse lighting starts with one simple question. Where will the fixture go, and what job does it need to do? Most outdoor fixtures fall into wall, ceiling, and post categories, so deciding on the location narrows your options fast.
The five farmhouse fixtures you’ll reach for most often are wall lanterns, post lights, pendants, flush mount ceiling lights, and step or accent lights.
Wall Lanterns
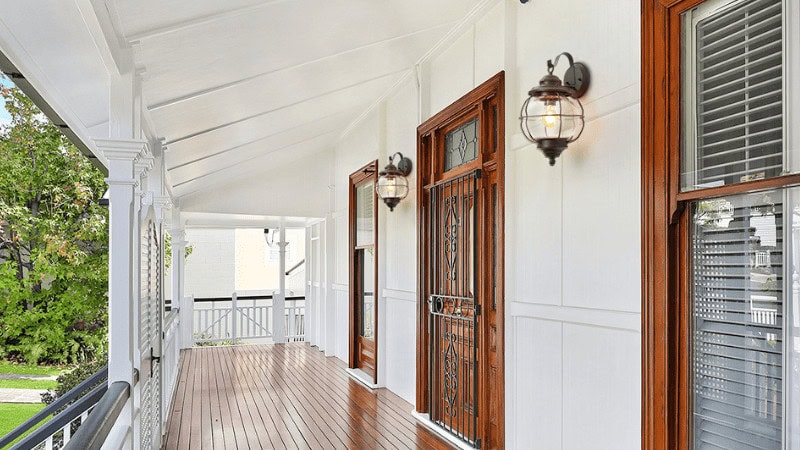
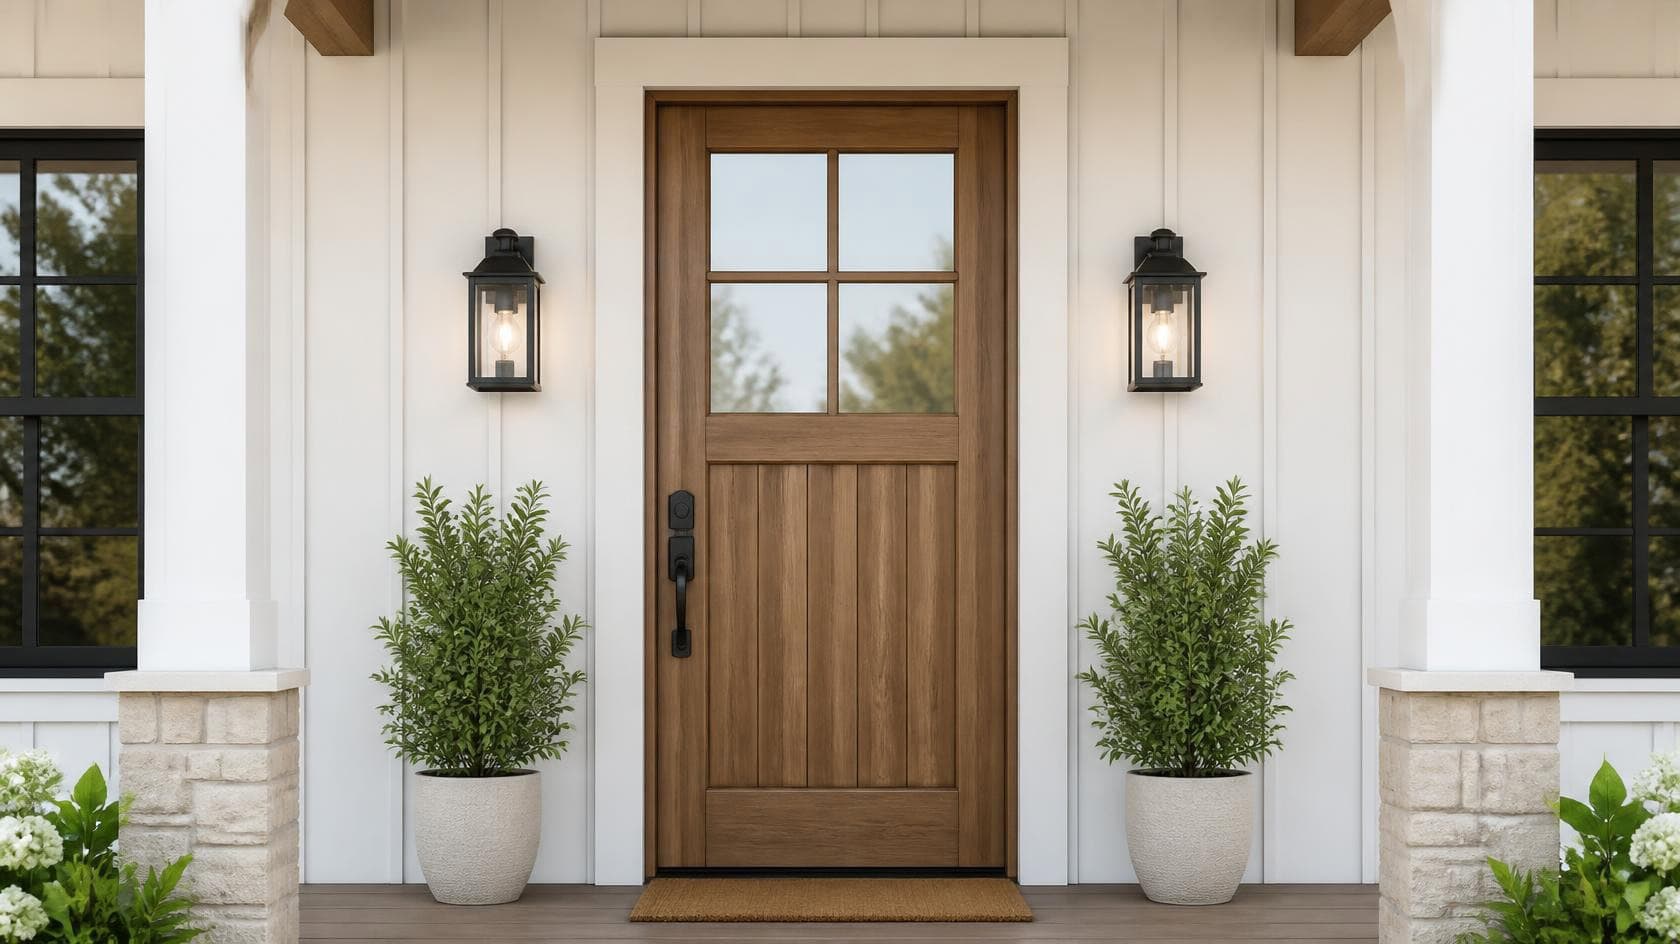
Wall lanterns are the most common farmhouse fixture, and for good reason. They mount to any vertical surface, keep walkways clear, and cast a welcoming glow right at eye level. Their rustic silhouette suits siding, brick, and stone without overpowering the facade. Mount one on each side of the front door to frame the entry, use matching pairs to define a porch seating area, or add them to garage walls and side entries where you need light close to the house.
Post Lights
Post lights stand on their own posts, so they work in open areas where there’s no wall to mount to. That makes them the go to choice for driveways, garden entrances, and the ends of walkways. Line them along a driveway or path to guide vehicles and guests in, and pair them with step or brick lights for an added layer of safety underfoot.
Hanging and Pendant Lights
Overhead fixtures suit covered porches and entryways with enough ceiling height. If you’re deciding between a farmhouse chandelier and a pendant, it comes down to coverage. A chandelier spreads soft, ambient light across a whole covered porch, making it ideal over an outdoor dining or lounge area. A pendant focuses light over a smaller zone, so it fits nicely above a front door or a compact seating nook.
Flush Mount and Ceiling Lights
When vertical space is tight, a flush or semi flush mount keeps your headroom clear. These low profile ceiling lights carry the farmhouse look without hanging down, so even a short covered entry gets even, glare free light. Reach for them on low porch ceilings, soffits, and covered walkways where a hanging fixture would sit too low.
String and Accent Lights
String and accent lights are about atmosphere, not task lighting. They add a warm, festive layer on top of your main fixtures rather than replacing them. String them across a patio, backyard, or gathering area to create that cozy, lived in glow farmhouse spaces are known for.
How to Size Your Outdoor Fixtures Correctly
Single Fixture
When one light bears all the decorative and lighting load for an area, reference your door or wall dimensions to pick the proper fixture height.
For a single wall lantern flanking a front door, choose a fixture roughly one-third the door’s total height. For a standard 80-inch exterior door, select a fixture 22–28 inches tall.
If mounting a fixture on a large empty exterior wall (not adjacent to a doorway), opt for a larger fixture to avoid looking undersized and insignificant. A classic sizing formula for round overhead pendant lights only: add the wall’s length and width measured in feet; the resulting number equals the ideal fixture diameter in inches.
The core principle is, the outdoor light should blend cohesively with your home facade when viewed from the curb. Avoid tiny fixtures that appear as random spots on siding, or oversized lanterns that overwhelm your entranceway.
A Matching Pair
Two lights share the work, so each one can be smaller. Aim for roughly one-quarter the height of the door per fixture instead of one-third.
On that same 80-inch door, that’s about 16 to 20 inches each. The eye reads the pair as a single, balanced frame, so two oversized lanterns end up crowding the entry rather than dressing it.
Keep both fixtures identical in style, size, and finish. Mismatched pairs draw attention to the difference instead of the door.
Mounting Height and Placement
Once the size is right, get the height right.
Mount wall lanterns so the center of the fixture sits about 66 inches off the floor, roughly eye level for most people. Beside a door, place the fixture 6 to 12 inches out from the frame so it lights the entry without crowding it.
For hanging fixtures on a covered porch, leave at least 7 feet of clearance from the bottom of the light to the floor so no one walks into it.
Let function decide the rest. Aim wall and post lights down toward steps and walkways rather than out into the yard, and in areas you use for dining, sitting, and passing through, space fixtures to cover the whole zone without glare or dark gaps.
Lumens, Color Temperature, and Dimming: Get the Light Quality Right
Once sizing is settled, the real question is how the light feels. Three numbers control that: brightness (lumens), color temperature (Kelvin), and color accuracy (CRI). Get these right and a fixture looks warm and inviting. Get them wrong and even a beautiful lantern reads cold and clinical.
Start With Color Temperature
For farmhouse exteriors, color temperature matters more than anything else.
Stick to the warm-white 2700K–3000K range. This soft, golden light flatters wood tones, brick, and creamy paint, and it’s the single biggest reason a porch feels cozy instead of harsh.
Anything above 4000K reads blue and modern, which fights the rustic look you’re after. A quick tip: if a fixture ships with a cold bulb, you don’t need to return it. Just swap in a warm-white bulb and the whole mood changes.
Match Brightness to the Job
Lumens measure how bright a light is, and different outdoor zones need different amounts.
Use these as practical starting points:
- Entry and porch wall lanterns: 400–800 lumens per fixture
- Path and step lights: 100–200 lumens each
- Accent and string lights: 50–100 lumens each
- Covered dining or seating areas: 800–1,200 lumens total, spread across fixtures
The goal is layers, not one bright light. A single high-output fixture creates glare and harsh shadows. Several softer sources, spaced out, light the space evenly and feel far more welcoming.
Insist on 90+ CRI
CRI, or Color Rendering Index, measures how accurately a light shows true colors on a 0–100 scale.
Farmhouse exteriors lean on natural materials like wood beams, stone, and painted trim, so accuracy really matters here. Look for fixtures rated 90 CRI or higher. At that level, oak siding actually looks like oak and sage-green trim keeps its color, instead of washing out to a flat, muddy gray under cheaper LEDs.
Lower-CRI lights cost less, but they undercut the very finishes farmhouse design is built around.
Add Dimmers and Smart Controls
A dimmer turns one fixture into two moods. It’s bright when you’re carrying groceries in, then soft and candlelit once you’re settled on the porch.
Statement pieces benefit most. A covered-porch chandelier only works at every hour of the evening when you can dial it down. Tunable-white smart bulbs push this further, shifting a fixture warmer as the night goes on without any rewiring.
Running several fixtures? Put your main lights and accent lights on separate dimmers so you can adjust each layer on its own.
Choosing Finishes That Actually Survive the Weather
Farmhouse exteriors lean on muted, earthy finishes like matte black, bronze, galvanized steel, and weathered zinc. They all look the part, but they don’t all hold up the same way outdoors. The finish you pick is really a choice about how much maintenance you’re signing up for.
Check the Metal Underneath, Not Just the Coating
Most outdoor fixtures are built from aluminum, steel, or stainless steel, and each one ages differently once the surface coating starts to wear.
Aluminum won’t rust, which makes it a safe pick almost anywhere. Stainless steel handles moisture well and suits coastal or rainy climates. Plain steel looks great but relies entirely on its coating for protection, so once that chips, rust can set in fast.
Check the base material before you buy. A good-looking finish won’t save a fixture if the metal underneath can’t take the exposure.
Match the Finish to Your Climate
Where you live should steer the final call, because sun, rain, and temperature swings test an outdoor surface constantly.
In coastal, humid, or rainy areas, favor corrosion-resistant materials and matte or textured finishes that hide water spots and wear. In hot, high-sun climates, darker finishes can fade over time, so look for UV-rated coatings.
Save high-gloss finishes for covered or sheltered spots. They look sharp under a porch roof, but out in the open they show every water mark and weather faster than matte.
Look for the Right Weather Rating
Finish and weather rating go hand in hand, so don’t stop at the look.
Confirm the fixture is rated for its exposure. Damp-rated fixtures work under a covered porch or eave, while wet-rated fixtures are built for direct rain, snow, and open exposure. Using a damp-rated light in an unprotected spot is one of the fastest ways to shorten its life.
Weather Ratings and Safety Basics You Shouldn’t Skip
Weather Ratings: Wet, Damp, or Dry
Catalogs sort outdoor fixtures into three tiers. You’ll see most LED options tagged wet- or damp-rated, and the difference is simple. It’s all about how much water the spot actually gets.
Dry-rated fixtures belong indoors. Damp-rated ones handle humidity and the odd splash, so they work under a covered porch ceiling or eave. Wet-rated is the only tier built to take direct rain and snow head-on.
So go wet-rated for open porches, driveway posts, and any wall mount without a roof above it. And if you’re on the fence? Go wet-rated anyway. The price bump is small, but it saves you from second-guessing how much rain that spot really sees.
Certification Marks
The marks stamped on a fixture aren’t decoration. Each one tells you what’s been tested, and where the fixture is allowed to be sold.
A UL Listing means the fixture passed recognized safety testing. The IP rating goes further, telling you how well the housing keeps out water and dust. ETL and CSA cover the same third-party testing across North America. CE, by contrast, is the mark you’ll see on products sold in Europe.
For distributors, this is where it gets serious. Confirm the fixture carries the right mark for its destination market before you order. Skip that step, and a shipment can get held at customs. That’s an expensive lesson over a missing stamp.
Hanging Straight on a Sloped Ceiling
Porch ceilings are rarely flat. That small detail trips up a lot of chandelier installs.
Hang a farmhouse chandelier under a sloped ceiling and it’ll sit crooked. The fix is cheap: a sloped-ceiling adapter or a downrod kit. It’s the part most people forget to order, yet it’s the difference between a centerpiece that hangs dead straight and one that’s tilted for good.
Match the Junction Box to the Fixture’s Weight
Not every junction box can hold every chandelier. A standard box often isn’t rated for a heavy fixture, so check its weight rating before you hang anything substantial.
This one isn’t cosmetic. An underrated box is a real safety hazard, and it’s exactly the kind of thing you want to catch before the fixture’s already up.
Frequently Asked Questions
Should a porch chandelier be centered on the door or on the porch?
Center it on the space people actually use, not the door. If the chandelier hangs over a dining or seating area, center it on that zone so the light lands where you need it. Only center on the door when the fixture is purely decorative and the porch has no defined use area. Getting this wrong is a common regret, because the fixture ends up lighting an empty corner instead of the table.
What outdoor lighting fits a farmhouse with a big wraparound porch?
Wraparound porches need lighting planned in layers, not one fixture doing all the work. Use wall lanterns flanking the main entry for the anchor points, then space additional sconces or hanging pendants along the porch run so the light stays even as you move around the house. On deep porches, add ceiling-mount or pendant fixtures over seating and entry zones. The goal is no dark stretches and no single harsh bright spot, which suits the long, open lines of a farmhouse porch.
There’s condensation or a small bug inside my fixture. Is the seal broken?
A little fogging after a temperature swing is normal, and it usually clears on its own as the fixture warms up. Even wet-rated housings breathe slightly, so tiny amounts of moisture or the odd insect aren’t automatic signs of failure. Worry only if you see standing water pooling inside, constant heavy fog that never clears, or moisture reaching the wiring. That points to a failed gasket and is worth addressing.
Can I get farmhouse fixtures customized, and what’s realistic to change?
Yes, and more is possible than most buyers assume. The easiest changes are finish color, size, mounting type, and bulb configuration, since those adjust an existing design without new tooling. Custom shapes or fully original designs are also doable, but they carry setup costs and minimum order quantities, so they make sense at volume rather than for a single porch. If you’re specifying for a project or a private label line, share your target finish, size, and certification market up front. That lets the manufacturer confirm what’s feasible before samples, instead of after.
Conclusion
Where to buy farmhouse lighting matters less than what you check before you buy. Established retailers and manufacturer collections carry everything from rustic barn lanterns to modern farmhouse pendants, and the same three-step filter works across all of them: type, size, and finish-plus-rating. Get those three right and the fixture will look the part on day one and still look it after years of weather.
Ready to Source Farmhouse Lighting the Right Way?
Whether you’re outfitting a single project or building a private-label collection, the difference between a smooth order and a costly one usually comes down to the details covered above: consistent finishes, the right weather rating, and the correct certification for your market.
If you’re sourcing farmhouse fixtures at volume, share your target finish, size, and destination market with our team. We’ll confirm what’s feasible, match finishes across your full order, and verify the right certifications before anything ships — so you get fixtures that look right on day one and stay right for years.
Request a quote or download our farmhouse lighting catalog to get started.