Want lighting that glows warmer as it dims — without smart panels, dual drivers, or confused guests? Dim to warm technology delivers exactly that: one dimmer, and the light shifts from a crisp 2700K down to a candle-like 1800K automatically.
We’ve helped design and fix dim to warm lighting for hotels, apartments, and restaurants. The results keep repeating: once operators drop tunable white or smart panels, they get simpler controls, far fewer breakdowns, and a warmer, more natural glow that makes guests want to stay.
In this guide, we’ll walk through how led warm dimming works, where it wins over tunable white, the specs procurement teams keep missing, and how to write an RFP that protects your project. Let’s start with why the industry is moving this way.
Why Commercial Spaces Are Moving to Dim-to-Warm Lighting
For years, led hotel lighting relied on fixed-CCT fixtures or complex tunable-white controls. Both created friction.
Dim to warm solves that friction with a single, intuitive control. That’s why hotels, restaurants, and contractors are adopting it fast.
How Warm Dimming Shapes Guest Experience and Dwell Time
Warm light signals comfort. As brightness drops, a warmer color temperature mimics sunset and firelight — cues the human eye reads as “relax and stay.”
That’s not just design theory. Warmer, lower light in the evening supports natural circadian rhythms, which is why hospitality designers increasingly favor warm dimming for guest rooms and dining areas. (Deep link: research on light, color temperature, and circadian response.)
For operators, the payoff is practical: guests who feel comfortable stay longer, spend more, and rate the space higher.
Why Single-CCT and Per-Room Smart Panels Are Falling Out of Favor
Fixed-CCT fixtures can’t adapt. A room that looks fine at full brightness feels harsh when dimmed, because the color stays cold.
Tunable white and smart panels can adapt. But in the field, we’ve watched them create as many problems as they solve.
Take two projects we worked with recently: an American casual-dining chain and a mid-tier business hotel. Both were built around tunable-white fixtures and smart control panels.
The first problem showed up with guests. Most couldn’t figure out the color controls, so rooms ended up either cold and clinical or pushed too far into yellow — never the natural candlelight the design intended.
The second problem hit operations. The panels relied on WiFi and extra buttons, which failed often and generated a steady stream of monthly service calls.
The third problem was cost. Tunable white needs two separate LED channels: warm and cool, plus the driver electronics to blend them. That extra hardware raised the purchase price and, when it failed, the repair bill too.
The lesson from both projects was consistent. Every added control layer, the color adjustment, the WiFi, the second driver, can become another point of failure and another thing staff had to manage.
Dim to warm removes those layers. One dimmer controls everything, so there’s less to break, less to explain, and less to maintain.
What Dim-to-Warm Means for Contractors and Procurement Teams
For contractors, dim to warm simplifies the install. There’s no dual-channel wiring, no control hub, and no network commissioning.
For procurement, it means fewer SKUs and a lower total cost of ownership — provided you spec the color performance correctly (more on that later).
The catch? Not all dim to warm led bulbs perform equally when dimmed.
Choosing the right product and writing the right spec is where projects succeed or fail.
How Warm Dim Technology Works
Dim to warm isn’t a smart feature or an app setting. It’s built into the LED and driver, so the color shift happens automatically as you turn the dimmer down.
Understanding the basics helps you spec the right product, and spot the cheap ones that get it wrong.
The Core: Brightness Down, Warmth Up
A standard dimmable LED only changes brightness. Turn it down and the light gets darker, but the color stays the same cold white.
A dim to warm LED changes both at once. As you lower the brightness, the color temperature drops too — from around 2700K at full output to as low as 1800K at the bottom.
That 1800K point matters. It’s the color of candlelight, and it’s what makes a dimmed restaurant or hotel room feel warm instead of gloomy.
Most quality dim to warm led bulbs follow a fixed dimming curve, so the warmth tracks the brightness the same way every time. No adjustment, no guesswork.
How the Effect Is Engineered Inside the Fixture
The color shift comes from combining two LED types on one board, a warmer chip and a cooler chip, driven together on a single channel.
As the dimmer lowers the current, the driver shifts the balance toward the warm chip. The result is one smooth transition controlled by a single wire.
This is the key difference from tunable white. Tunable white needs two separate channels and a controller to mix them. Dim to warm blends them internally, so it works on standard dimming wiring with no extra hardware.
That’s why dim to warm installs like a normal dimmable fixture, while tunable white doesn’t.
Why the 1800K Calibration Is Where Cheap Products Fail
Here’s where product quality separates. The warm end of the curve — that final drop to 1800K — is the hardest part to engineer, and it’s where low-cost products cut corners.
In our testing, cheaper dim to warm LEDs often stop warming too early. They bottom out around 2200K or 2400K instead of reaching a true 1800K, so the “candlelight” effect never fully arrives.
Others warm up unevenly. The color jumps or flickers near the bottom of the dim range, which is exactly where hospitality guests use the light most — late evening, low brightness.
We also see color drift between units. Two bulbs from the same batch land at slightly different tones when dimmed, so a row of fixtures looks mismatched on the wall.
The takeaway for procurement is simple. Don’t just confirm a product is “dim to warm.” Ask for the exact warm-end color temperature and the dimming curve, and test a sample at the lowest setting before committing to volume.
Hotels & B&Bs: Warm Glow Guest Experience
Guest rooms are where warm dim lighting earns its keep. Guests don’t read the spec sheet — they just notice whether a room feels calm or clinical.
Dim to warm delivers that feeling automatically, with a single dimmer and no learning curve for the guest.
Improving Comfort and Sleep in Guest Rooms
Bright, cool light late at night works against sleep. Cooler color temperatures suppress melatonin, the hormone that helps the body wind down.
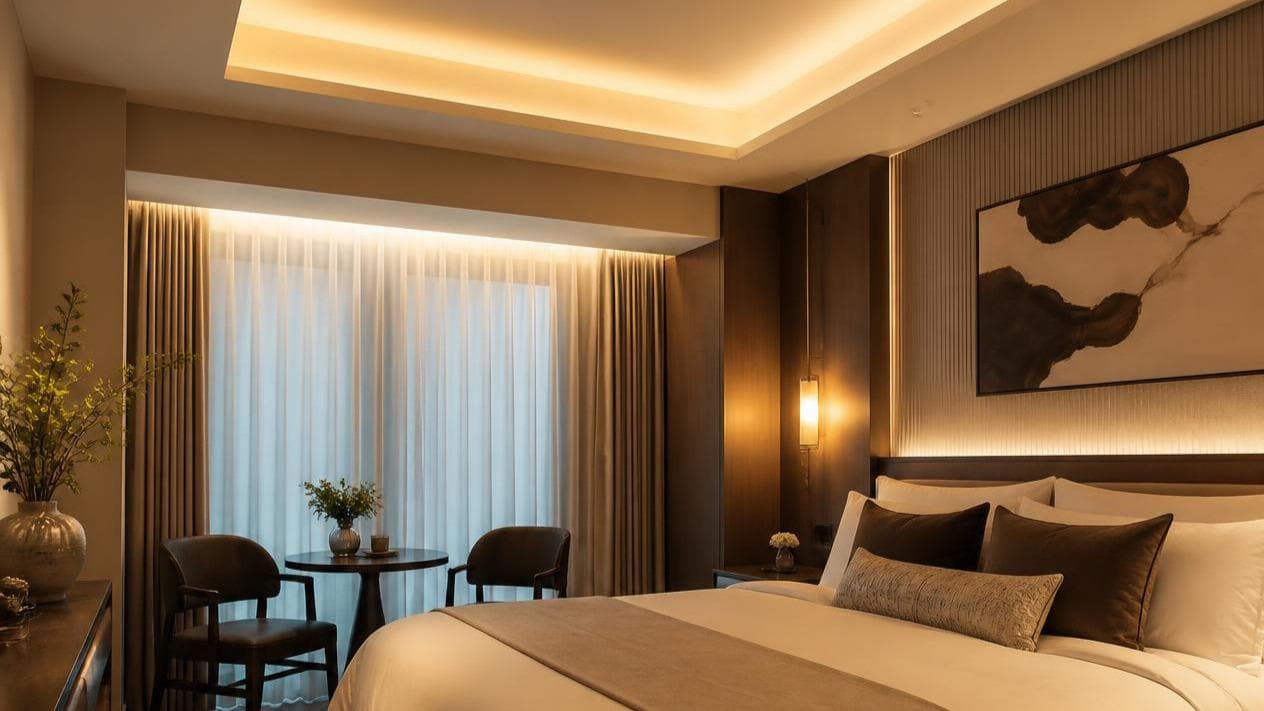
Warm dim lighting does the opposite. As guests lower the dimmer before bed, the light drifts toward 1800K — closer to candlelight than daylight — which feels restful rather than stimulating.
This matters most in boutique hotels and B&Bs, where a good night’s sleep drives reviews and repeat bookings. A room that dims to a warm glow simply feels more like home.
The best part is that guests get this benefit without touching a menu or app. They turn one knob, and the warmth follows.
Reducing Service Calls by Avoiding Smart Panels
Smart lighting panels look impressive in a design render. In daily operation, they generate front-desk complaints.
Guests can’t find the right button. Presets get overwritten. Panels lock up and need a reset. Every one of those moments becomes a call to reception or a maintenance ticket.
Dim to warm removes the interface problem entirely. There’s no panel to misread and no app to fail, just a familiar dimmer that behaves the way guests expect.
Across the boutique-hotel and B&B projects we’ve supplied, moving from smart panels and tunable-white systems to single-knob dim to warm consistently cut lighting-related complaints. Several operators reported roughly a 70% drop in guest tickets tied to lighting.
And installers avoided the dual-driver, multi-channel wiring that tunable white demands, which lowered both material and labor costs on site and removed the controller as a future point of failure.
For operators, the payoff wasn’t just a nicer room, which was fewer things that could break after handover.
Recommended Guest-Room Presets for Sleep Promotion
If your fixtures support locked scenes, a few simple presets cover most guest needs:
- Arrival / general use: full brightness, ~2700K — bright enough to unpack and get oriented.
- Evening / relaxing: mid brightness, ~2200K — comfortable for reading or winding down.
- Sleep / night: low brightness, ~1800K — candlelight warmth that supports melatonin and easy rest.
Keep the presets minimal. Guests want fewer choices, not more. One dimmer that walks smoothly through all three is easier to use — and easier to maintain — than a panel full of buttons.
Restaurants, Bars & Cafés: Lighting for Dwell Time & Atmosphere
In food and beverage spaces, lighting isn’t decoration. It’s part of the experience that keeps guests at the table and coming back.
Warm dim lighting lets one fixture serve a bright lunch and an intimate dinner, without rewiring or swapping lamps.
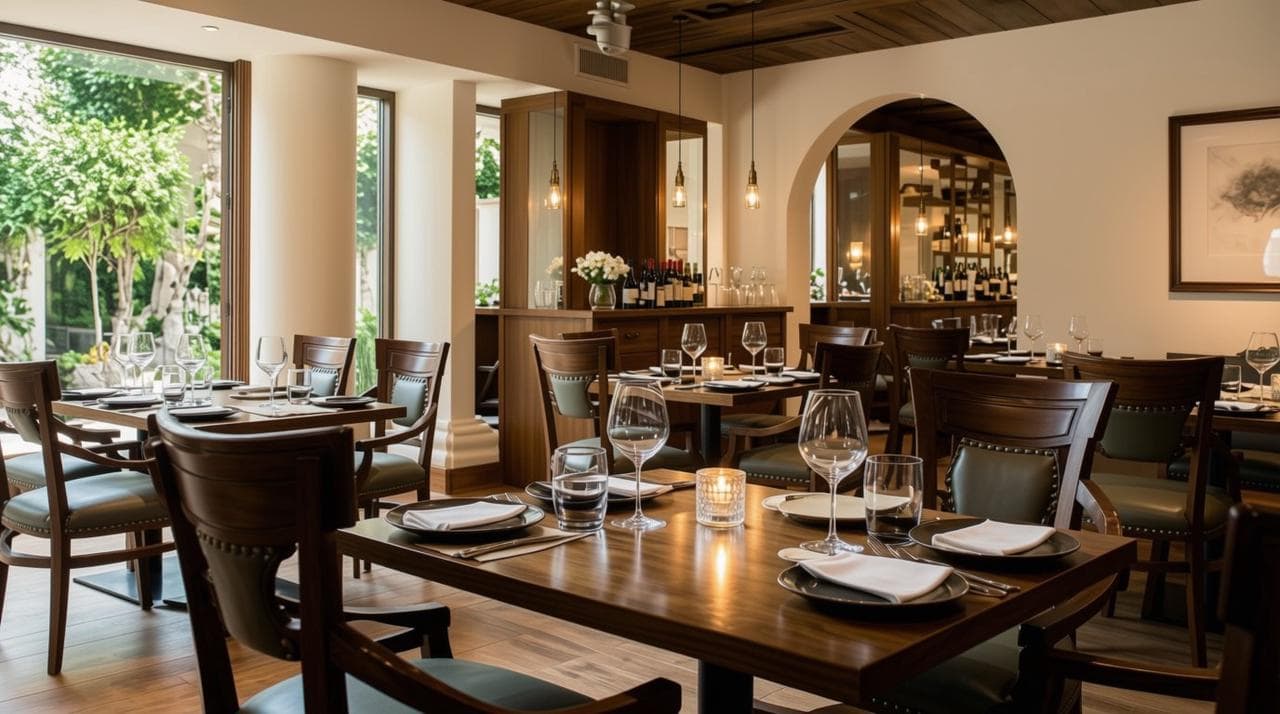
Why Warm Dimming Beats Fixed CCT in Food & Beverage Spaces
A fixed color temperature forces a compromise. Set it warm, and lunch looks dim and flat. Set it neutral, and dinner feels like a cafeteria.
Warm dim solves this by changing tone with brightness. The same fixtures deliver crisp, appetizing light at midday and a soft, flattering glow at night.
Food looks better under warm light too. As the fixtures dim toward 1800K, warm tones make dishes and skin tones look more natural and inviting — a subtle detail that shapes how guests feel about the whole visit.
Daypart Scenes — Bright 2700K Lunch to Candlelit 1800K Dinner
The strength of warm dim is that it maps naturally onto the trading day:
- Lunch: high brightness, ~2700K — clean, energetic, good for a quick turnover.
- Afternoon / café hours: medium brightness, warmer tone — relaxed but still functional.
- Dinner / late evening: low brightness, ~1800K — candlelit, intimate, built to linger.
Operators can lock these as scenes, or simply let staff move one dimmer through the day. Either way, no fixtures change and no lamps get swapped — the color follows the brightness automatically.
Getting a True Candlelight Effect at the Bottom of the Dim Range
The candlelight look at dinner depends entirely on how low and how warm the fixture can go. Not every “warm dim” product reaches a genuine 1800K.
Cheaper LEDs stop shifting around 2200K, which still reads as “yellow lamp” rather than flame. A fixture built for hospitality keeps warming smoothly down to 1800K, where the tone finally matches a real candle.
For F&B specifically, confirm two numbers before you buy: the lowest color temperature at minimum output, and the minimum dimming level (for example, dimmable down to 1%). Both decide whether the dinner scene feels like candlelight or just a dim bulb.
Flicker-Free Warm Dim for Bars and Late-Night Service
Bars live at the bottom of the dim range, and that’s exactly where cheap warm-dim systems fail. Low output is where flicker and abrupt color jumps show up most.
A common cause is the wrong dimmer. Old resistive or low-quality phase-cut dimmers can clip the warm end of the curve, producing flicker or a sudden color step right when the room should look its calmest.
Matching a quality driver with a compatible dimmer keeps the warm dim smooth all the way down to 1800K — no strobing, no visible steps, no distraction for late-night guests.
We’ll cover how to diagnose these low-brightness faults in the engineering section, but the takeaway for F&B is simple: specify a genuine warm-dim curve, flicker-free performance, and a compatible dimmer from the start.
Public Spaces: SPA, Clubs & Office Rest Areas
SPAs, clubs, and office rest areas each demand something different from their lighting.
SPA & Wellness
Wellness spaces aren’t just trying to look relaxing. They’re trying to physiologically wind guests down.
Dim to warm has a real advantage here. Warmer light contains less of the blue wavelength that keeps us alert. As the fixtures dim toward 1800K, both the brightness and the blue content drop together, and that reinforces the body’s cue to relax. A fixed-CCT room can’t do that at any dimming level.
There’s a practical durability benefit too. Because spa rooms run at low, warm settings for long hours, a dim to warm fixture spends most of its life at reduced output and lower drive current. It runs cooler, and the LEDs last longer than the same fixture pushed bright. In a space where maintenance access is inconvenient, that means fewer replacements down the line.
Clubs & Lounges
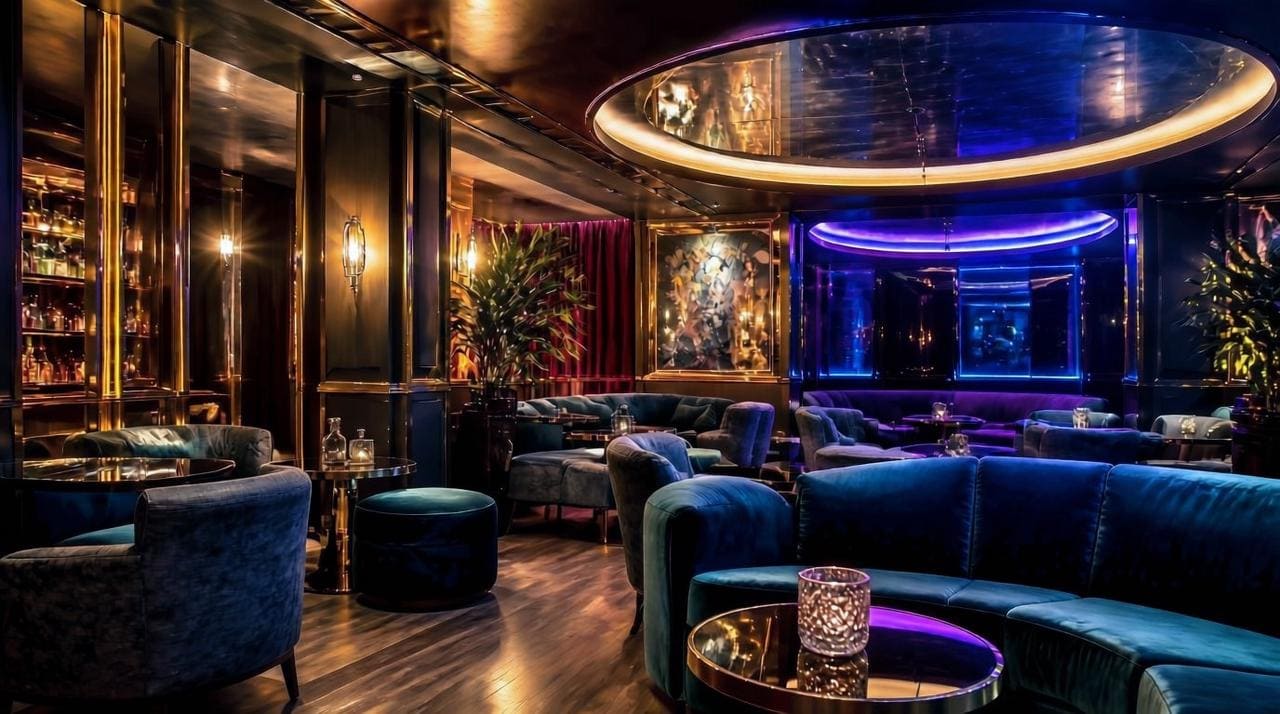
Clubs and lounges shift energy through the night, and dim to warm gives operators a subtle way to steer it.
Think about how a night unfolds. Early on, the room runs brighter and slightly cooler for arrivals and conversation. Then, as things progress, dimming toward 1800K deepens the mood without anyone touching a fixture. That warmth signals “settle in and stay” far more effectively than simply lowering a neutral light.
What really sets it apart is how it plays with decorative and accent lighting. Keep the warm dim base fixtures glowing at a candlelight tone, and your RGB accents, neon, and feature lighting suddenly read cleaner against that backdrop, instead of fighting a cold, grey base.
Office Rest Areas
A rest area has one job: it shouldn’t feel like the desk you just left.
This is where dim to warm does something a task-lit office simply can’t. It draws a clear visual line between work and recovery. Keep the workspace bright and neutral for focus, let the rest area dim warm to say “step away,” and that tonal shift alone tells the brain it’s a different zone.
There’s a comfort angle as well. After hours under bright neutral screens and ceiling light, a warm, low-glare corner gives tired eyes genuine rest rather than just looking cozier. Better still, it’s a low-cost wellbeing upgrade that fits your existing dimmer wiring, so there’s no smart-lighting rollout to budget for.
Light Sources & Engineering for Reliable Projects
Great dim to warm performance isn’t just about the LED chip — it’s about how the strips, drivers, and dimming logic work together. Get that engineering right and a project looks flawless on day one and still matches three years later. Here’s what actually drives that reliability.
Strip and Linear Light Options for Coves and Wall Washing
Coves and wall washing are where dim to warm either shines or falls apart, because both put the light source close to a surface that reveals every flaw.
For cove lighting, choose high-density strips — ideally 240 LEDs per meter or more. Higher density removes the “dotting” effect and gives a smooth, continuous glow along the cove, which matters most at low output where sparse LEDs become visible.
For wall washing, uniformity of color is critical. A wall grazed by warm light will expose any color mismatch between segments instantly. Here you want strips built on a single mixed-LED configuration — warm and amber chips on the same board — rather than two separate strips fighting to blend.
Linear fixtures follow the same rule. Look for a diffused lens that hides individual chips and a consistent binning batch, so a 6-meter run reads as one continuous tone instead of a patchwork.
Dimming Logic and Automatic Candlelight Control
The “automatic candlelight” effect that makes dim to warm feel natural is really a programmed curve inside the driver — as you dim, the driver shifts the ratio between warm and amber channels.
The quality of that curve is what separates a premium product from a cheap one. A good curve is smooth and monotonic: the color warms steadily as you dim, with no visible jumps, steps, or color “snapping” at any point.
You should also confirm where the warming happens. A well-tuned product keeps color stable through the upper brightness range and does most of its warming in the lower 30% of the dimming curve — mimicking how a real flame or incandescent bulb behaves. Cheap products often warm too early or too abruptly, which looks unnatural.
Ask suppliers to share the CCT-vs-dimming curve chart. If they can’t produce one, the curve is likely uncontrolled batch to batch.
From our field service experience,when a dim to warm fixture “won’t warm up” or shows the wrong color, the fastest way to isolate the fault is a single-fixture bench test before you blame the whole batch.
Dim the suspect fixture slowly from 100% to minimum and watch the color shift. A healthy unit swings roughly 900K across the range (e.g., 2700K down toward 1800K). Two failure signatures tell you where the problem is:
- Color stuck at ~2200K, barely moving → the driver IC’s warming channel isn’t switching — a driver fault, replace the driver.
- Color shifts but tone looks patchy or greenish → the warm/amber LED ratio on the board is off — an LED-mix or binning fault, replace the fixture, not the driver.
This 30-second test saves you from swapping the wrong component on site.
Batch Drivers, 0-10V Compatibility, and Multi-Lamp Parallel Wiring
On real projects you’re rarely wiring one fixture — you’re wiring dozens on shared circuits, and the driver architecture decides whether they behave.
First, insist on batch-matched drivers. Drivers from different production batches can hold slightly different warming curves, so two identical-looking fixtures may drift apart at low output. Order drivers and fixtures from the same batch for any single visible run.
Second, confirm your dimming protocol matches the control system. 0-10V (a common analog dimming standard where the control voltage sets brightness) is widely used in commercial buildings, but not every 0-10V dimmer handles the warming curve correctly — some clip the low end. Verify compatibility with your specific dimmer model, not just “0-10V” on a datasheet.
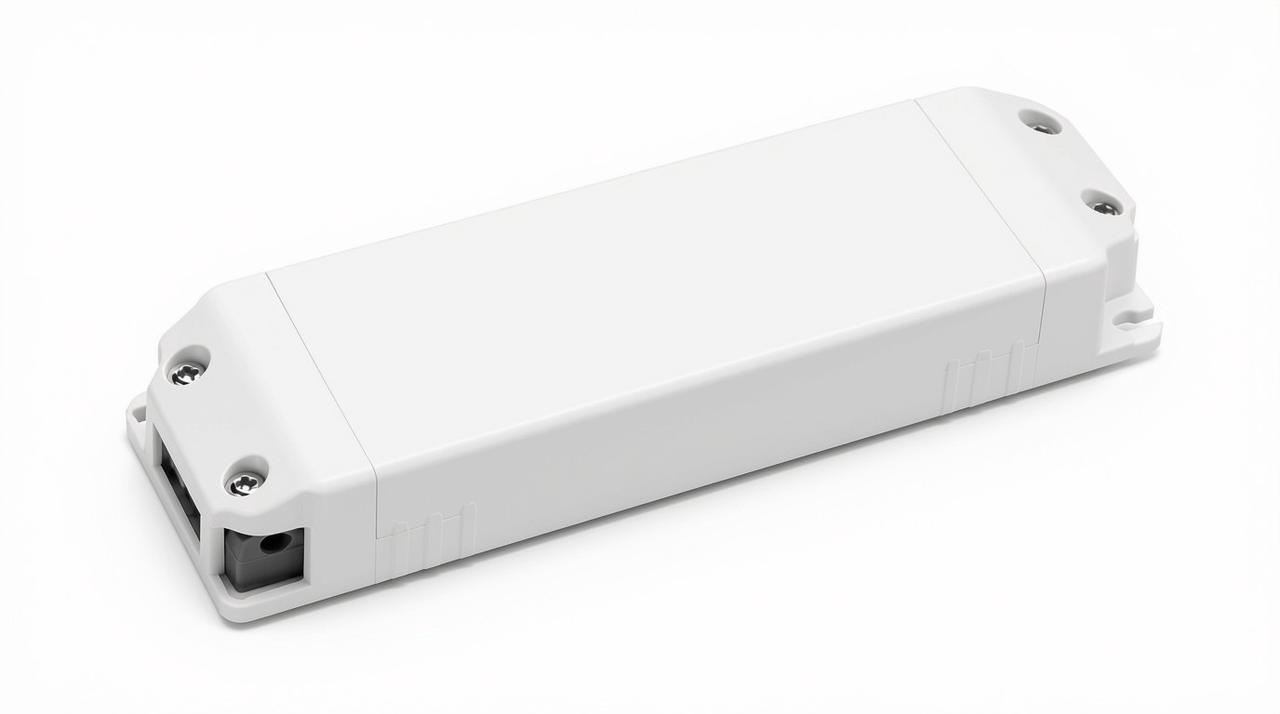
Third, respect the driver’s parallel wiring limits. Each driver has a maximum load and a maximum number of fixtures per output. Overloading a driver in a long parallel run causes voltage drop, which shows up as uneven brightness and uneven color from the first fixture to the last.
Follow the manufacturer’s stated max run length and load per driver — this is the single most common cause of “the end of the cove looks dimmer and warmer than the start.”
Certifications, Compliance & Energy Incentives
Certifications decide whether your fixtures qualify for rebates, pass inspection, and win the bid. Sort them out before you specify.
DLC Certification and Rebate Eligibility
DLC (DesignLights Consortium) unlocks most US/Canada utility rebates. If a fixture is on the Qualified Products List (QPL), the owner can claim per-fixture or per-watt rebates.
Two dim to warm cautions:
- Listings are model-specific — match the exact QPL model to your order line.
- Many dim to warm SKUs aren’t listed, so confirm rather than assume.
Verify any product on the DLC QPL before you commit.
UL Listing Requirements for North America
UL Listing is the safety mark most inspectors and GCs require — often mandatory.
Two common gaps:
- “UL components” ≠ “UL Listed fixture.” Require listing for the finished product and get the UL file number.
- Match the mark to the region: UL or cUL/CSA for North America, CE for Europe.
Third-Party Lab Test Reports for Bidding
Competitive and hospitality bids increasingly ask for independent reports, not just spec sheets — typically LM-80 (lifespan) and LM-79 (photometric/color).
For dim to warm, add the point most buyers forget: the color report must cover the full dimming range, not just full brightness. A fixture can nail 2700K at 100% and drift badly at 10% — where dim to warm actually matters.
Specify test points at 100%, 30%, and 10% in your bid docs to separate suppliers who control low-end color from those who don’t.
Procurement Playbook: Specs, RFP Language & Supplier Requirements
Once you’ve settled on specs and certifications, the last risk is procurement itself — vague purchase orders are where good products turn into mismatched jobsites.
What to Specify on Every Purchase Order
Don’t just order “2700K dim to warm.” Lock down the details that control real-world consistency:
- Warming range: e.g. 2700K → 1800K, not just “dim to warm”
- CCT tolerance: within ±100K across fixtures
- Color quality: CRI ≥ 90
- Same batch: fixtures and drivers from one production run for each visible area
- Dimming protocol: confirm exact standard (0-10V, phase, DALI) and dimmer model
- Certifications: DLC QPL model number, UL file number
The single most overlooked item on this list is color consistency across the full dimming range. In our procurement experience, buyers verify color at full brightness — where almost everything looks fine — and never ask what happens at 10%.
The fix is one clause on every PO: “Color tolerance ±100K measured at 100%, 30%, and 10% output, same production batch.” That sentence forces the supplier to control the low end and match fixtures to the same batch — the two failures behind most visible mismatch on site. If a supplier won’t commit to it in writing, they can’t control their low-end color.
Samples, Batch Testing, and Avoiding Rework
Approve a physical sample under your actual dimmer before bulk order — datasheets don’t show real warming behavior. Then require the bulk shipment to come from the same batch as the approved sample, and spot-check a few units side by side at low output before installation.
This step exists because skipping it is expensive. On one boutique hotel corridor, dim to warm strips all passed at full brightness, but at the evening setting (~15% output) alternating fixtures read visibly cooler — the run looked striped. The cause was two production batches with slightly different warming curves: invisible at full power, obvious when dimmed.
The fix on future orders was simple — one batch per continuous run, plus a low-output side-by-side check on arrival — and it eliminated a full corridor re-hang at no extra cost.
Frequently Asked Questions
Is dim to warm the same as tunable white?
No. Dim to warm links color to brightness on a single control — dim down and it automatically warms. Tunable white lets you set brightness and color temperature independently, which needs more control channels and costs more. For residential and hospitality “candlelight” effects, dim to warm is simpler and cheaper.
What CCT range should I specify?
Most dim to warm fixtures run from around 2700K–3000K at full output down to 1800K–2200K when dimmed. Confirm both the top and bottom of the range on your PO — “dim to warm” alone doesn’t tell you where it lands.
Will dim to warm work with my existing dimmers?
Only if the dimming protocol matches. Confirm whether the fixture is phase-cut (TRIAC/ELV), 0-10V, or DALI, and validate it against your specific dimmer model — mismatches cause flicker, buzzing, and a limited dimming range.
Can I get custom dim to warm lighting for a specific project?
Yes. Many suppliers offer custom dim to warm lighting — including specific warming ranges, CCT tolerances, fixture form factors, and dimming protocols matched to your controls. For larger or spec-driven projects, request custom fixtures and drivers from a single production batch so color stays consistent across every visible run.
Getting Dim to Warm Right
Dim to warm gives hospitality and dining spaces the warm, candlelit glow guests expect from a premium setting.
But that effect only holds up with a tight spec. Get these right on paper, validate a sample under your actual dimmer, and most on-site surprises disappear before installation.
If you’re specifying dim to warm lighting for a hospitality, retail, or residential project, RC Lighting can help.
We match the right fixtures, drivers, and dimming protocol to your controls. We also confirm color consistency across the full dimming range before you commit to bulk.
Request a spec review or product samples to compare real warming behavior under your own dimmers.