
Bathroom recessed lighting requires distinct safety ratings based on placement. Fixtures mounted above your shower need a separate IP rating from those over your vanity. Incorrect selection can lead to a corroded driver in just months, or a failed home inspection.
Our work with electricians and remodelers shows the most common error occurs before installation begins. Homeowners often pick fixtures by trim size and color temperature alone. They do not verify if the fixture’s rating matches its installation zone.
This guide covers wet‑zone and damp‑zone requirements, IP and IC ratings, layout spacing, and fixture errors that create frequent service callbacks. After reading, you will know exactly what to review before purchase. You will also understand when to hire a licensed electrician rather than rely on guesswork.
Understanding Bathroom Recessed Lighting
Before you shop for fixtures, it helps to understand how bathrooms are divided into lighting zones. Building codes—and manufacturer warranties—treat these zones very differently.
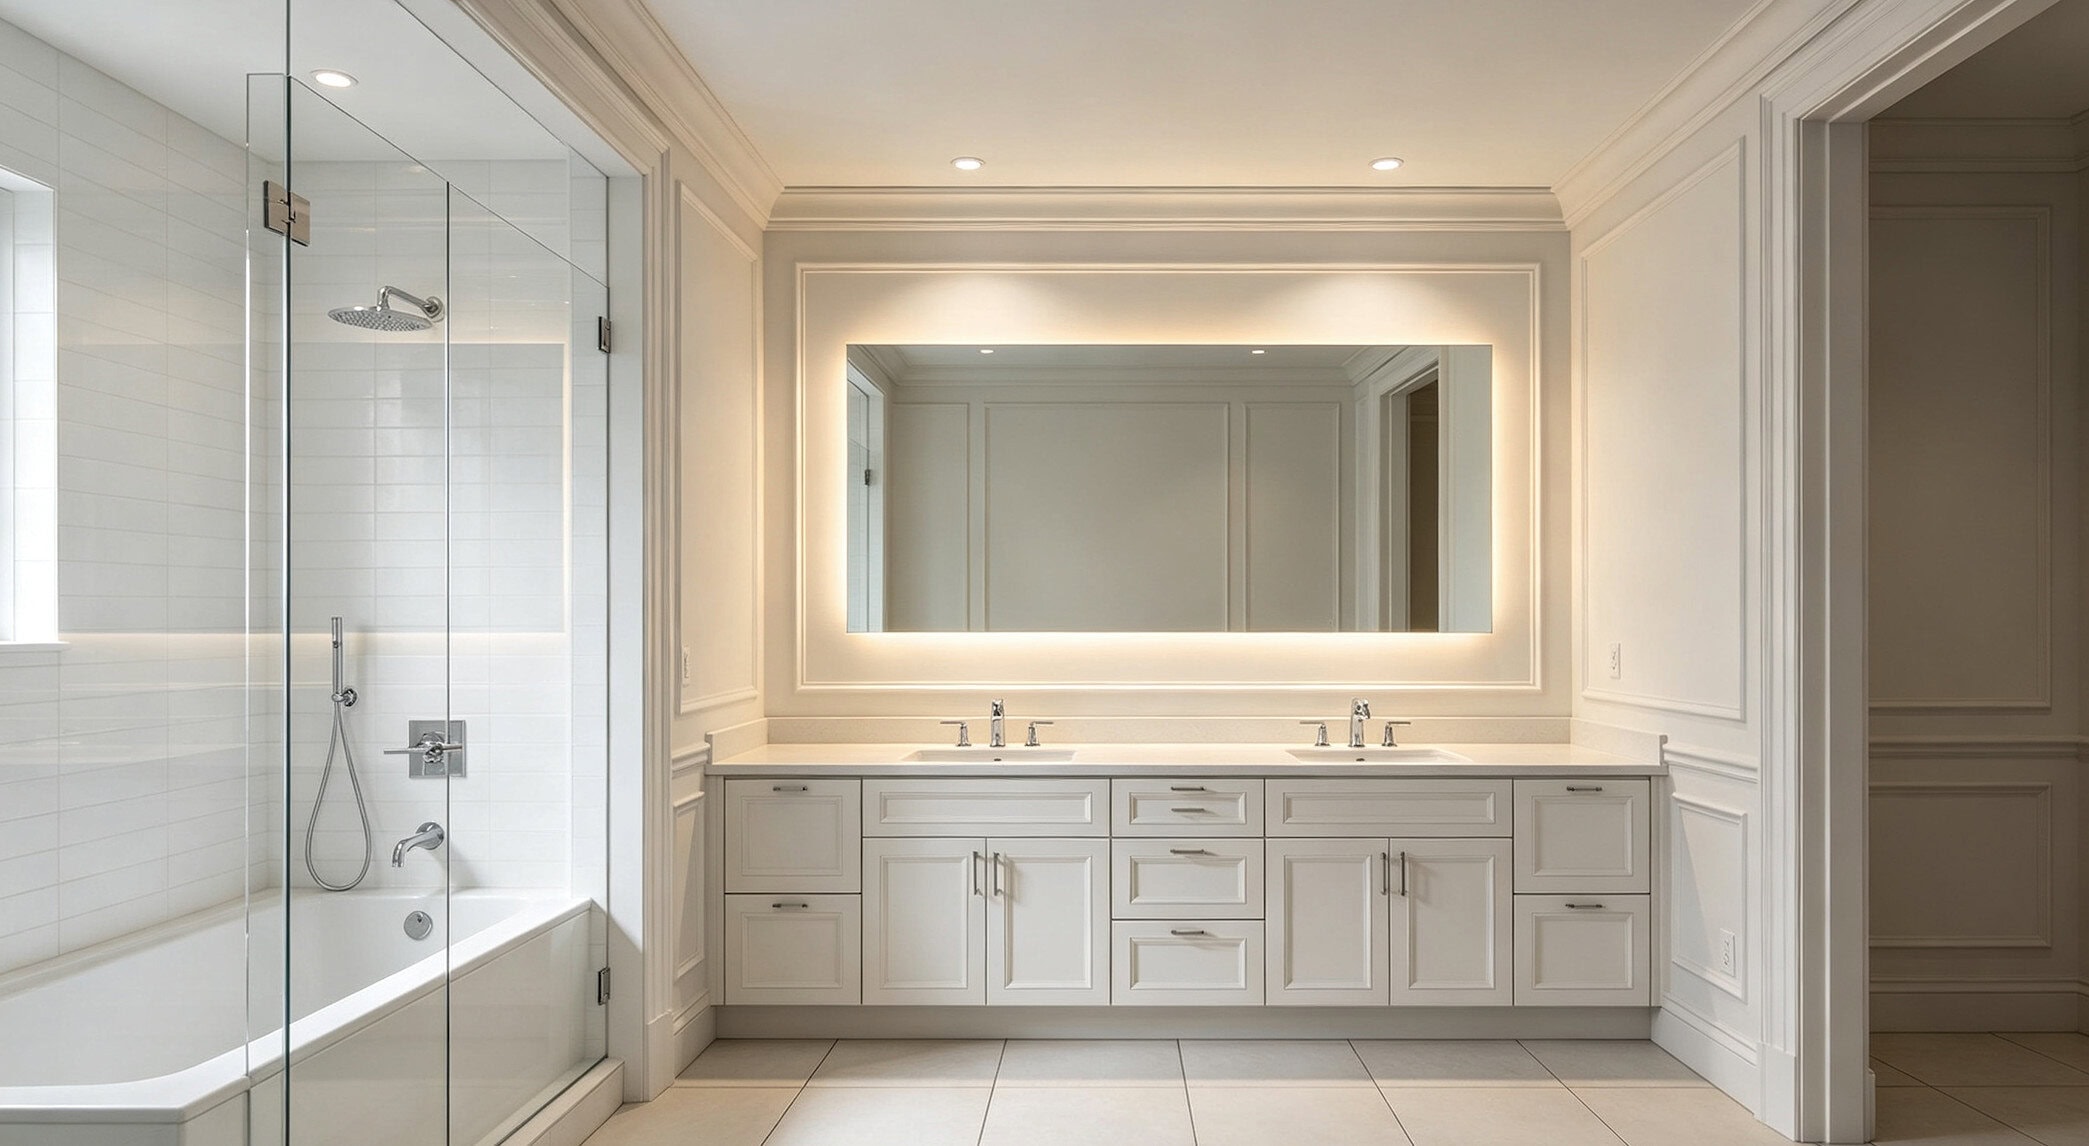
What Counts as a “Wet Zone” vs. “Damp Zone”
In most U.S. jurisdictions, the area directly above and within roughly 3 feet (0.9m) horizontally of a showerhead or tub spout is classified as a wet location. This zone carries the highest moisture exposure, so it requires the strictest fixture rating.
Everywhere else in the bathroom, such as above a vanity or in the center of the room, typically falls under damp location rules instead, as defined under NFPA 70 (National Electrical Code), Article 410.10, Luminaires in Specific Locations. Because damp zones see less direct water exposure, they allow a lower minimum rating than wet zones.
This distinction matters because it determines the minimum IP rating a fixture must carry, which we’ll break down in the next section.
Why Layered Lighting Matters in a Bathroom
A single recessed can in the center of the ceiling creates flat, shadowed light. This is especially a problem at the mirror, where shaving, makeup application, and skincare routines need even, shadow-free illumination.
To avoid this, designers typically plan bathroom lighting in three layers:
- Ambient light: general recessed cans for overall room illumination
- Task light: vanity-focused lighting for grooming tasks
- Accent light: optional lighting for niches, mirrors, or architectural features
IP Ratings Explained: Matching Fixtures to Wet-Area Zones
Once you know which zone a fixture is going into, the next step is matching it to the correct IP rating. This number tells you exactly how much moisture and dust a fixture can handle.
How to Read an IP Rating
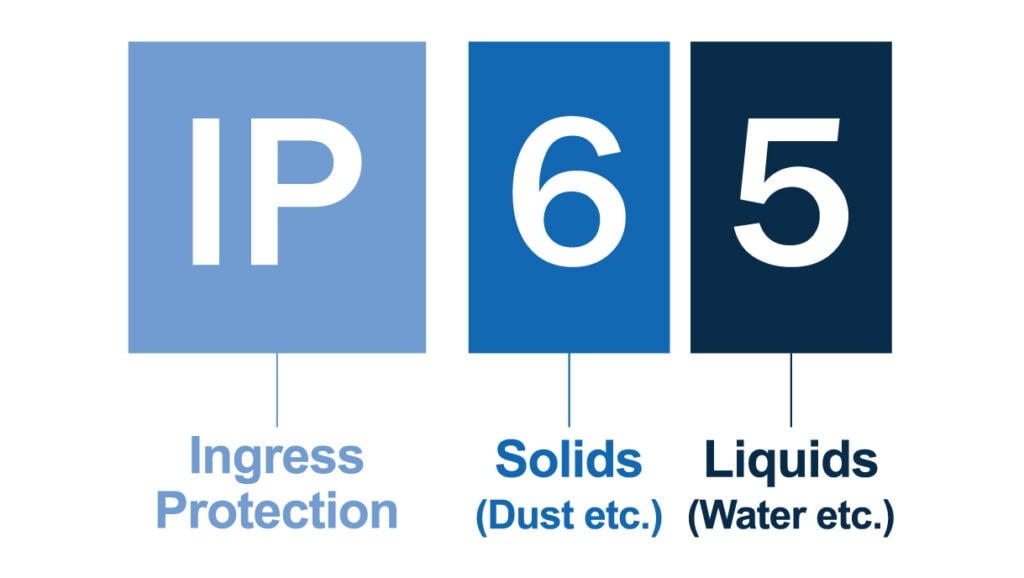
IP ratings follow a two-digit format defined by IEC 60529, the international standard for degrees of protection provided by enclosures. The first digit indicates protection against solid objects and dust. The second digit indicates protection against water.
For bathroom recessed lighting, the second digit is what matters most. A rating of IP44 means the fixture can handle splashing water from any direction, while IP65 means it can withstand low-pressure water jets. The higher the second number, the more moisture exposure the fixture is built to handle.
Minimum Ratings by Zone
Based on the zones covered in Section 1, here’s how the rating requirements typically break down:
- Wet zones (directly above showers or tubs): IP65 or higher is standard practice, matching the direct water contact these fixtures face.
- Damp zones (vanity areas, general ceiling space): IP44 is usually the minimum, matching the humidity and occasional splashing typical of these areas.
- Outside the bathroom envelope (hallway ceilings, adjacent rooms): standard dry-rated fixtures are acceptable, since humidity exposure drops off once you’re outside the room.
These are minimums, not fixed rules. Local building codes can set stricter requirements, so it’s worth a quick check before purchasing, particularly if a home inspection or resale is part of the picture.
If you’re unsure which zone a fixture falls into, treating it as a wet zone is the safer default and typically only adds a small difference to the fixture cost.
Designing a Layered Lighting Plan
IP ratings are sorted by zone. The next step is arranging fixtures into a working layout. Spacing and placement depend on which zone you are working in. It helps to plan each zone separately before looking at the whole room.
Downlight Spacing & Beam Angle by Zone
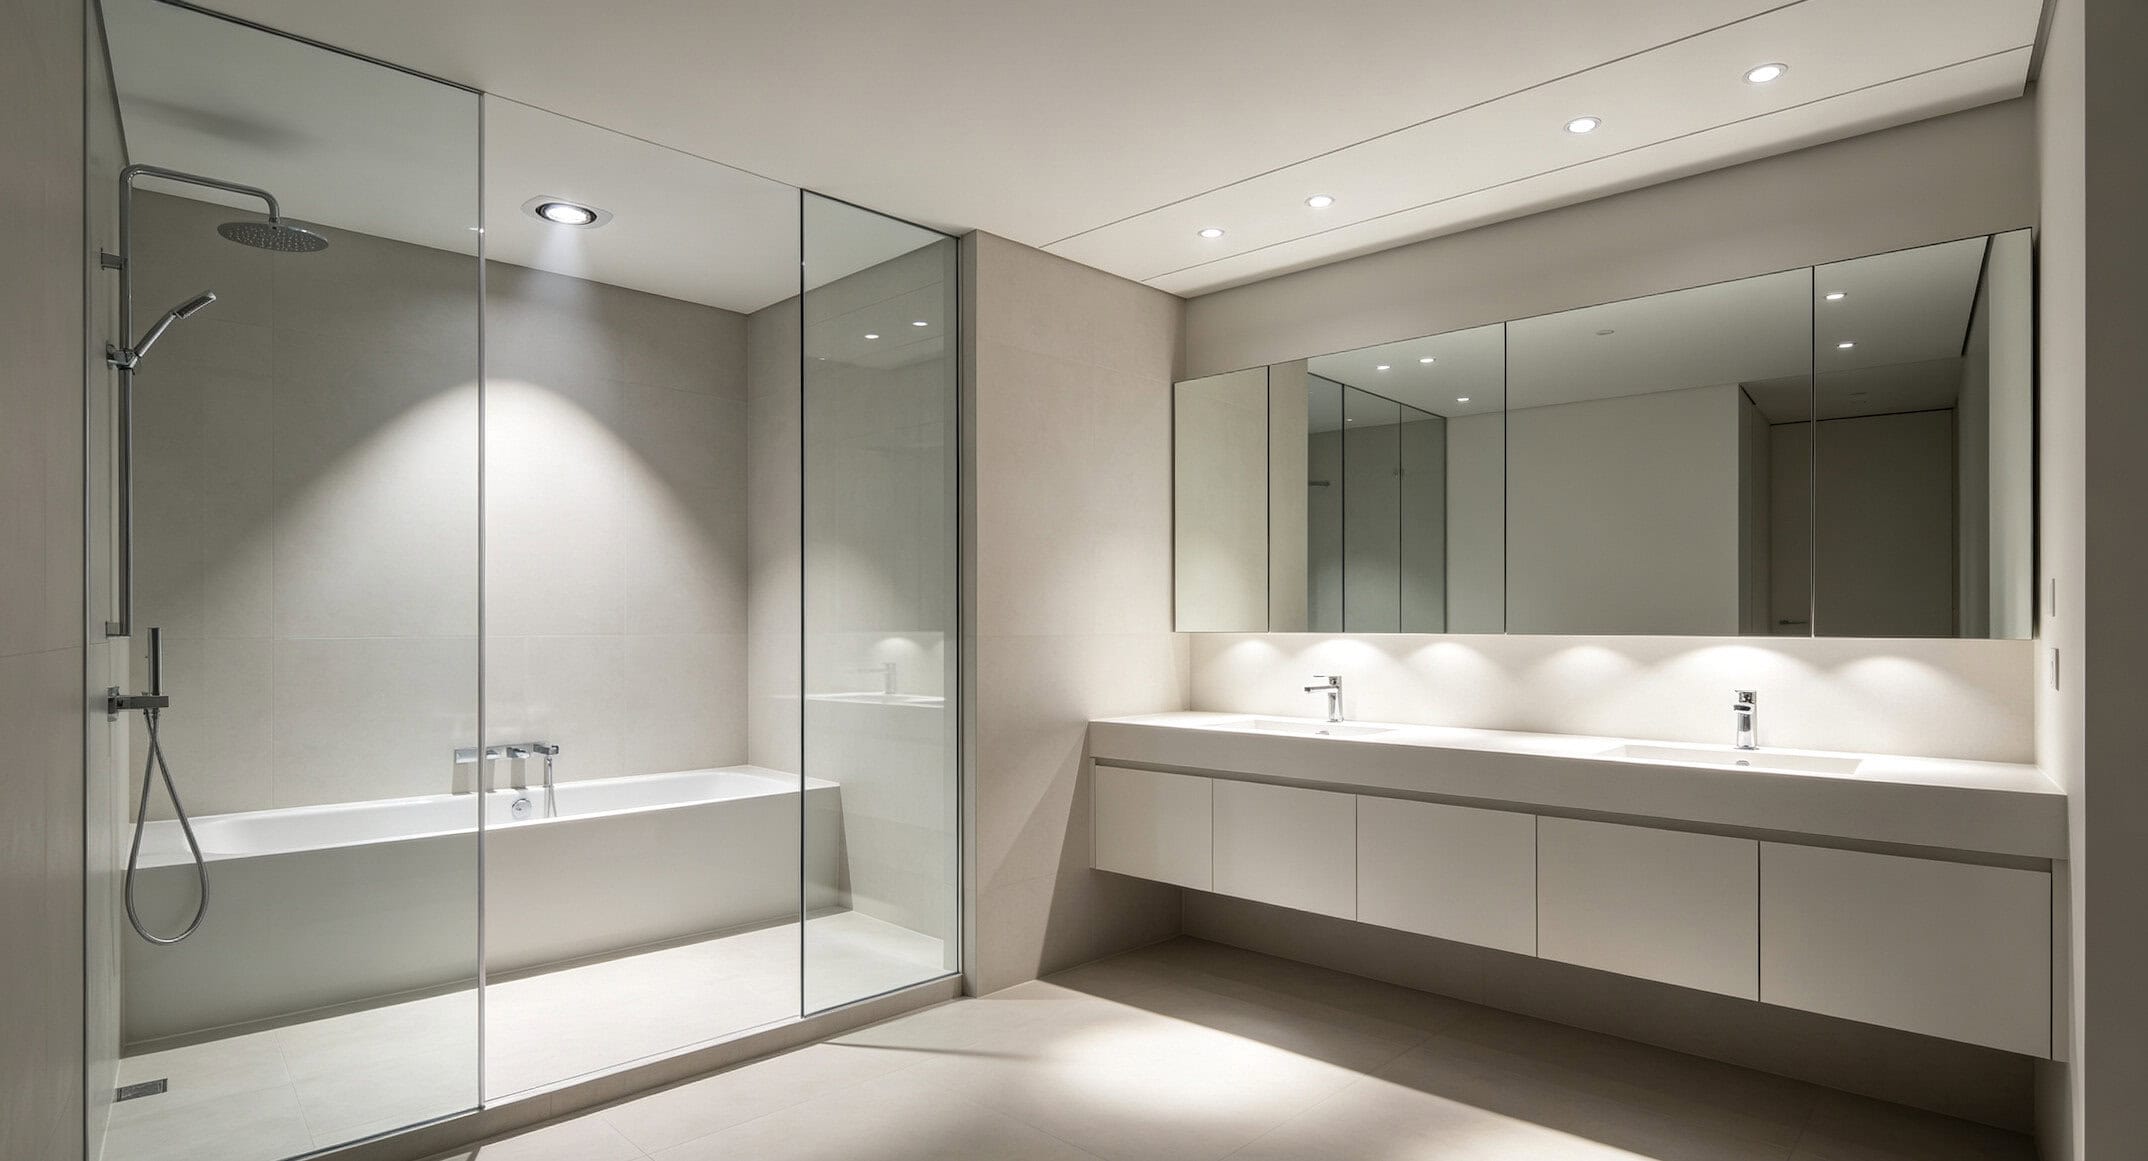
Start with the damp zone. This covers the vanity and open floor space, where IP44 fixtures are the minimum. A simple rule applies here. Divide ceiling height by two for can spacing. On a standard 8 ft (2.4m) ceiling, that means roughly 4 ft (1.2m) apart.
The wet zone works differently. This area usually needs only one IP65 fixture, centered above the tub or shower floor. Standard spacing rules do not apply well to a single fixture. Placement matters more than spacing here. Center the fixture over the point of most direct water exposure, not evenly with the surrounding damp-zone cans.
Beam angle adjusts spacing in both zones. Narrow beams, from 24° to 36°, need tighter spacing to avoid dark gaps. Wider beams, around 60°, allow more distance between cans. In the wet zone, a wider beam angle helps the single fixture cover more area. This matters since there is no second fixture nearby to fill in coverage.
Outside the bathroom, in hallway ceilings or adjacent rooms, standard dry-rated fixtures follow typical spacing rules. Humidity is not a factor once you are outside the room.
Task Lighting for the Vanity
The vanity sits in the damp zone. IP44 fixtures are the baseline here. But rating is not the main concern at the vanity. Placement matters more for grooming tasks.
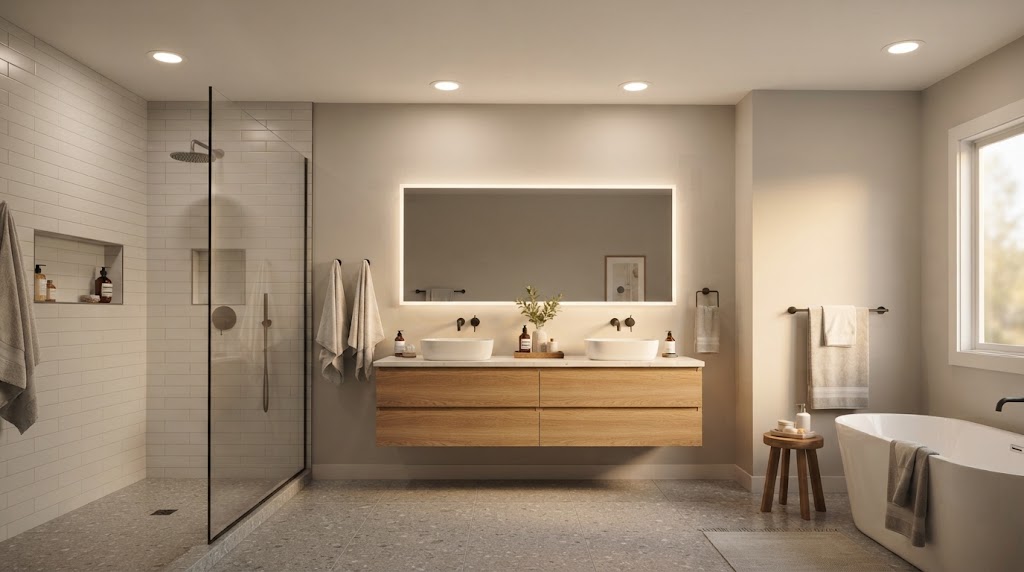
Overhead-only lighting shadows the eyes, chin, and nose. This makes grooming tasks harder. Side or face-height sconces light the face evenly. They avoid this shadow problem.
Color temperature should sit between 3000K and 4000K. This range renders skin tone accurately. CRI should be 90 or higher. This keeps makeup shades and colors consistent indoors and outdoors.
Avoid relying only on overhead lighting for the vanity. Even with the right CRI and color temperature, overhead-only fixtures still cast facial shadows. Pairing them with side or face-height task lighting solves this.
Dimmable Ambient and Limited Accent Lighting
Ambient lighting in the damp zone benefits from a dimmer. Full brightness works for cleaning. Lower brightness works for a relaxed bath. Confirm fixtures and dimmer switches are compatible before installation. This avoids flickering.
The wet-zone fixture is often left on a separate switch. It does not need to dim with the rest of the room. Keeping it independent also simplifies wiring.
Accent lighting works best limited to one or two focal points. A shower niche is still a wet zone, so it needs IP65. A floating vanity underside is a damp zone, so IP44 is enough. Spreading accent lighting across more features tends to compete with the ambient layer instead of supporting it.
Smart Controls (Optional)
Smart dimmers, motion sensors, and color-tunable fixtures are worth planning during initial wiring. Retrofitting later is more disruptive. For bathrooms, confirm any smart switch is humidity-rated before installing. This matters most for switches near the damp zone boundary.
Balancing with Natural Light
Plan the artificial layers first. Treat wet-zone, damp-zone, and task lighting as if the room has no window. Daylight becomes a bonus on top of this plan. This keeps lighting consistent at night, when daylight is not available to fill the gap.
Fixture Selection and Installation: Do’s, Don’ts & Trim Choices
With your layout and ratings confirmed, the next step is choosing fixtures that hold up long-term and installing them correctly. A few decisions here determine whether the lighting performs well for years or starts causing problems within the first season.
LED Bulbs for Efficiency and Longevity
LED is the standard choice for bathroom recessed lighting, and for good reason. LEDs run cooler than incandescent or halogen bulbs, which matters in an enclosed housing where heat has limited room to escape.
They also last significantly longer, which reduces how often you’re removing trims to access bulbs. This is a task that becomes inconvenient once tile, drywall, or a shower enclosure is finished around the fixture.
Trim Style Selection and Waterproof Compatibility
Trim style affects both appearance and moisture resistance. In wet zones, look for trims with a gasket-sealed lens rather than an open baffle, since the sealed lens is what actually keeps water out of the housing.
Baffle and open trims are fine for damp zones or dry areas outside the bathroom, where moisture exposure is minimal. Confirm the trim itself carries the same IP rating as the housing. Pairing a wet-rated housing with an unrated trim defeats the purpose.
Cutout Sizes and Thermal Insulation Compatibility
Cutout size needs to match the trim specification exactly. Even a small mismatch can leave gaps that let moisture or air pass around the fixture. Standard sizes are typically 4, 5, or 6 inches in diameter, so confirm this before cutting drywall or ceiling material.
If the fixture sits near or inside insulated ceiling space, check whether the housing is IC-rated for insulation contact. Non-IC-rated housings need clearance from insulation to avoid overheating, which isn’t always practical in a retrofit.
Don’t Ignore Ventilation and Heat Dissipation
Even IC-rated, IP-rated fixtures generate heat during operation. Installing multiple recessed cans close together in a small, low-ceiling bathroom without adequate ventilation can shorten driver lifespan, regardless of how well-rated the individual fixture is.
If the bathroom already runs warm after showers, factor this into spacing and exhaust fan sizing before finalizing the layout.
Don’t Neglect Maintenance Accessibility
Fixtures installed directly above a shower or tub are the hardest to reach for cleaning or bulb replacement. Before finalizing placement, consider how you’ll access the fixture for maintenance.
Some owners regret not choosing a slightly wider trim that allows easier lens removal, especially once tile work is complete around it.
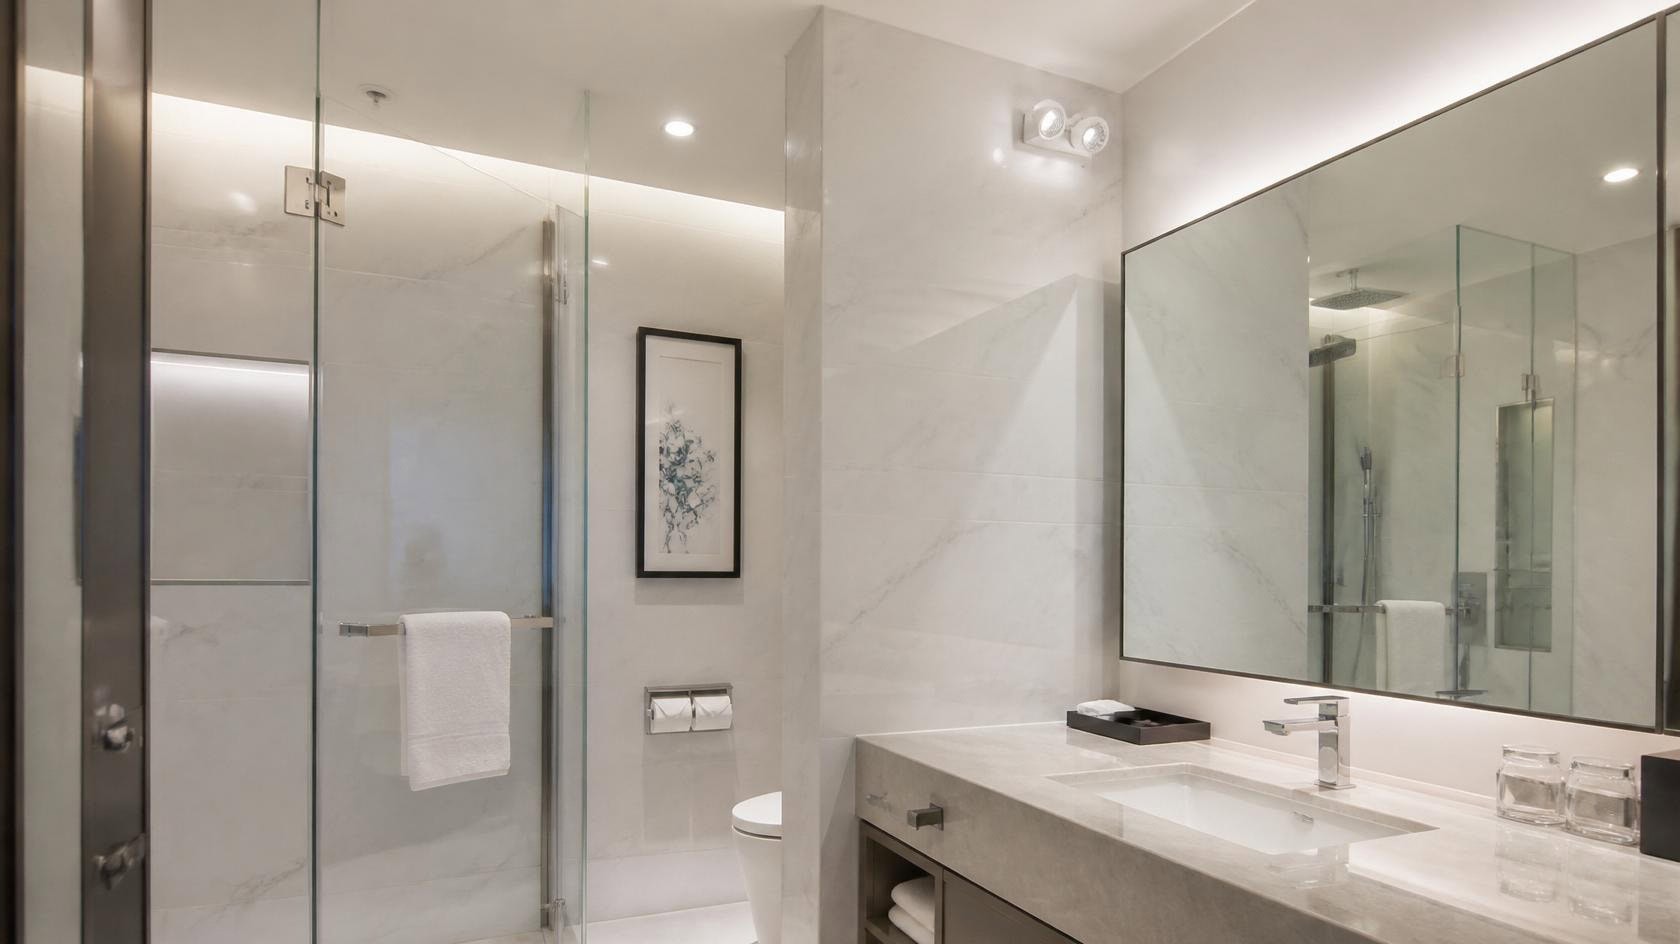
Separate Circuits for Ambient and Task Flexibility
Wiring ambient and task lighting on separate circuits allows independent control. You get full brightness for cleaning without triggering the vanity lights, or the reverse when you only need task lighting on.
This also simplifies troubleshooting later, since an issue on one circuit won’t take down the entire room. It’s worth planning before drywall goes up, since adding a separate circuit afterward is considerably more invasive.
GFCI Protection and Licensed Electrician Sign-Off
Bathroom circuits, including lighting circuits in many jurisdictions, require GFCI protection under NEC 210.8. A GFCI, or ground-fault circuit interrupter, monitors for current imbalances and cuts power quickly if it detects a ground fault. This is a critical safety layer in a room where water and electricity coexist.
If you’re unsure whether your local code requires GFCI protection on lighting circuits specifically, since this varies by jurisdiction and circuit type, a licensed electrician can confirm before rough-in inspection. This is also the point where a professional sign-off protects you during resale or insurance review.
Maintenance and Long-Term Verification
Even a correctly rated, correctly installed fixture needs periodic checks. Moisture resistance and electrical safety aren’t “set and forget” once the ceiling is closed up.
Annual Seal and Gasket Inspection
The gasket around a wet-rated trim is what maintains its IP rating over time, and gaskets degrade with heat cycling and age. Once a year, check that the seal around the lens still sits flush against the housing, with no visible cracking or gaps.
If the gasket has hardened or pulled away, water can bypass the seal even though the fixture still carries its original rating on paper.
Clean Lenses to Maintain Lumen Output
Steam and soap residue build up on lenses over time, especially in wet zones directly above the shower. This film reduces light output gradually, which often gets mistaken for bulb failure.
Wiping the lens with a damp cloth every few months keeps output consistent and makes it easier to spot cracks or seal issues early.
Test GFCI Monthly and Log Results
GFCI outlets and breakers include a built-in test button for a reason. Pressing it monthly confirms the protection is still functioning, since GFCI devices can fail silently without tripping on their own.
Keeping a simple log, even just a date and pass or fail note, helps during resale or insurance review, and it catches a failed unit before it becomes a safety gap.
Verify IP Rating Marking Remains Intact
Most fixtures have their IP rating printed or stamped on the housing or trim. Over time, cleaning products or steam exposure can fade this marking.
If the marking becomes illegible, it’s worth documenting the model number separately, since you’ll need this information for warranty claims or when replacing a matching fixture years later.
Real Bathroom Layouts and Placement Examples
Generic spacing rules are a starting point, but seeing how they translate into an actual fixture count and layout makes planning easier. Below are three concrete layouts based on common bathroom footprints.
Small Bathroom (5×8 ft) with Shower/Tub Combo
Recommended layout: 3 fixtures total.
- 1x wet-rated fixture (IP65, 4-inch, 650-800 lumens) centered directly above the tub/shower area, roughly 12 inches from the shower wall
- 2x damp-rated fixtures (IP44, 5-6 inch, 800 lumens each) spaced 24 inches apart above the vanity, offset slightly toward the mirror to reduce shadow on the face
Total ceiling coverage: roughly 40 sq ft, which keeps light levels even without creating hot spots on a ceiling typically 7-8 ft high.
Medium Bathroom (8×10 ft) with Separate Shower Stall
Recommended layout: 5 fixtures total, split across two circuits.
- 1x wet-rated fixture (IP65, 4-inch) centered inside the shower stall, on its own switch/circuit
- 3x damp-rated fixtures (IP44, 6-inch, 900 lumens each) spaced in a triangle pattern across the main ceiling, roughly 30 inches apart, covering general ambient light
- 1x dedicated vanity fixture or sconce pair at the mirror, separate from the recessed layout, for task lighting
This split keeps the shower zone isolated electrically while giving even ambient coverage across the remaining 60+ sq ft.
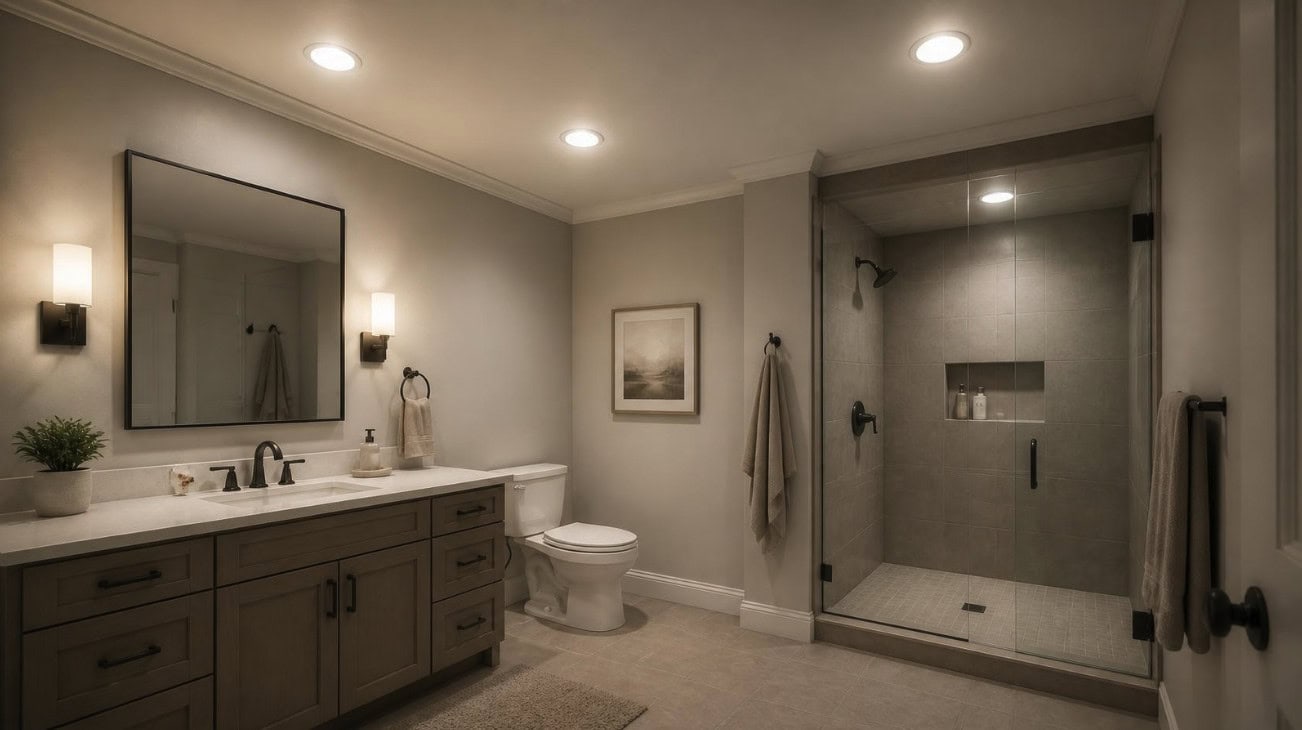
Larger Primary Bathroom (12×14 ft) with Freestanding Tub and Walk-In Shower
Recommended layout: 8 fixtures total, split across three circuits.
- 1x wet-rated fixture above the walk-in shower (IP65, 4-inch)
- 1x wet-rated fixture above the freestanding tub (IP65, 4-inch), positioned directly over the tub’s center point
- 4x damp-rated fixtures (IP44, 6-inch) spaced 30-36 inches apart across the remaining ceiling for ambient light
- 2x task fixtures or sconces at the vanity
With this footprint (roughly 168 sq ft), 8 fixtures at this spacing typically avoid both dark corners and overlap-related heat buildup, while the three-circuit split keeps wet-zone fixtures isolated from general lighting.
Quick Reference Table
| Bathroom Size | Wet-Rated Fixtures | Damp-Rated Fixtures | Task Fixtures | Circuits |
|---|---|---|---|---|
| 5×8 ft | 1 | 2 | 0 (vanity light doubles as task) | 1 |
| 8×10 ft | 1 | 3 | 1 | 2 |
| 12×14 ft | 2 | 4 | 2 | 3 |
When to Bring in a Licensed Electrician
DIY installation works for many straightforward layouts, but a few situations call for professional involvement: upgrading circuit amperage to support additional fixtures, adding a new circuit for isolated wet-zone lighting, or working with wiring that predates current GFCI requirements.
A licensed electrician can also confirm local code interpretations, since GFCI and IP rating requirements vary by jurisdiction.
FAQs
Q: How much does it typically cost to install bathroom recessed lighting?
Cost varies by fixture rating, quantity, and whether it’s new construction or a retrofit. Wet-rated (IP65) fixtures generally cost more per unit than damp-rated (IP44) fixtures due to the sealed housing and gasket components. Retrofitting into a finished ceiling also adds labor cost compared to installing during a full remodel, since electricians need access from below without opening the ceiling from above. Getting quotes based on your specific fixture count and layout is more accurate than estimating from a general price range.
Q: Can I retrofit recessed lighting into a bathroom ceiling without attic access?
Yes, this is common and is typically done using remodel-style (also called “old work”) housings, which install from below through a cut opening rather than requiring access from above. The fixture still needs to meet the same IP and IC rating requirements as new-construction housings for its zone. Confirm with your electrician whether the ceiling cavity allows enough clearance for the housing depth before cutting.
Q: How long do LED recessed fixtures typically last in a bathroom environment?
LED fixtures are commonly rated for 25,000 to 50,000 hours of use, though bathroom conditions (heat, humidity, steam cycling) can shorten this compared to a dry room. A properly IP-rated, gasket-sealed fixture in a wet zone will generally hold up closer to its rated lifespan than a fixture with a degraded or missing seal. This is part of why the annual gasket inspection covered earlier matters for longevity, not just moisture protection.
Q: What happens if a fixture with the wrong IP rating gets installed in a bathroom by mistake?
Beyond the corrosion and driver failure risks covered earlier, an incorrectly rated fixture can also cause a home inspection to flag the bathroom during resale, since inspectors typically check fixture ratings against location during a pre-sale inspection. Correcting this after tile or drywall is finished around the fixture is more disruptive and costly than getting the rating right during initial installation. If you’re unsure whether an existing fixture meets code, a licensed electrician can verify the rating and swap it before it becomes a resale issue.
Conclusion
Getting bathroom recessed lighting right comes down to a sequence, not a single decision. Confirm which zone each fixture sits in. Match that zone to the correct IP rating. Plan spacing and layering around how the room is actually used. Then choose fixtures and trims built to hold up over years of steam, cleaning, and heat cycling.
This is also where most of the difficulty shows up. A standard catalog often forces a tradeoff. You find the right IP rating, but the trim finish doesn’t match your design. Or the lumen output is right, but the cutout size doesn’t fit your ceiling. When this happens, sourcing from a fixed catalog can turn a simple layout into a longer search than it should be.
If your project needs a specific combination that standard catalogs don’t offer, matching your exact zone, rating, cutout size, and finish, that’s a sourcing problem worth solving before installation, not after.
Get Fixtures Built to Your Exact Layout
RCLight designs and manufactures custom recessed lighting fixtures to match specific project requirements, including IP rating, cutout size, color temperature, CRI, and trim finish.
If you’re specifying a single wet-zone fixture for a shower niche, or sourcing a full layout across ambient, task, and accent lighting, our technical team can confirm ratings and compatibility against your layout before you place an order.
Share your zone-by-zone requirements and we’ll confirm rating and fit before you commit to a purchase.